Torn Paper Effect Coloring Tutorial
This is how to do the torn paper effect coloring tutorial. The torn paper coloring effect is such a fun way to make your pages look unique. This technique gives your art the look of paper being ripped open to reveal a different design underneath. It works great in adult coloring books, and you can use alcohol markers, colored pencils, or even mixed media to get the effect. If you’re looking for creative coloring ideas, this is a must try! And you can watch the video to see how this comes to life at the bottom of this post.
I’ve been seeing the torn paper coloring effect everywhere. I can’t find who did this first but it’s everywhere and makes a really cool look! For this tutorial, I thought I’d try it in my Coco Wyo coloring book. I used my Ohuhu alcohol markers, and it was a lot of fun to figure out how to make the edges look ripped. I started with the outline of the torn part, then filled in the colors around it. The markers made it easy to blend and shade so it really looked like the page had layers. It wasn’t hard at all once I got going, and I like that it made the picture feel a little different from the usual way I color. In the end it came out looking really nice.

Torn Paper Effect Coloring Tutorial
I thought it would be fun to show you how I made this torn page look, because it has been all over my feed and I wanted to try it myself. It looks tricky at first, but once you see the steps, it is actually very easy. In the video I walk through the whole thing, and here in this post I break it down in simple steps.
Supplies For Torn Paper Effect
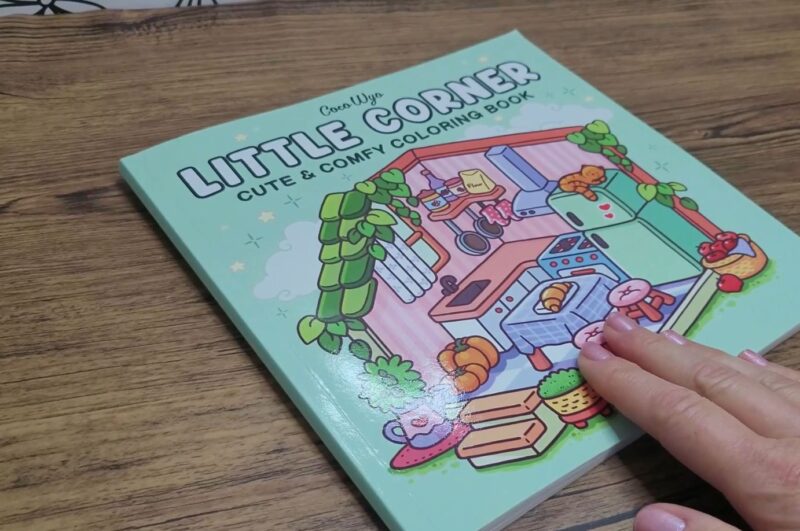
- Coco Wyo Little Corner coloring book
- Soft pencil
- Piece of blank paper
- Scissors
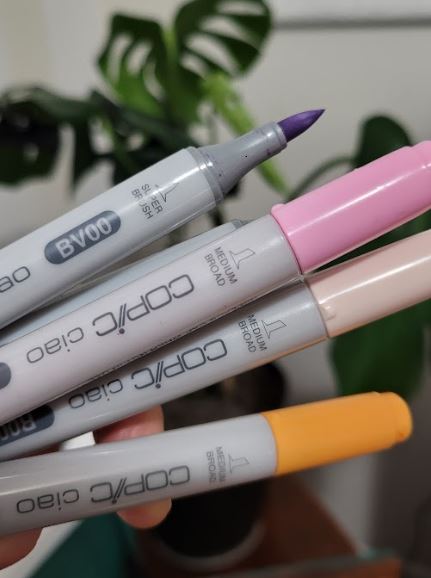
- Ohuhu alcohol markers
- White gel pen
Steps For Torn Paper Effect
Step 1: Choose your coloring book & Markers
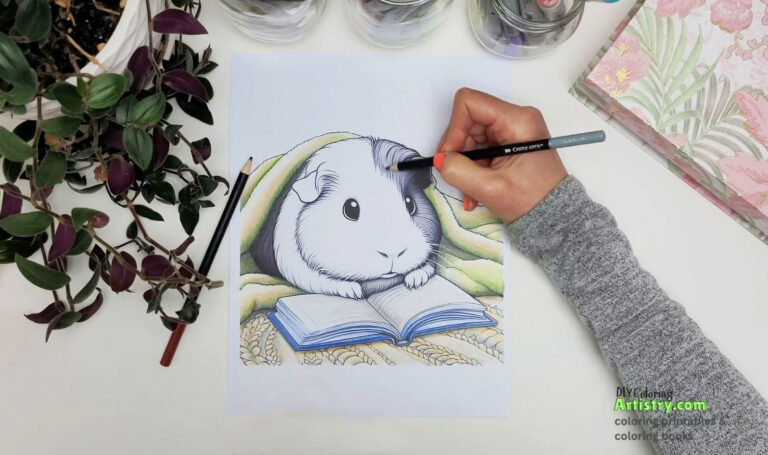
The first thing is picking a page to work on. I am using Coco Wyo Little Corner for this tutorial and Ohuhu Alcohol Markers. I love this book because the pages have fun little details and the designs are easy to work with for the torn page effect. Pick any page you like. Just look for one that has a spot where you can create a “torn” area and some space for shading.
Step 2: Plan The Torn Page Area
Take a sheet of paper and lay it on top of your coloring page. Draw out the shape of the torn page you want. Once you have it the way you like, cut out that shape. Then you can use it as a guide to draw the torn lines on your coloring page. This helps you see exactly where the torn part will sit before you start coloring.
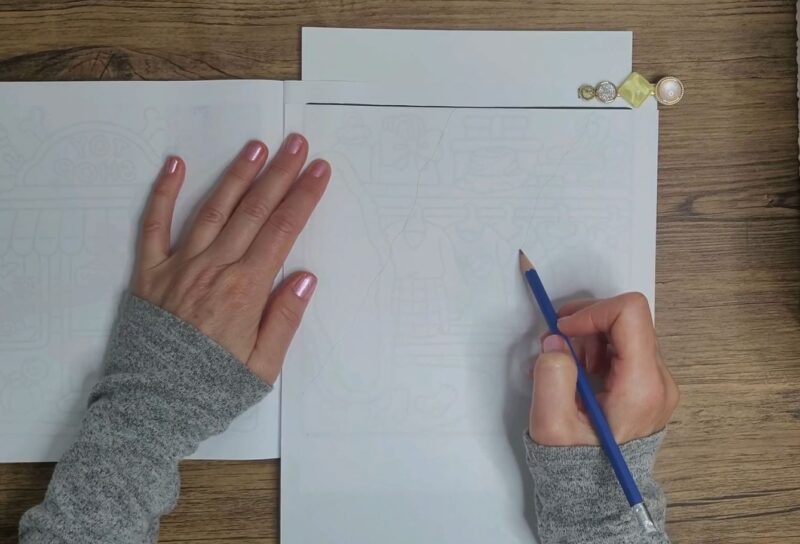

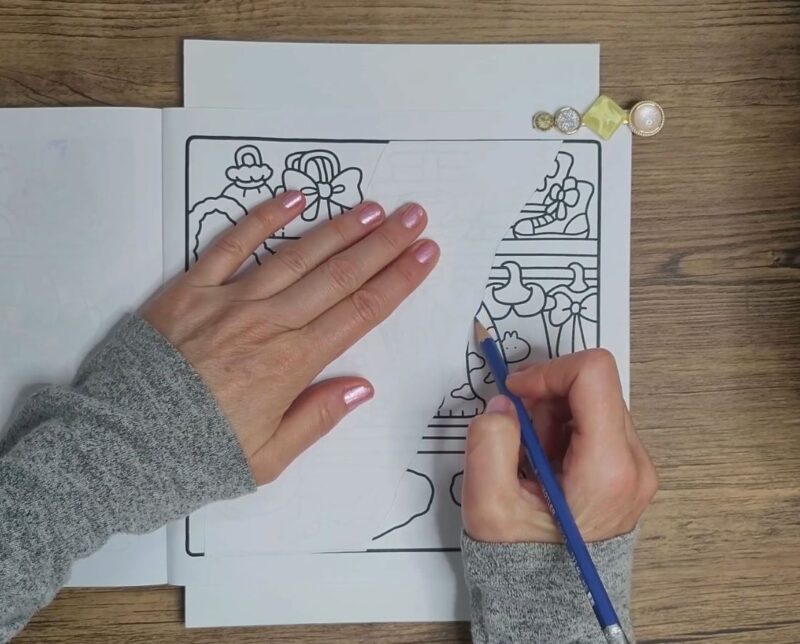
Step 3: Draw The Lines
With a pencil, use your cutout as a guide to lightly draw the torn lines onto your coloring page. This shows exactly where the torn part will sit before you start coloring.
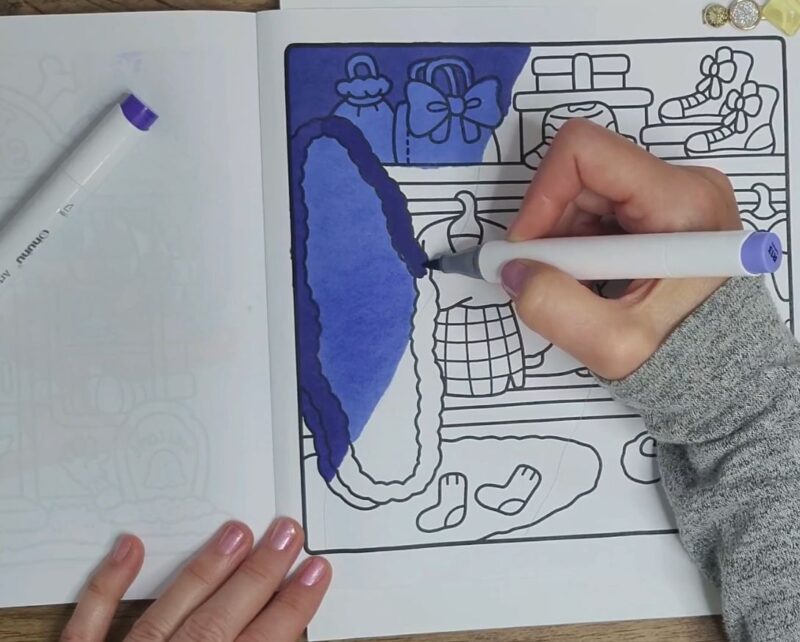
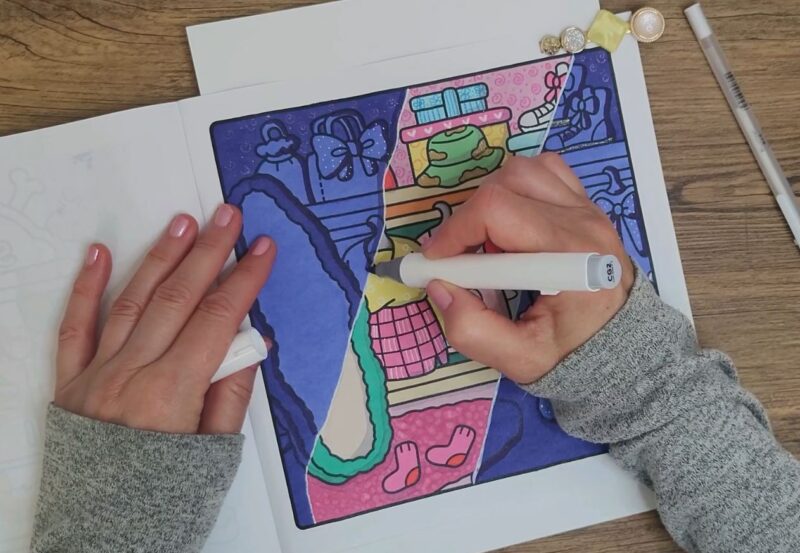
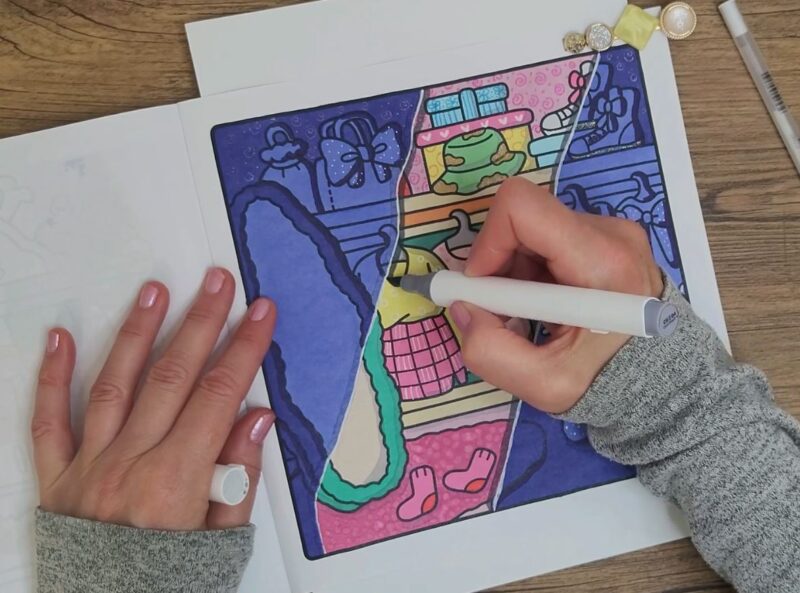
Step 4: Add shadows around the torn page
Pick some darker shades and start coloring the outside edges of the torn page. Focus on the spots where shadows would naturally fall, like under the tear or along the curves. Make those areas a bit darker to give the torn page more depth. Add in special highlights or patterns to the dresses and other areas you want to stand out.
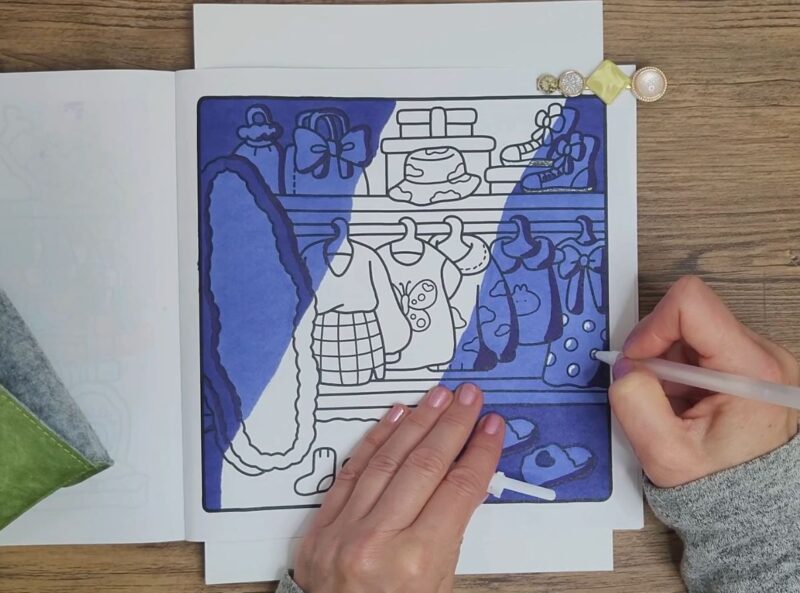
Step 5: Color the inside of the torn page
Now fill in the area inside the torn page with bright and happy colors. You can also have fun adding patterns like stripes, dots, or little shapes to make it even more playful. This is the part where your creativity really shows and the page comes to life. I have a helpful blog post about some pattern ideas for coloring.
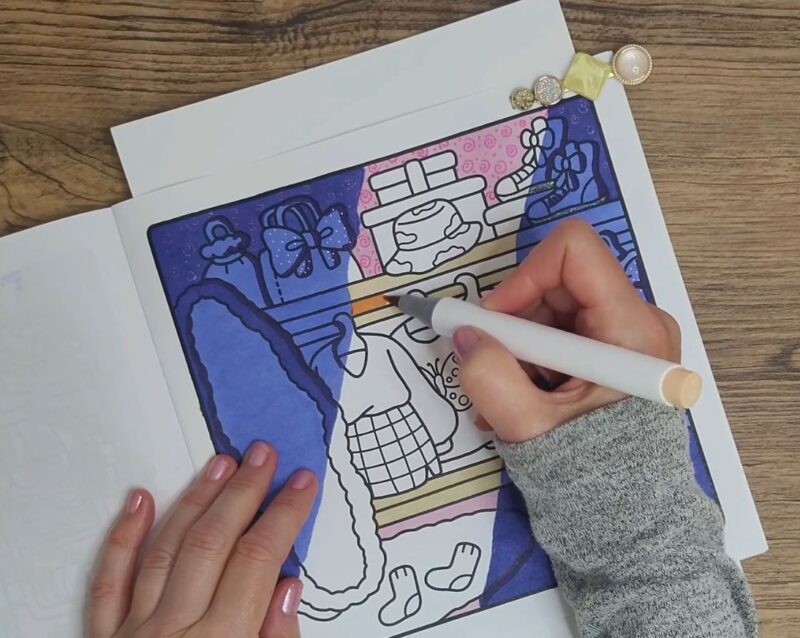

Step 6: Highlight the torn lines
Use a white gel pen to go over the torn lines on your page. This makes the edges pop and gives the torn area more dimension. Just trace lightly along the lines to add a soft highlight and make the tear look more real.
Step 7: Add shadows to the torn edges
Take a darker purple shadow color and trace along the opposite side of the torn page lines. This adds depth and makes the page look like it is really lifted. Keep the shadow close to the edge and blend slightly if needed for a natural look. Then with a grey shade, color the shadow on the colorful part for even more depth.
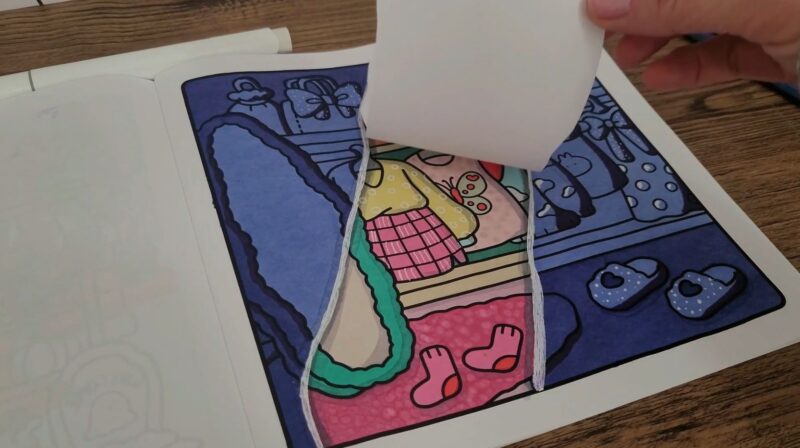
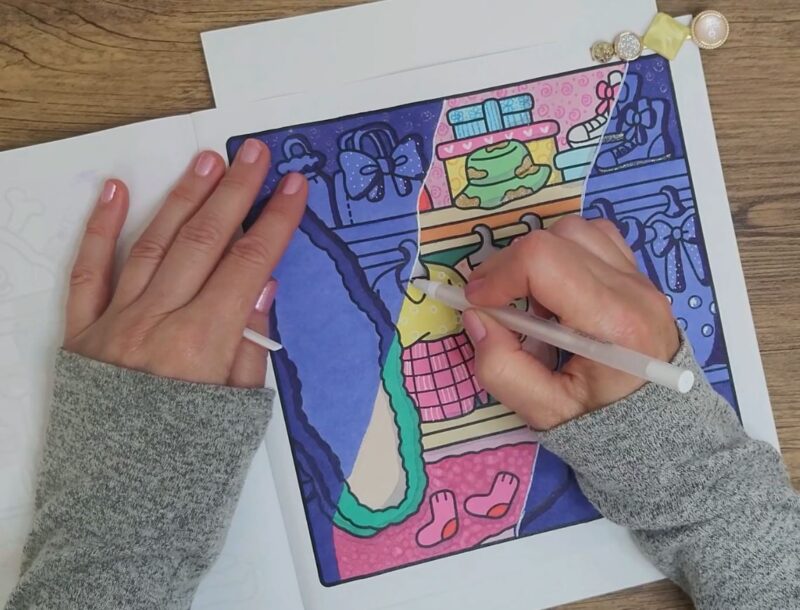
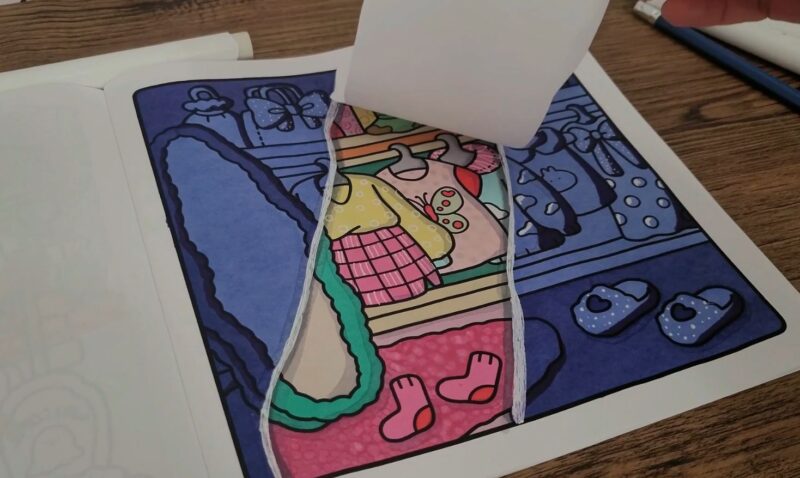
step 8: Reveal the torn page effect
Place your cutout paper back onto the coloring page and gently lift it. That’s it, the torn page effect! You can adjust shadows or highlights if you want, but just lifting the paper really makes the page look like it has a real torn section.
Torn Page Effect Video
Now that you know the steps, check out the video where I show the whole process in action. You’ll see exactly how I plan the torn page, add shadows, color the inside, and use highlights to make the effect pop. Watching the video while you color along makes it super easy to follow and see how each step comes together.
Share this blog with your friends who love to color too. And join the DIY Coloring Artistry Facebook group, where you can share your art with others! And if you love viral coloring ideas, try this Heaven Vs. Hell coloring tutorial and how to make vintage stickers.
Favorite Coloring Supplies
Copic Alcohol Markers
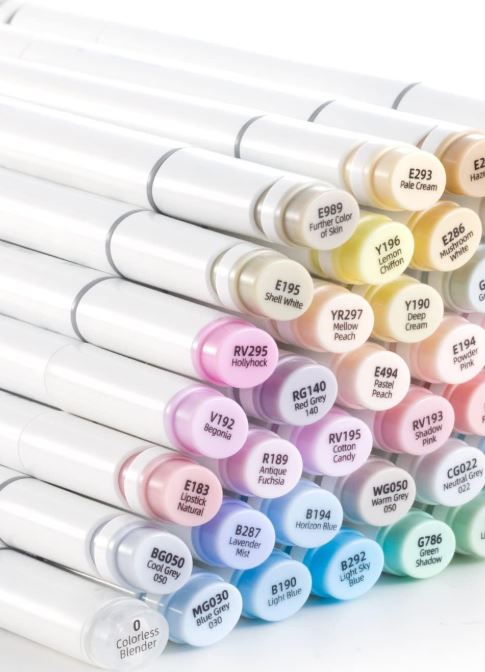
Ohuhu Alcohol Markers
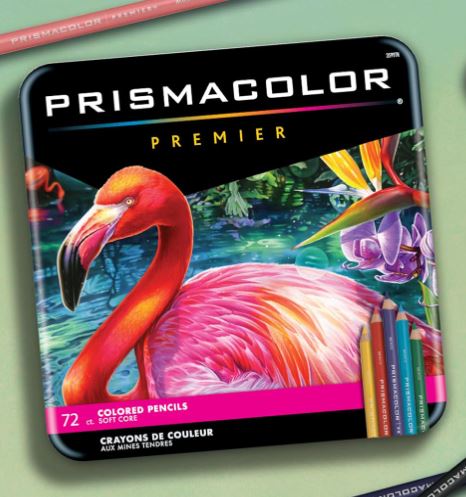
Prismacolor Premier
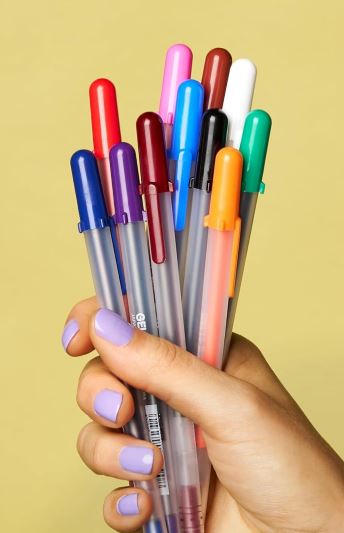
Gelly Roll Pens