How To Make Vintage Stickers
If you have ever wondered how to make vintage stickers, you are going to love this coloring tutorial. Today I am walking you through how to make vintage stickers. These might look complicated but they are very easy and anyone can do this DIY sticker tutorial. Learning how to make vintage stickers at home lets you create custom designs that match your journals, planners, and scrapbooks. By the end, you will have beautiful handmade stickers ready to use in all your creative projects.
I started learning how to make vintage stickers because I wanted something special for my junk journal. I love sitting down with my markers and coloring pages, then turning them into stickers that look like tiny treasures from another time. There is something so relaxing about adding soft browns, faded pinks, and little touches of shading to give each piece character. When I tuck those handmade stickers into my journal, it feels extra meaningful because I made them myself. I think you will feel that same little spark of joy when you start creating your own.
How To Make Vintage Stickers
Here is the tutorial to make your own stickers. There is also a video at the bottom of the post that shows exactly how I made these stickers.
Supplies For Vintage Stickers
- Johanna Basford Coloring Book or free printable flowers
- Ohuhu Alcohol Markers
- Fine Tipped Markers
- Glitter Gel Pens
- White Gel Pens
- Clear Packing Tape
- Double Sided Craft Tape
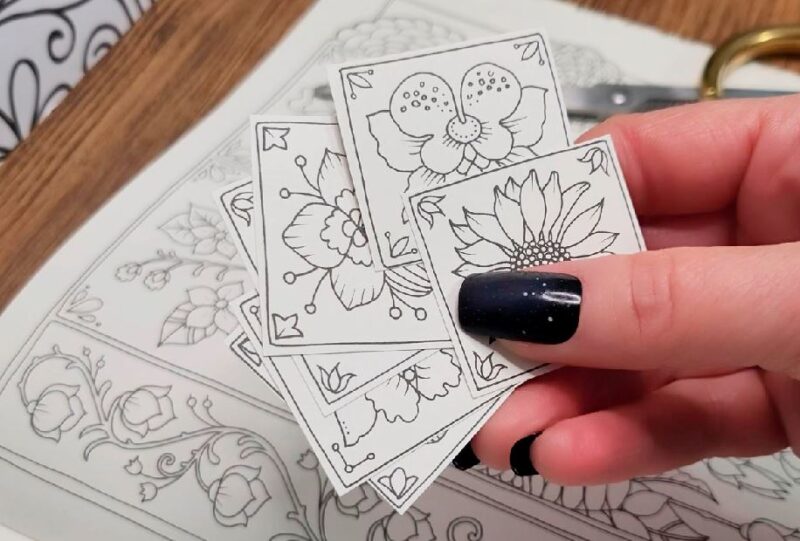
Step 1: Pick Your Flower Images
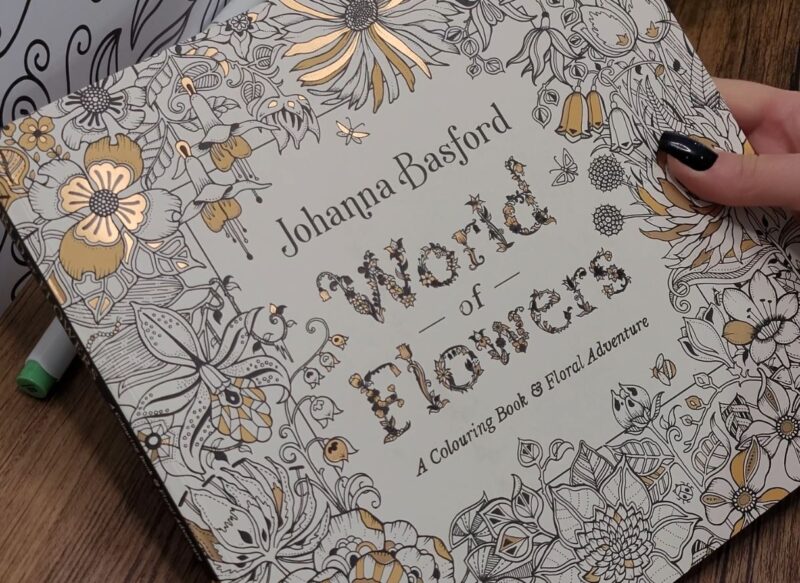
Start by choosing the flower images you want to turn into vintage stickers. For this tutorial, I am using the World of Flowers by Johanna Basford. I love this coloring book because the paper is thick, which is great for sticker making and holds up beautifully when you add color. The pages feel sturdy and smooth, so your flowers look crisp and clean once they are finished.
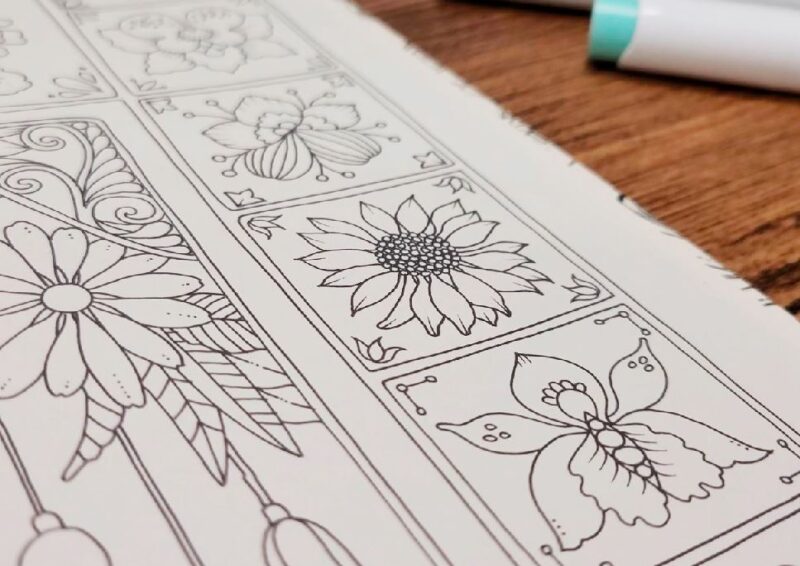
If you do not have this book, you can download and print the free printable flower pages right here on the blog. Just print them on a heavier paper if you can, since thicker paper works best when you are turning your colored designs into stickers. Pick flowers with interesting shapes and details, since those little touches really bring out that vintage feel once you start coloring.
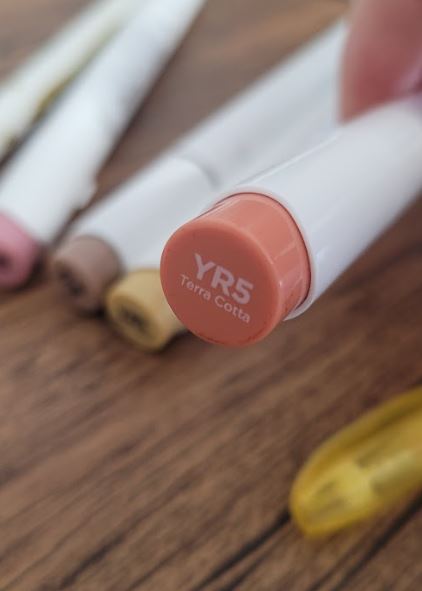
Step 2: Choose Your Colors
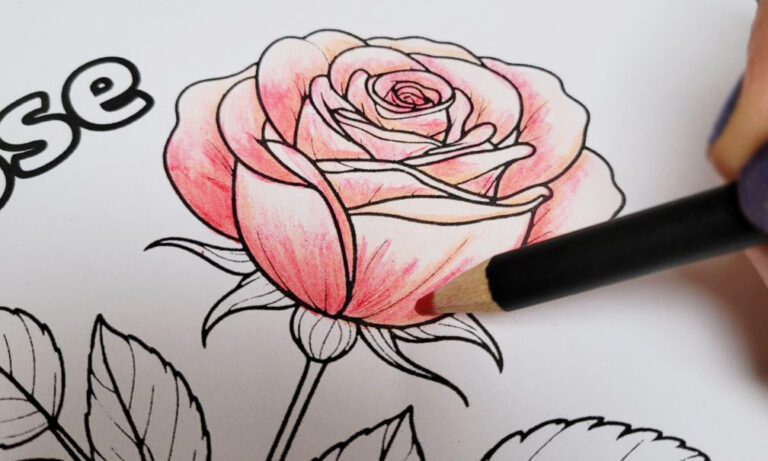
Now it is time to choose your colors. For my vintage stickers, I am using alcohol markers in brown, yellow shades, and vintage rose pinks. These shades give you that warm, aged look that makes flowers feel like they came from an old book page. Think soft and muted instead of bright.
I love using alcohol markers because they blend beautifully on thicker paper. When you layer brown with soft yellow or add a touch of vintage rose, the colors melt together and create a gently worn look. That blended finish is what gives your flowers that classic vintage charm before you even start adding extra details.
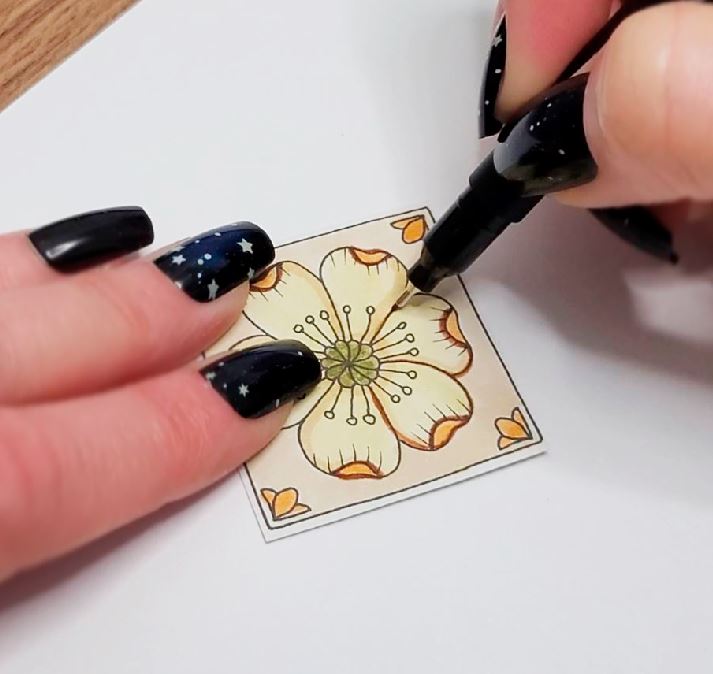
Step 3: Color The Flowers
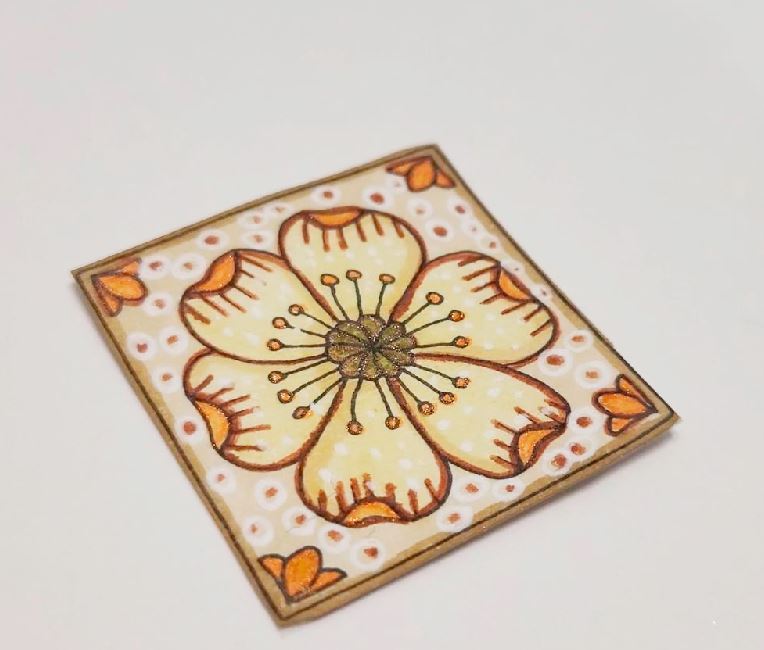
Start by laying down your lightest base colors. This first layer sets the tone and gives you a gentle vintage base to build on. At this point it doesn’t matter if the color bleeds into the flower because it will help with the vintage, old look. Then color in the flowers making sure to deepen the shades here and there.
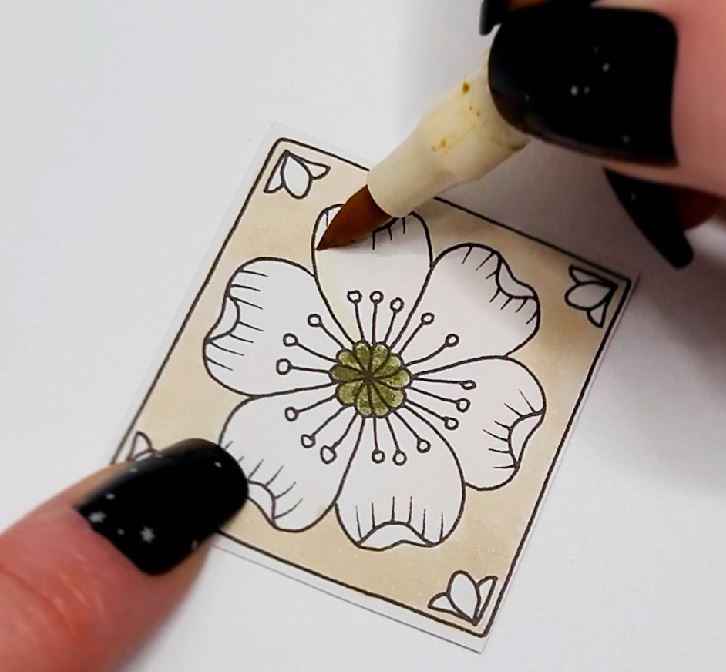
Step 4: Add More Colors
Once your base layer is dry, go back in with more different shades of colors. Deepen the tones near the base of each petal to create depth. Blending the darker shade into the lighter one gives your flowers more dimension and that softly aged look. For this one I’m also going over with a brown fine liner to make the petals look more aged.

Step 6: Add Details
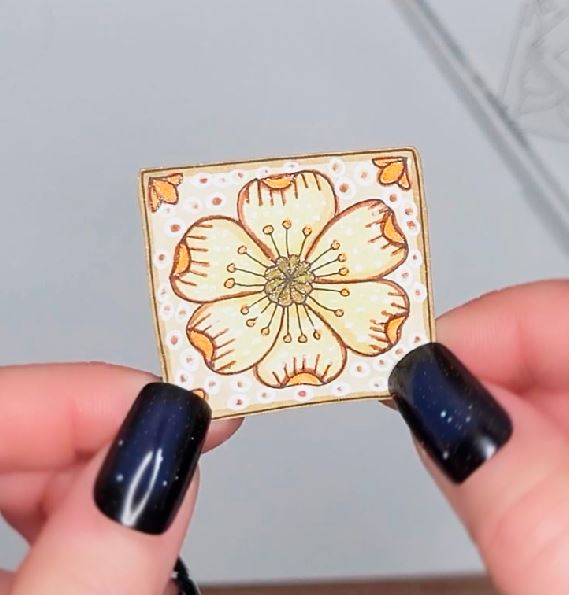
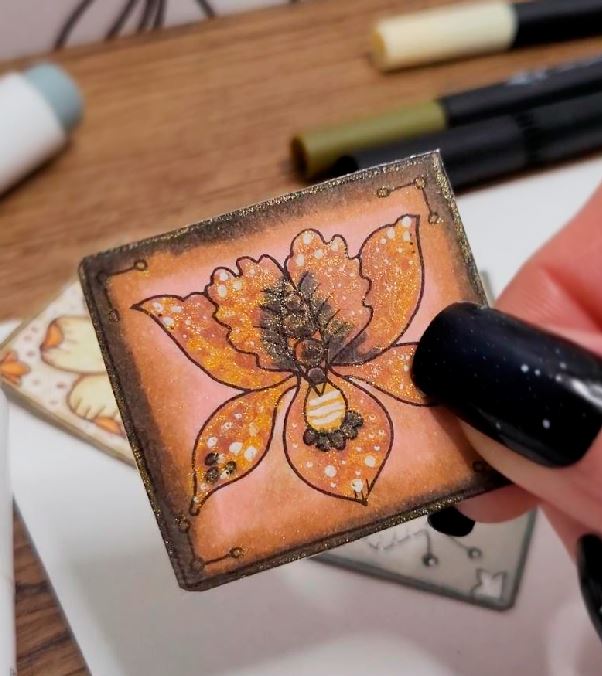
Now you can add a few special touches if you like. A white gel pen is great for tiny highlights on the edges of petals or along detailed lines. Just a few small strokes can make the flowers look brighter and more detailed. You can also add a light layer of fine glitter to certain areas if you want a soft shimmer. I also darkened the edges to make it look old and worn.

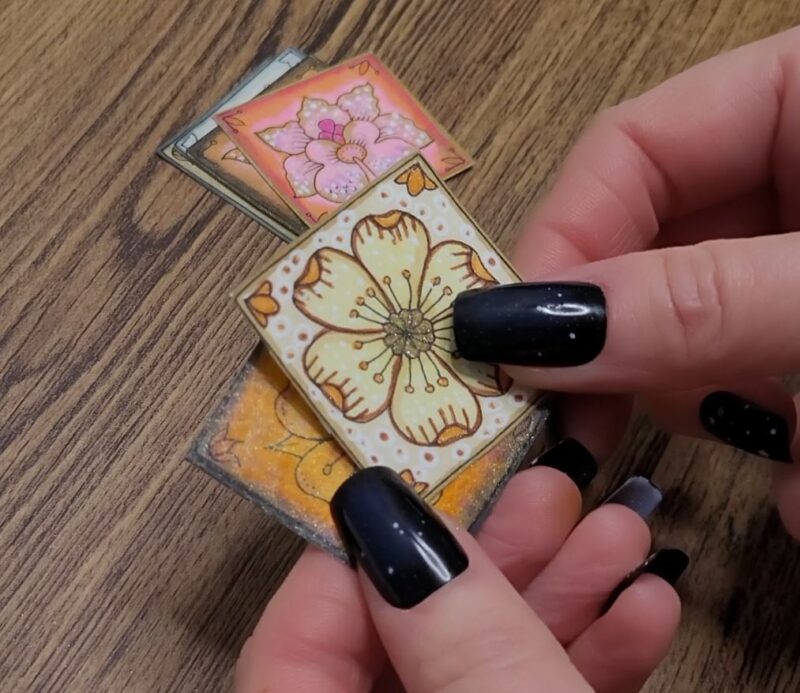
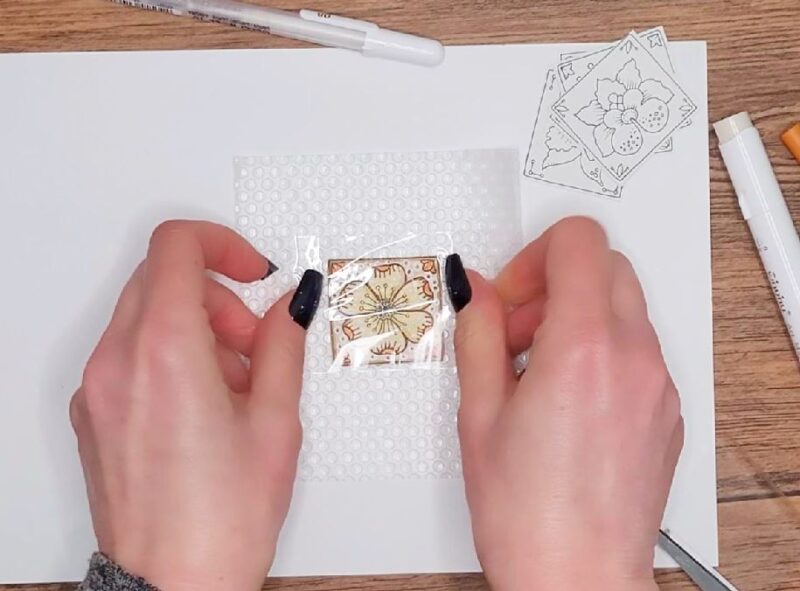
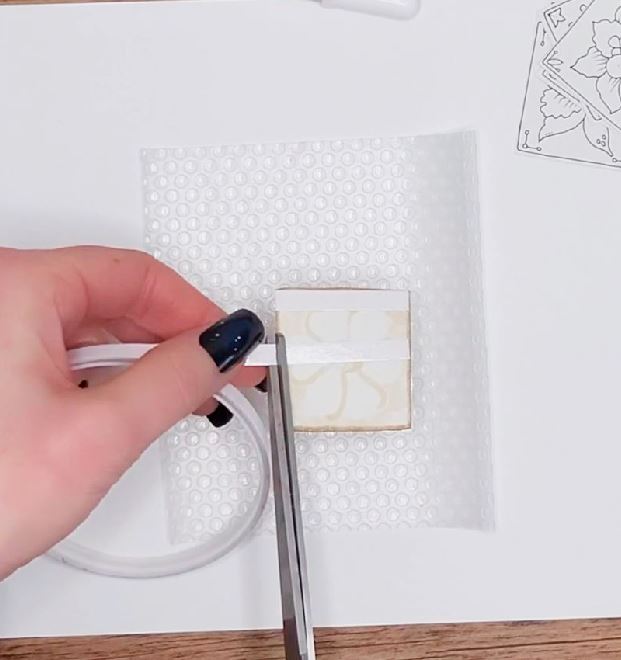
Step 7: Add The Tape
Once your flowers are fully colored and dry, place them face up on a surface that the tape will not stick to. I like to use plastic, parchment paper or a silicone mat for this step. This makes it so much easier to lift your stickers later. Cut a piece of clear packing tape slightly larger than your flower and press it down over the design. Start at one side and slowly smooth it across with your fingers or a card to press out any air bubbles. The clear tape gives your vintage sticker a glossy finish and helps seal in all that beautiful color.
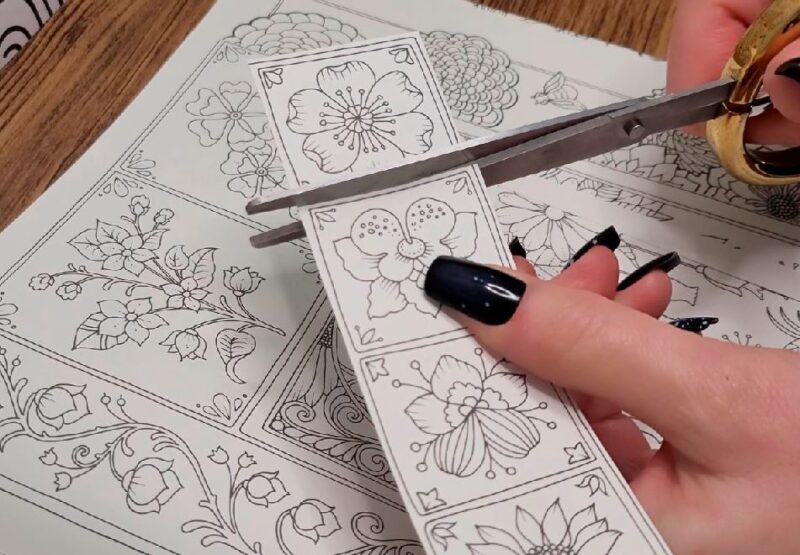
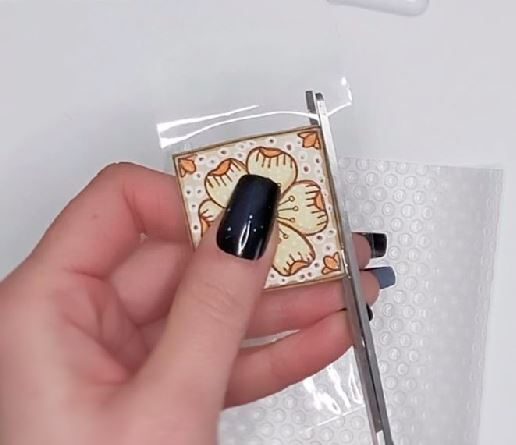
Step 8: Cut The Border
Now trim your sticker. Since my stickers are square, I simply cut along the edges to trim each one out. Straight cuts make it quick and easy, and you don’t have to worry about curves or details. Once each square is cut, your stickers are ready for the next step.
9. Add The Double Sided Tape
Flip your cut out square over and place double sided tape across the back. Press it down firmly so it sticks well to the paper. If your sticker is larger, add a few strips so it lays flat. Once the backing is ready, your handmade vintage sticker is ready to tuck into your journal or planner.
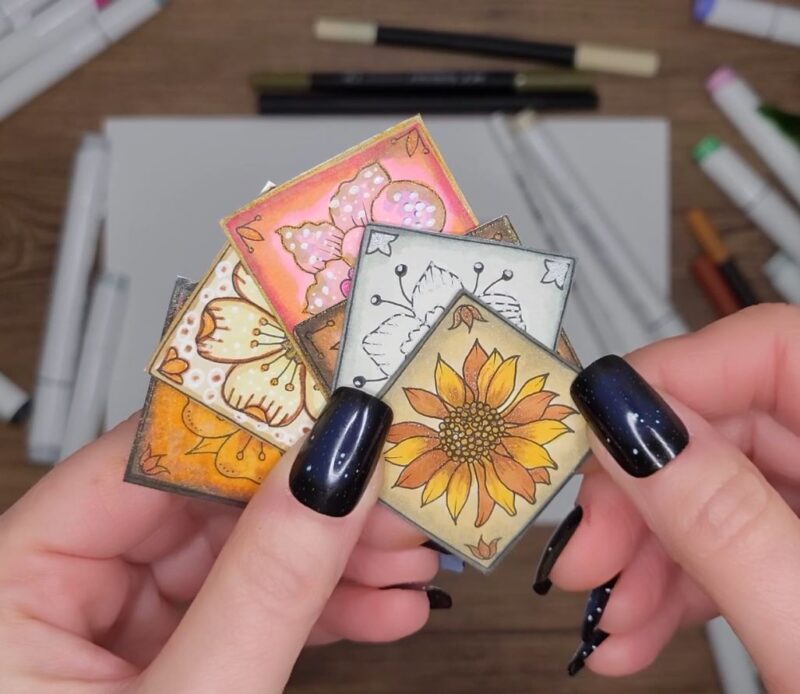
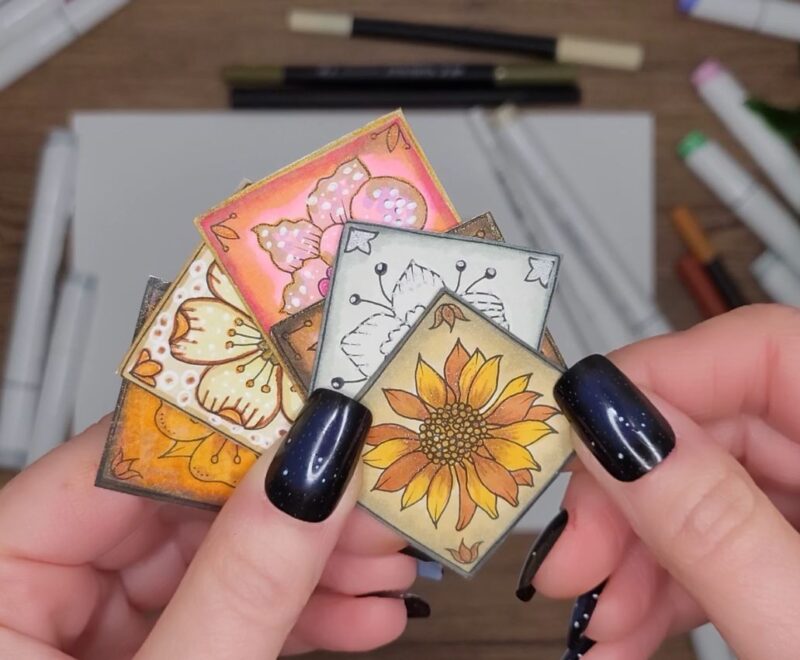
Here is how my vintage stickers turned out! The soft browns, gentle yellows, and vintage rose colors blended together to give each flower a warm, aged look. Adding a few highlights made the petals pop, and the clear tape gave them a smooth, glossy finish. I love seeing them all lined up and ready to use. They feel like little treasures you can tuck onto any page.
Video: How To Make Stickers
Here’s the video where you can see my vintage stickers up close and watch them come together from start to finish. You’ll get a good look at the colors blending, the details on the petals, and the finished glossy look after adding the clear tape. It’s a fun way to see the process in real time and get inspired for your own stickers. Grab your markers and your favorite flower images, and let’s make some vintage stickers together!
More Coloring Ideas
Thanks so much for following along with this tutorial! I hope you had fun making your vintage stickers and found some new ideas to try. I’d love to see how your creations turn out, so be sure to share your stickers with me in the Facebook group. Keep creating, and I can’t wait to see all your beautiful designs!
Favorite Coloring Supplies
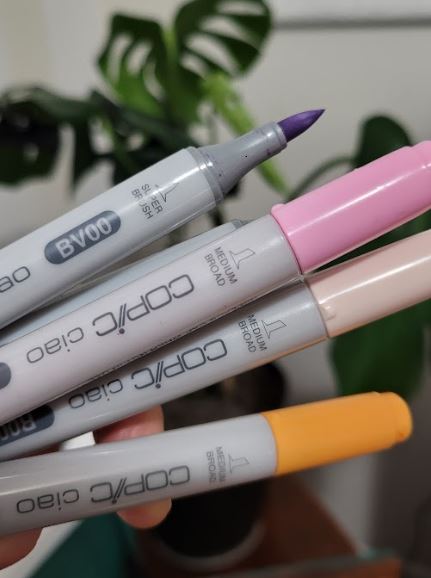
Copic Alcohol Markers
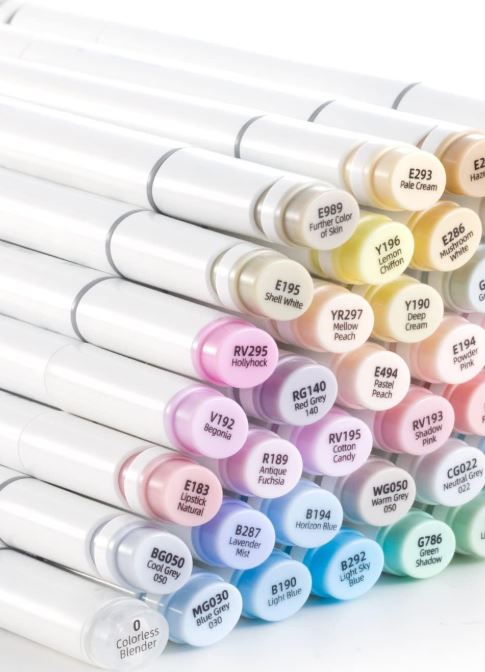
Ohuhu Alcohol Markers
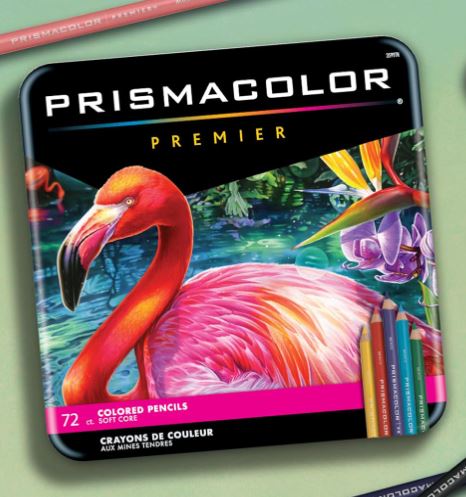
Prismacolor Premier
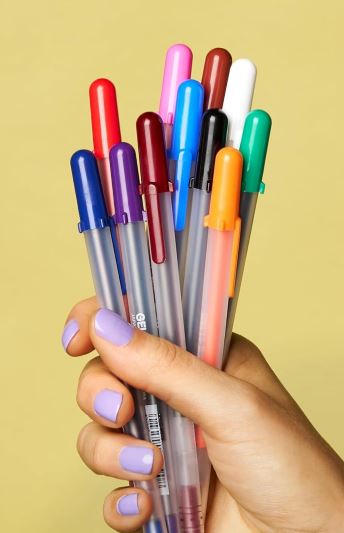
Gelly Roll Pens
More coloring tutorials