How To Color Long Hair With Alcohol Markers
Coloring long blonde hair with alcohol markers takes a little practice, but it’s totally doable. The key is to work in layers. Start light and build up to darker tones. Use long, smooth strokes that follow the flow of the hair.
Keep your blending smooth by working while the ink is still wet. Adding highlights or leaving some areas lighter can really help the hair look shiny and full of movement.
Long hair is actually one of my favorite things to color now. There is so much space to play with blending and flow, and it gives you a chance to be creative with light and texture.
Once you get into the rhythm of it, it feels relaxing. Kind of like brushing real hair with a marker. It’s a fun way to make your art feel more alive.
how to color long hair
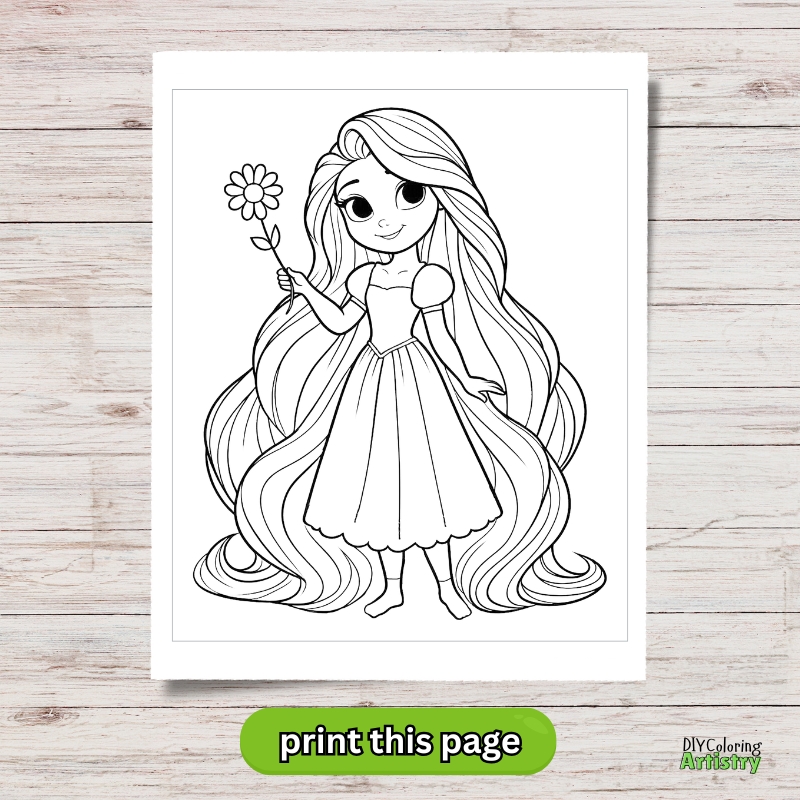
This tutorial is simple and fun to follow. It breaks everything down step by step. Just check out the video below and color along.
Supplies for coloring long hair
For coloring long hair, you’ll want to have at least 4 or 5 shades of the same color. This helps create depth, shine, and smooth blends. It makes a big difference when you’re going for that natural, flowing look.
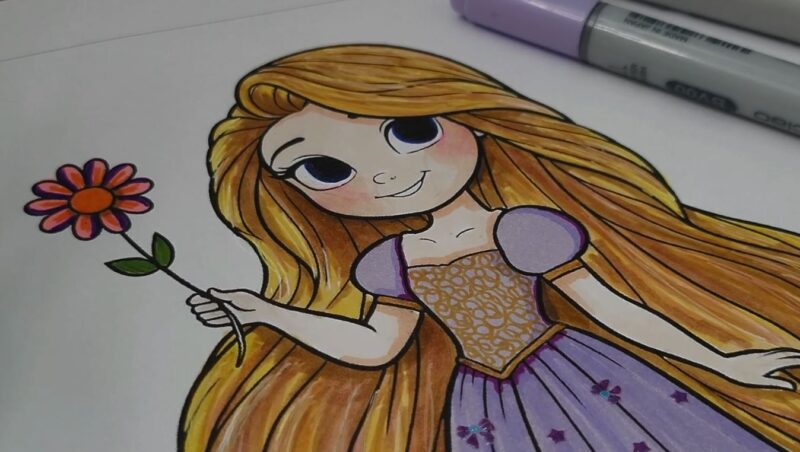
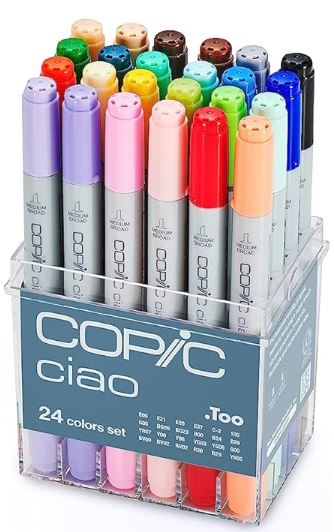
I’m using Copic and Spectrum Noir markers. Just use whatever you have on hand as long as you have a few shades. I also used a white gel pen for highlights.
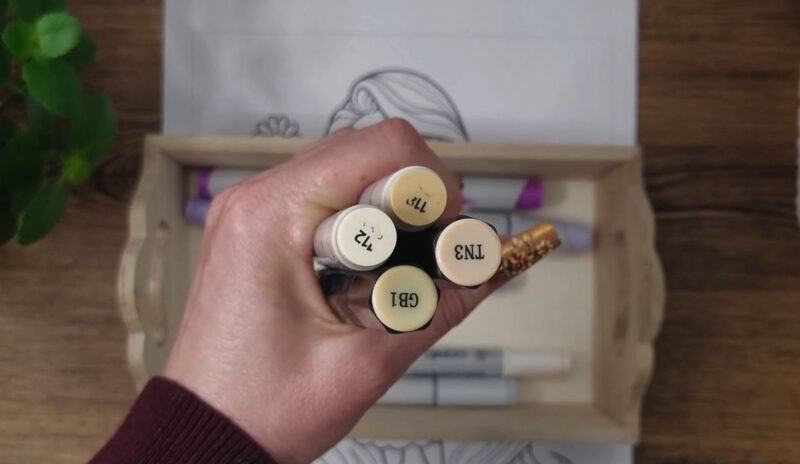
Step 1. Select Your Colors
Start by picking at least 4 or 5 shades from the same color family. Having a range from light to dark helps you build realistic depth and dimension in the hair. The lightest color will be your base, and the darkest will add shadows and contrast.
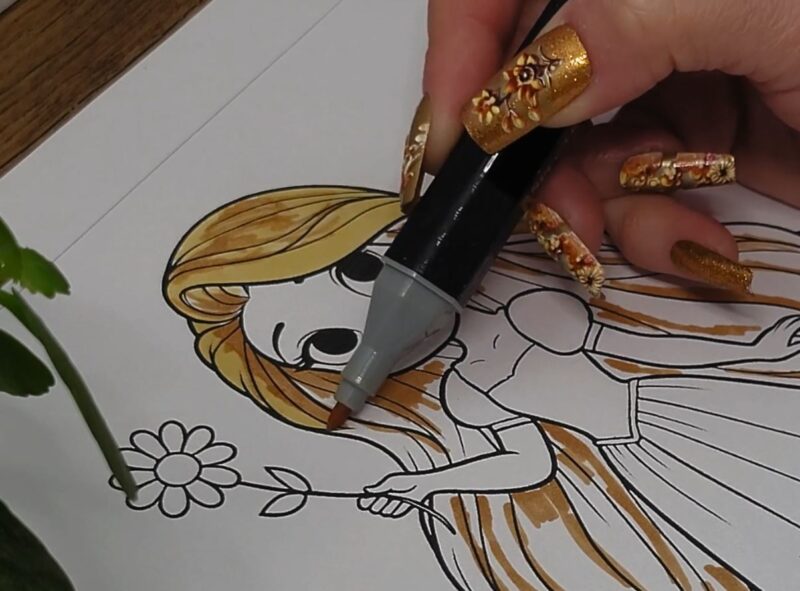
Step 2. Apply Base Layer
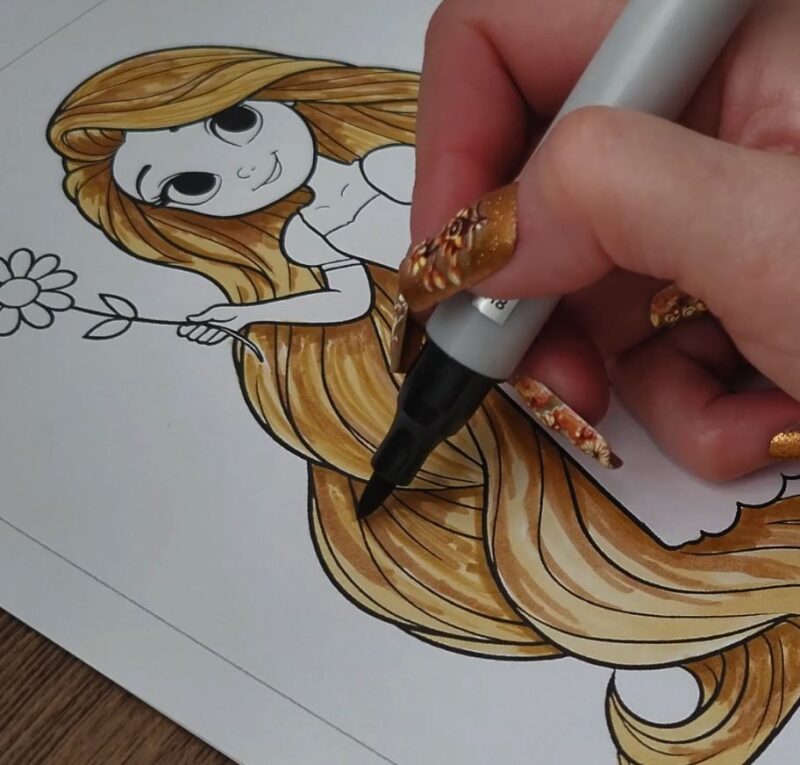
Use the second lightest shade to color parts of the hair area where you might see a natural shadow. This creates darker areas that makes blending easier later. Try to keep your strokes long and follow the natural flow of the hair.
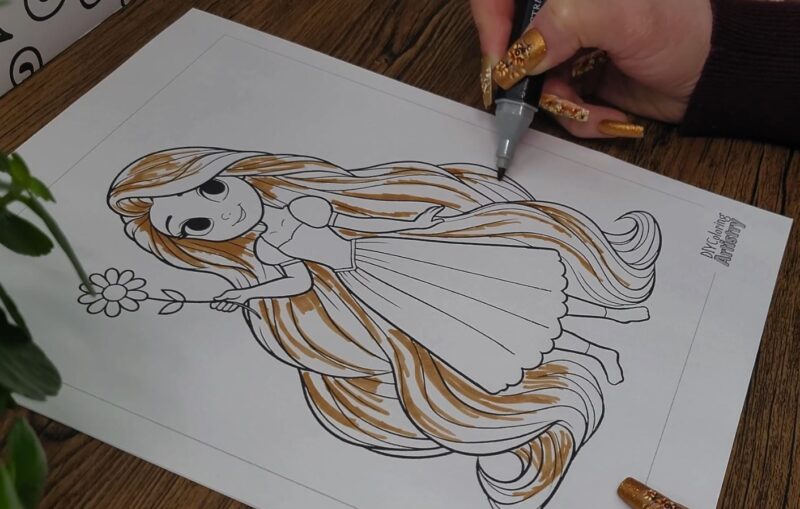
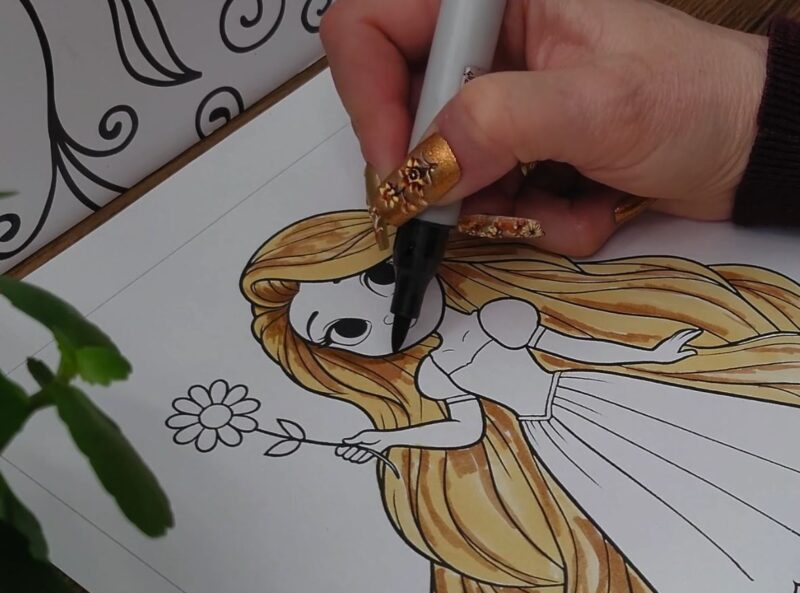
Step 3. Add The Light Shade
Take the light shade and start adding shadows where the hair naturally folds, overlaps, or falls behind other sections. This step gives the hair more volume and starts shaping it. Color the whole hair with this color.
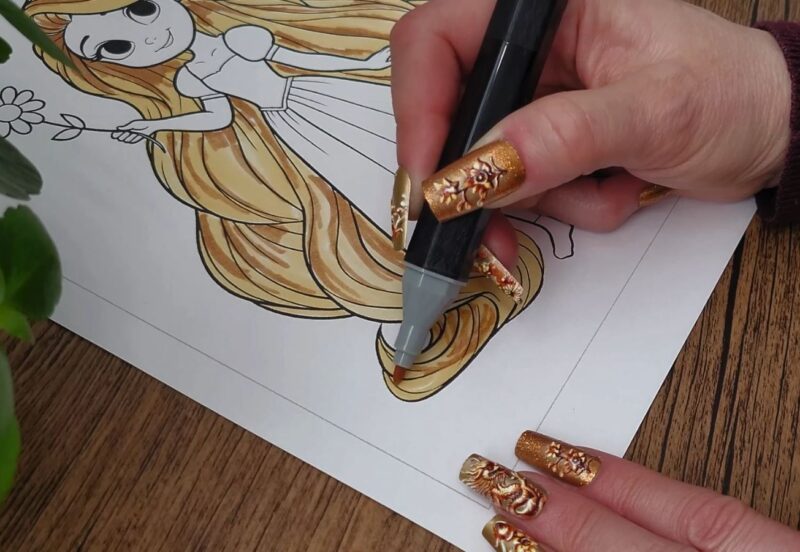
Step 4. Deepen Shadows
Use the next darkest shade carefully to deepen the shadowed areas. Apply this color in small amounts to places that need more contrast, like roots or under layers. This helps make the hair look more three dimensional and rich.
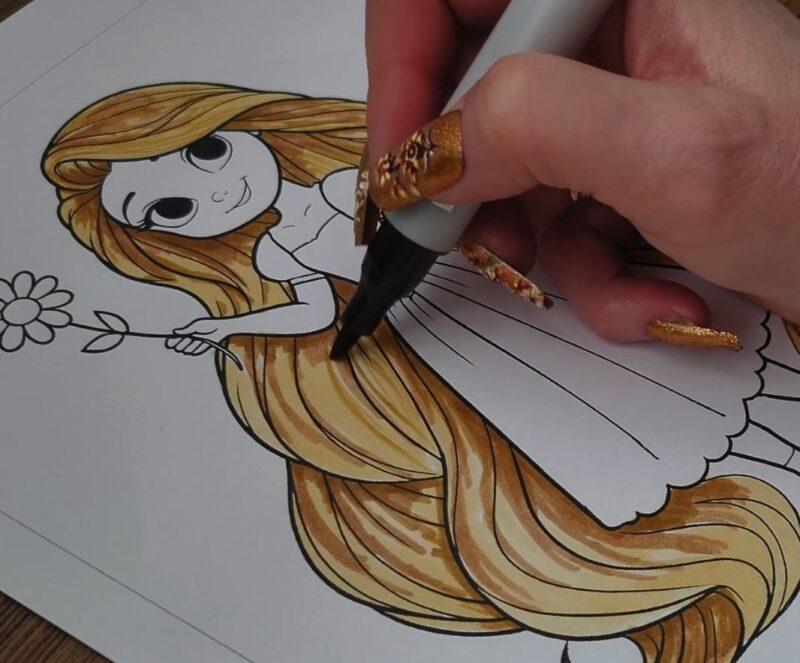
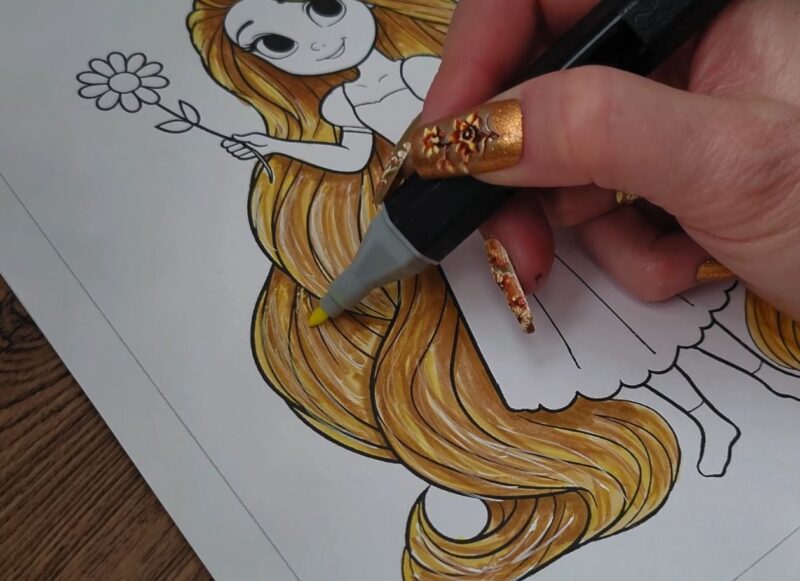
Step 5. Blend Layers
Go back over the darker areas with the medium and light shades to add some longer hair areas. Use gentle strokes that follow the hair’s direction. This blending softens any harsh lines and creates a smooth gradient.
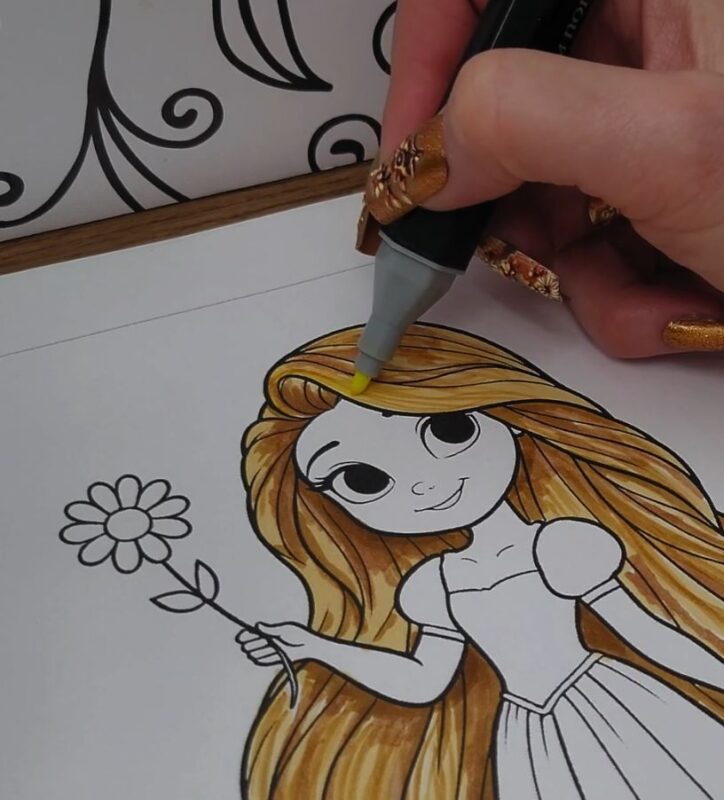
Step 6. Add Highlights
If you’re coloring blonde hair and want it to pop, try using a yellow or neon color. Lightly layer it over your lightest marker shade to boost the brightness. It adds a bold, sunny glow that makes the blonde stand out more on the page.
Step 7. White Gel Pen
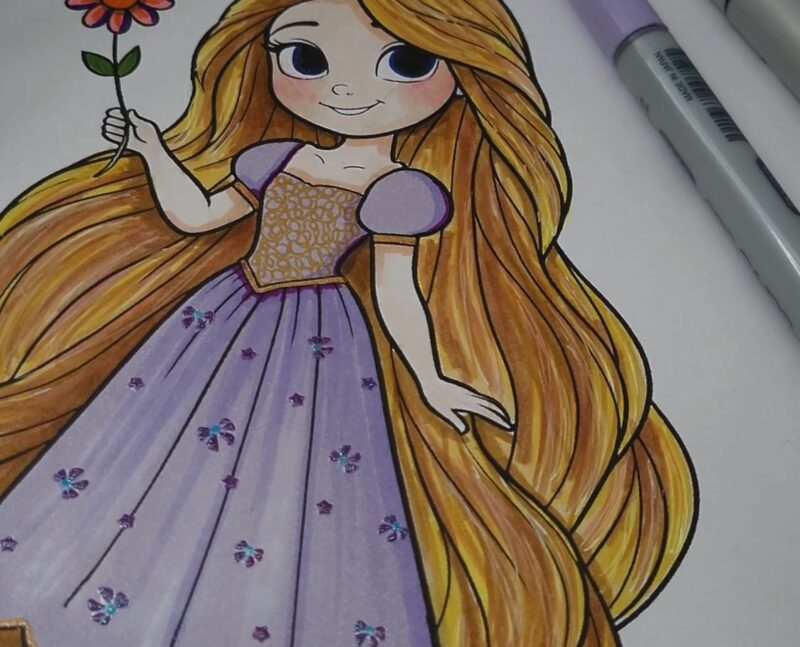
Once the marker layers are dry, use a white gel pen to add small highlights to the hair. Focus on spots where light would naturally hit, like the top of curves or near the crown. This adds shine and makes the hair look more glossy and realistic.

Step 8. Add more highlights
After adding white gel pen highlights, you can lightly go over them with your lightest marker and neon highlighter. This softens the white so it blends in better with the rest of the hair. It helps the highlight look more natural while still giving it that shiny effect.
9. Final Touches
Look over your work and add any final layers or blending to smooth out streaks and uneven areas. This step helps polish your piece and bring everything together for a finished, natural look.
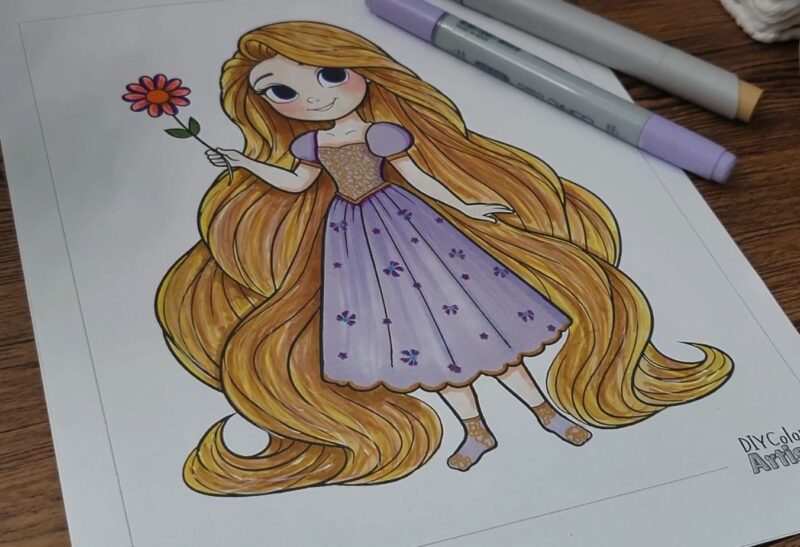
Thanks so much for trying this long hair coloring tutorial! I hope it helped you feel more confident with your alcohol markers. If you want to see the full process in action, here’s the video that shows exactly how to color long hair step by step.
how to color long hair video
More Coloring Ideas