How To Color Glitter With Alcohol Markers
This is how to color glitter with alcohol markers. Glitter and sparkle effects are a fun way to bring coloring pages to life with alcohol markers. Many colorists love adding shine to gems, stars, fairy wings, and magical details. Learning how to color glitter with alcohol markers helps you create bright highlights and soft glow effects. This tutorial shares easy steps for sparkle effects using alcohol markers on coloring pages. If you enjoy coloring shiny details, this guide is made for you.
If you color to relax, adding sparkle can feel extra special. You might want your page to look magical, but still easy and fun to color. This tutorial is for those moments when you want your coloring to feel a little more exciting without stress. You get simple ways to add glitter effects that fit your style and your pace. It is all about helping you enjoy the process and love the final page.
How To Color Glitter & Sparkle With Alcohol Markers
Before we start, grab your alcohol markers and the free coloring page below. This tutorial shows an easy way to color glitter and sparkle effects step by step. You will use light colors, simple layering, and small highlights to create a soft shine. Take your time and enjoy the process as you color along.
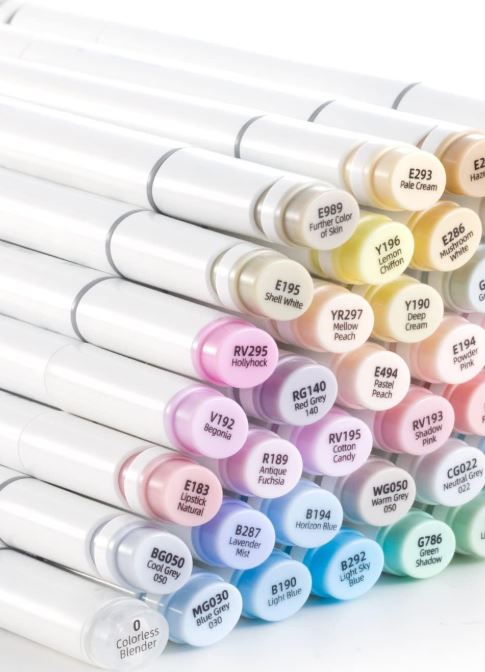
Supplies For Glitter Effect
Steps For Glitter Coloring Effect
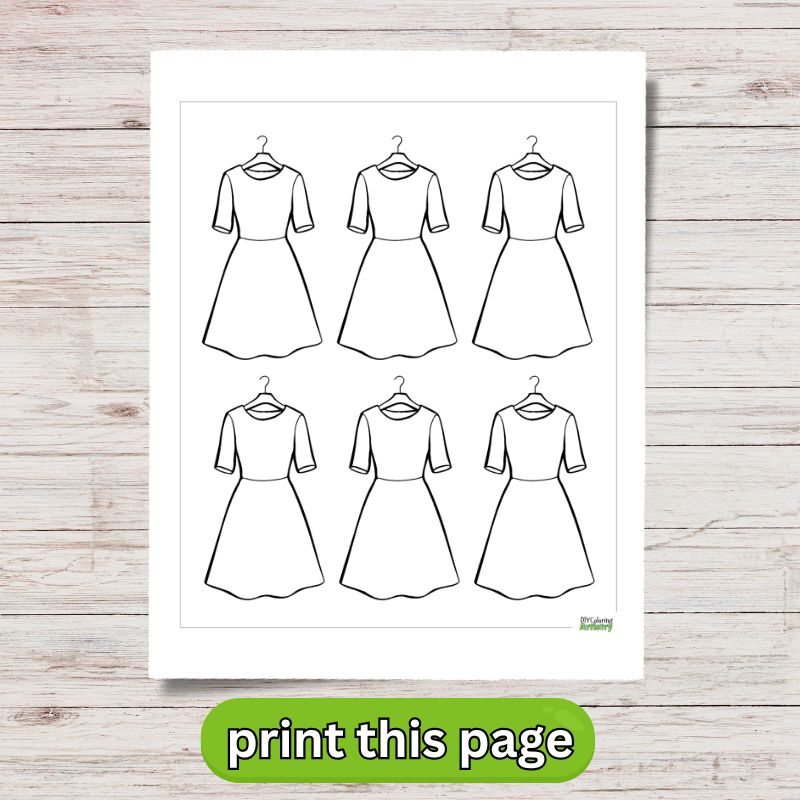
Step 1: Print The Free Dress Practice Sheet
Start by downloading the free printable coloring page linked below. This page was made with sparkle details in mind, so it works great for glitter and shine effects. Save it to your device and then print it on marker friendly paper. Once it is ready, grab your alcohol markers and move on to the next step.
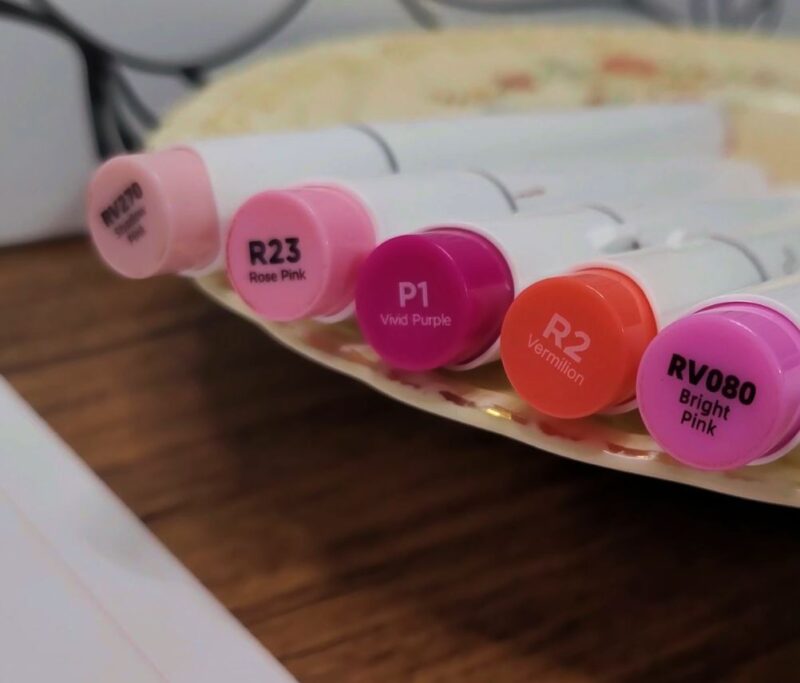
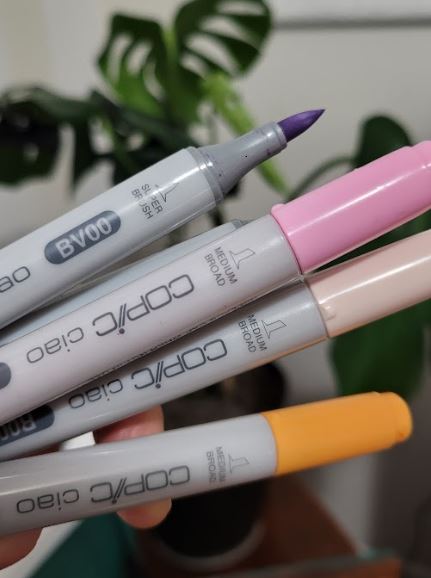
Step 2: Choose 5 Colors
Choose 5 colors from the same color family. These colors will be used to build depth and shine. Keeping them in the same family helps the glitter look smooth instead of patchy. Lay them out before you start so you can see the order clearly.
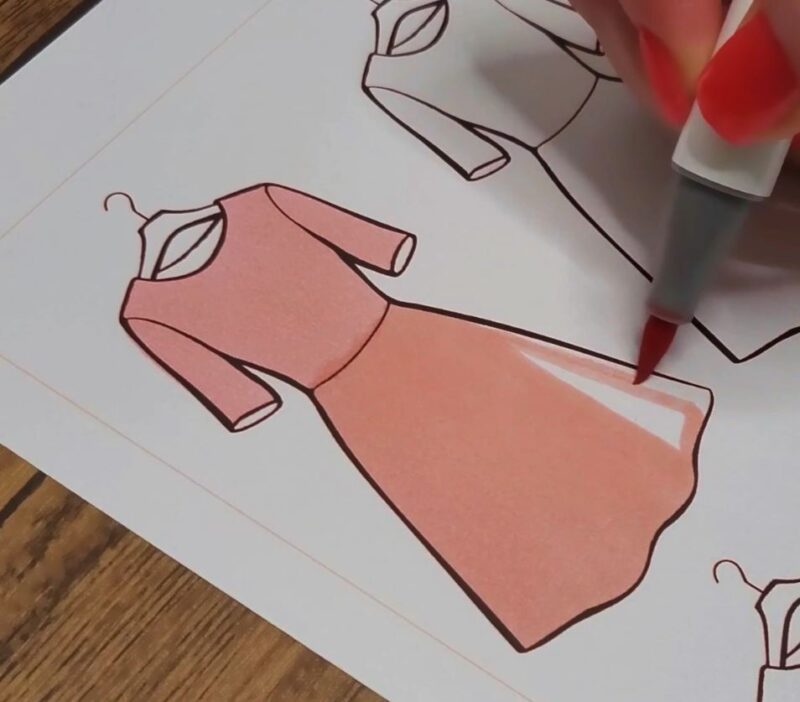
Step 3: Color In The Dress
Start with the lightest shade and color in the dress. This will be the base for your glitter effect, so make sure the color is smooth and consistent.
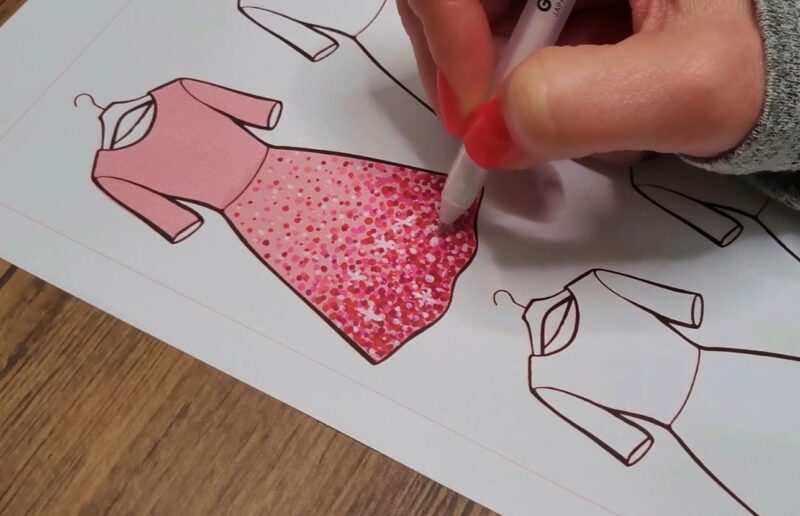
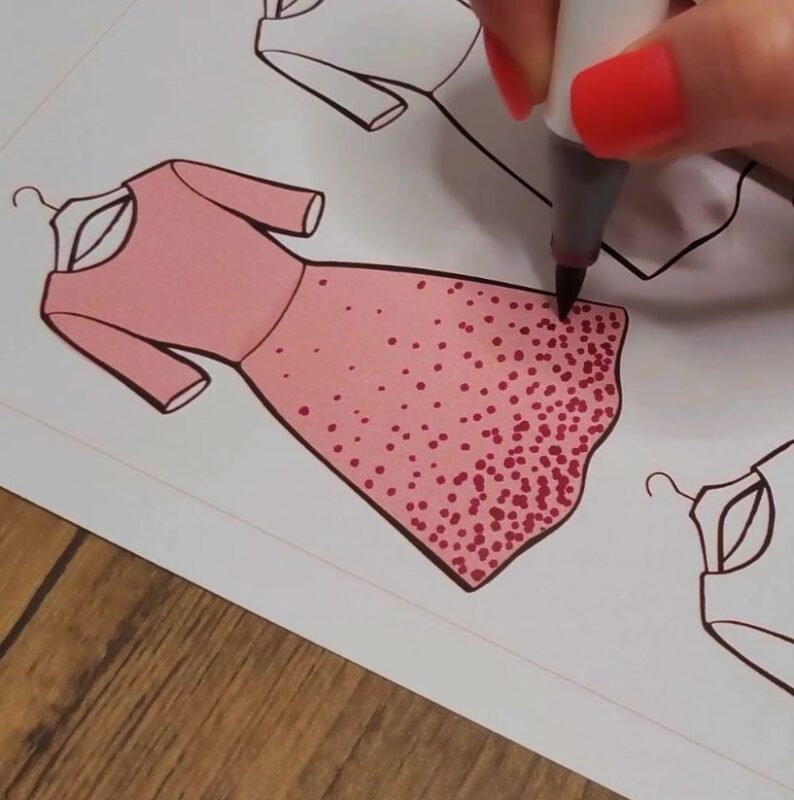
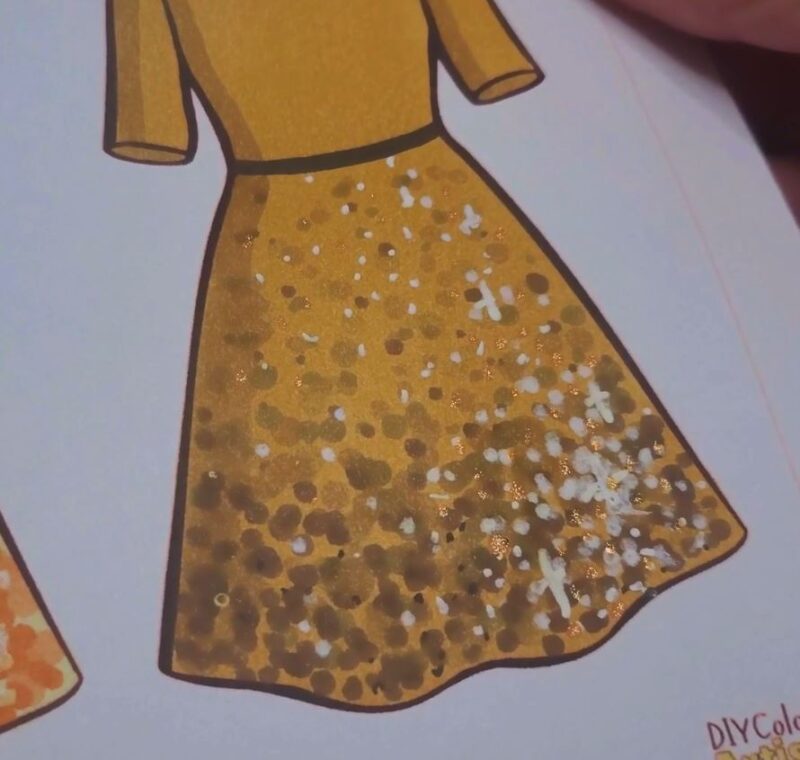
Step 4: Start Coloring In The Glitter
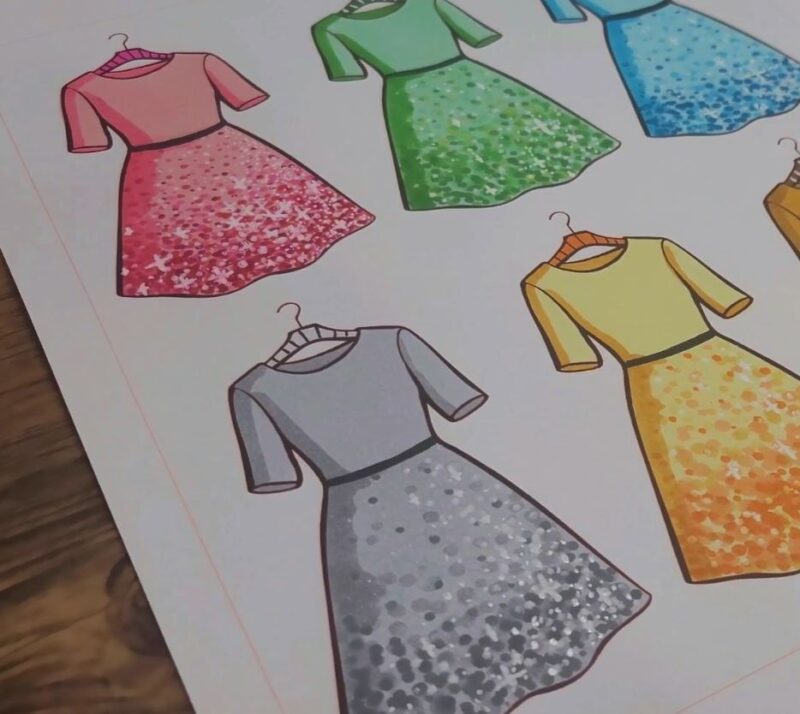
Take the darkest shade and start adding small dots to the dress. Begin at the bottom and gradually work your way up. Space the dots farther apart as you move higher so the color fades naturally. This layering will give the dress a sparkling, dimensional look. Focus on gentle pressure so the effect stays light and glittery.
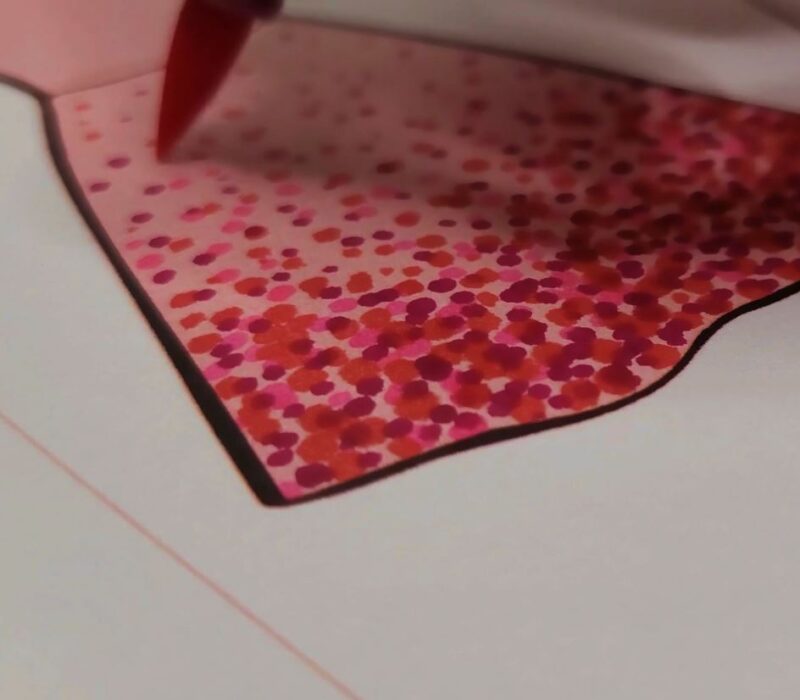
Step 5: Layer the Remaining Colors
Repeat the dotting process with the remaining shades, working from the next darkest to the lighter ones. Place the dots over the previous layer, gradually moving upward. Each layer should blend smoothly with the one below, building a natural sparkle effect. Take your time with each color to make the shimmer look even and realistic.
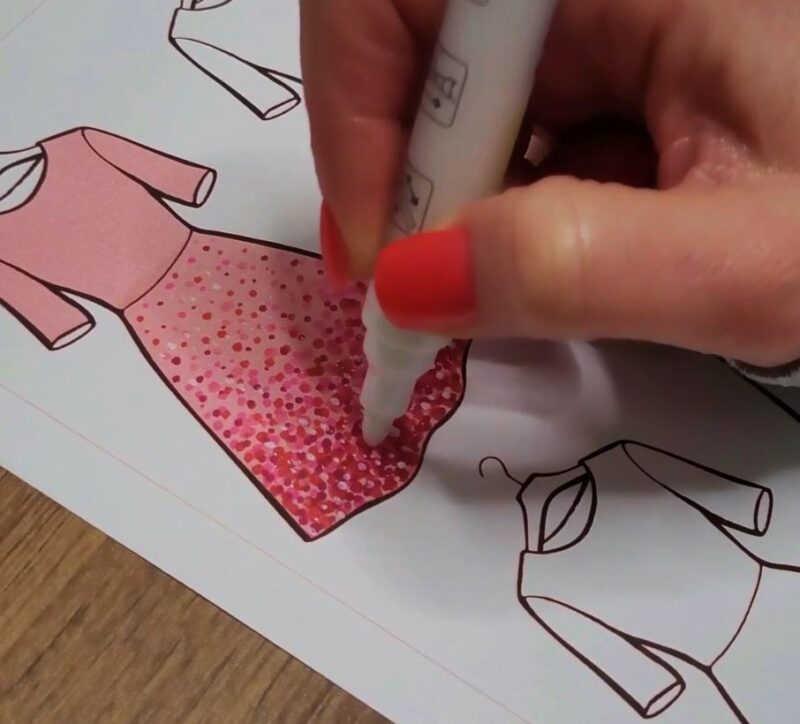
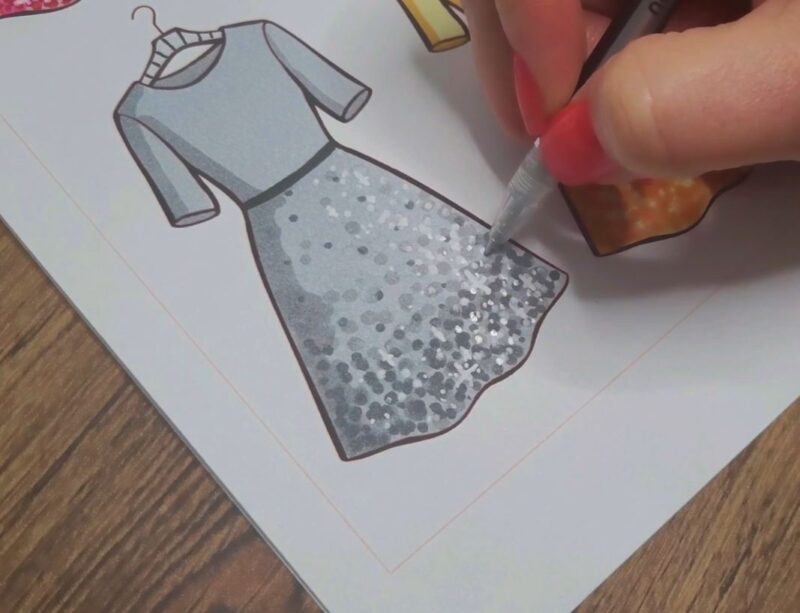
Step 6: Add Highlights
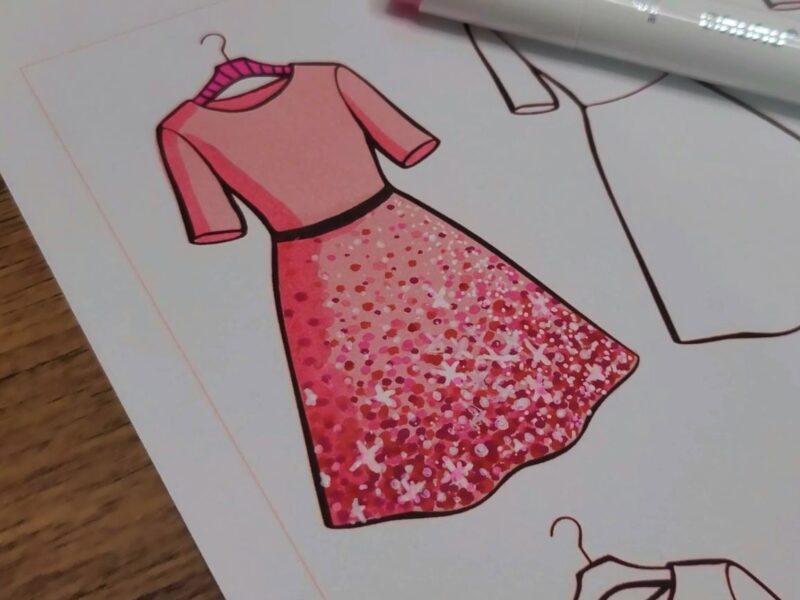
Use a white gel pen to add highlights across the dress. Make some dots larger and some smaller to create a sparkling, realistic effect. Place them where light would naturally hit. This step really makes your glitter pop and gives the design depth. Take your time and vary the size for a natural shine.

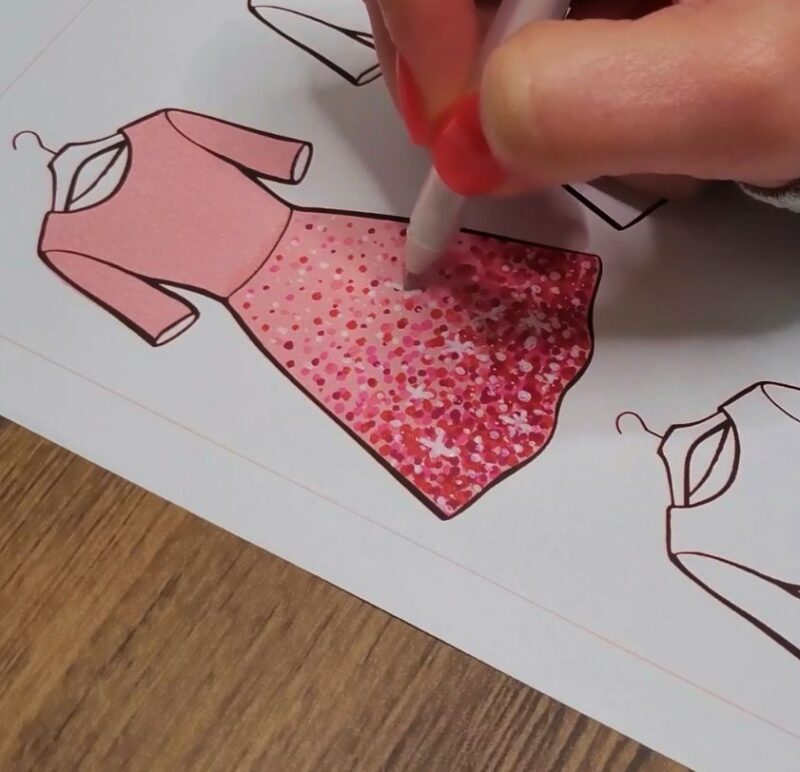
Step 7: Highlight with Large Dots
Use a white acrylic marker to add extra highlights on the dress. The acrylic pigment is more opaque than a gel pen, so it will really stand out and make your sparkle effect shine. Add small and medium dots, focusing on areas that would catch the most light. This step gives the glitter a bright, dimensional look that pops off the page.
Step 8: Add Larger Sparkles
Go back to your white gel pen and create a few larger sparkles on the dress. These bigger sparkles add extra shimmer and make your design feel more glittery. A few well placed sparkles can really bring your coloring to life.
Once you’ve tried these glitter and sparkle techniques, you can use them with any colors you like. Light, bright, or even dark shades can get that shiny, magical look. Mix and match colors to create your own unique sparkle effects on any coloring page.

Add Extra Sparkle If You Want Even more Glitter
Use glitter gel pens to add extra sparkle on top of your colored areas. Focus on spots that already have highlights or larger sparkles to make them stand out even more. Layering the glitter this way gives your design a shiny, magical finish. A few carefully placed streaks or dots are all you need to make the dress shimmer beautifully.
Now that you’ve added glitter and sparkle effects with your alcohol markers, take a moment to admire your work. If you enjoyed this tutorial, share it with a friend or on social media so others can try these easy sparkle techniques too. Keep practicing and experimenting, you get more creative with every page you color!
Share this blog with your friends who love to color too. And join the DIY Coloring Artistry Facebook group, where you can share your art with others!
Favorite Coloring Supplies
Copic Alcohol Markers
Ohuhu Alcohol Markers
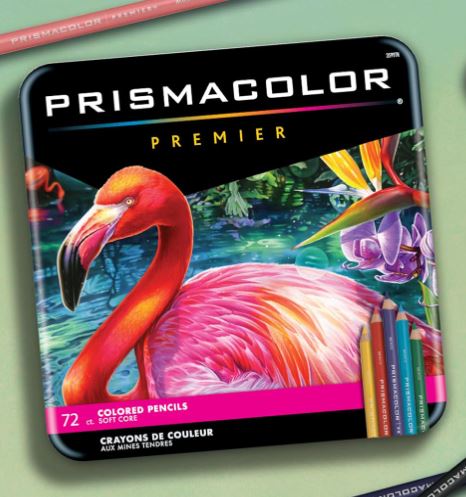
Prismacolor Premier
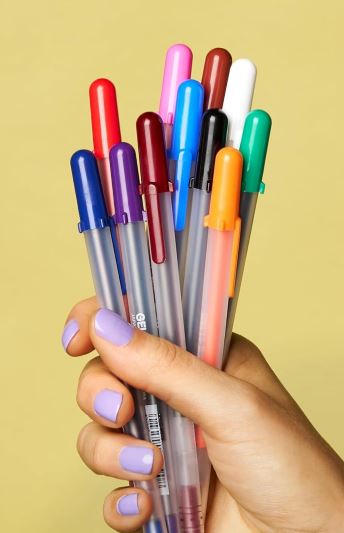
Gelly Roll Pens
Watch The Video Tutorial!
If you like watching coloring tutorials, I also made a video showing these glitter and sparkle effects with alcohol markers. In the video, you can see every step, from layering colors to adding soft highlights. It’s a fun way to follow along and see the sparkle come to life on the page. Check out the video below and grab your markers so you can color along!