How To Color A Rose With Colored Pencils
Welcome to this fun tutorial on coloring a rose with colored pencils! I’ll walk you through the steps to bring this beautiful rose flower to life. Grab your pencils, and let’s get started!
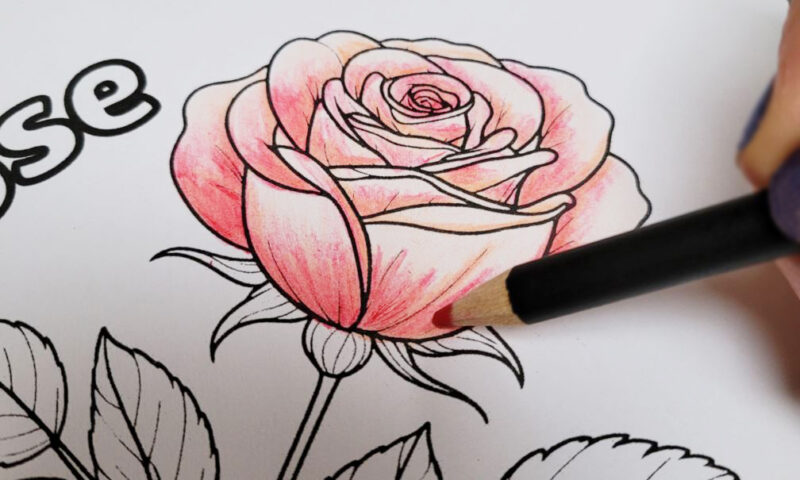
How to color a rose with colored pencils
1. Download This Printable Coloring Page
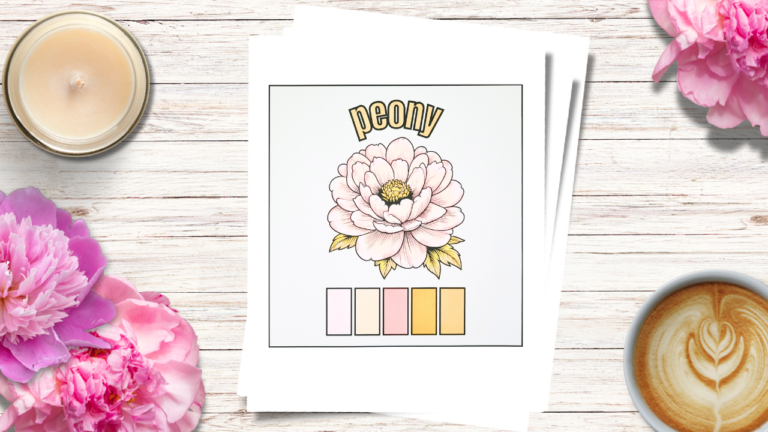
Start by downloading our printable coloring pages. You’ll find the rose design ready for you to bring to life. Make sure to print it on a smooth bright white paper. For this I’m using regular printer paper.
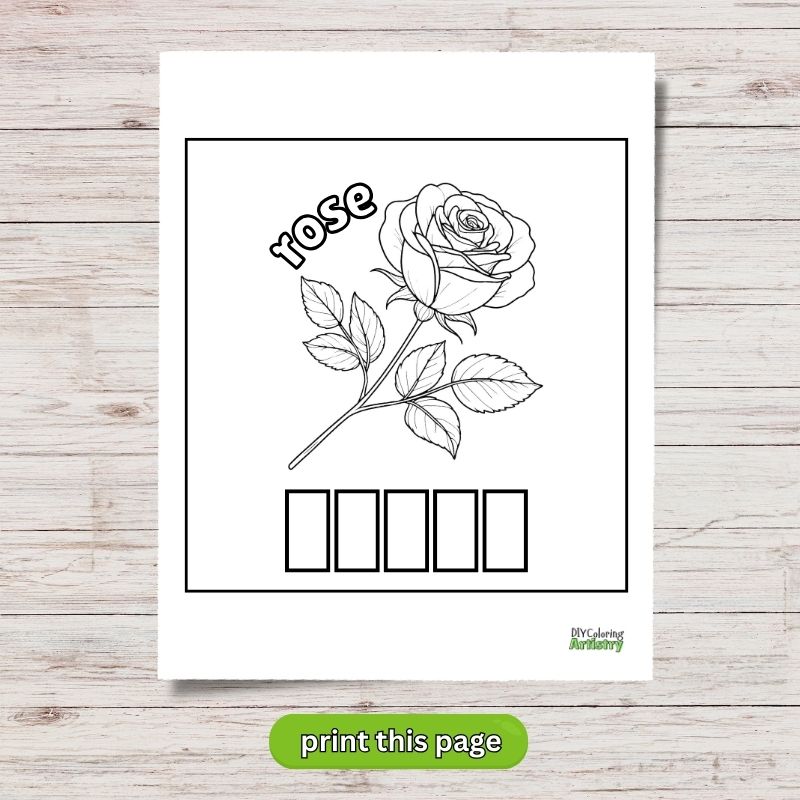
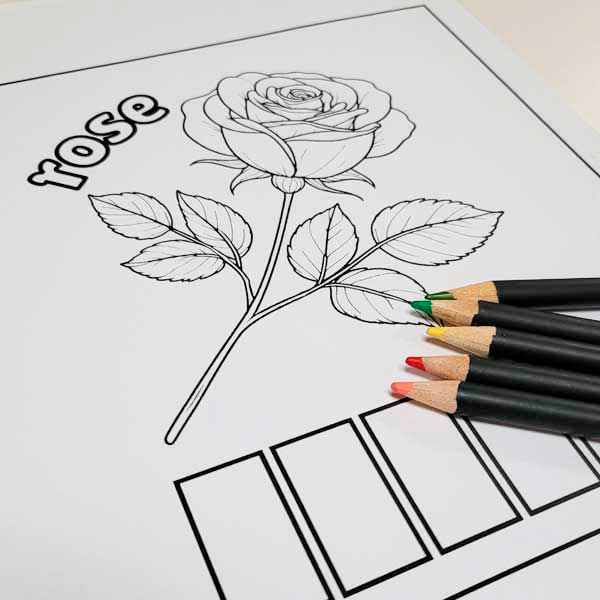
2. Get Your Colored Pencils Ready
Gather your colored pencils and have them within easy reach. Sharpen them so they’re ready for smooth, even coloring. For this set I’m using Castle Arts Colored Pencils. But you can use whatever you have on hand.
3. Choose 5 Colors
Select five colors that you want to use for the rose and leaves. You’ll need a light color for the base, a few shades for shading, and a color for the leaves. This will give your rose depth and make it look more realistic.
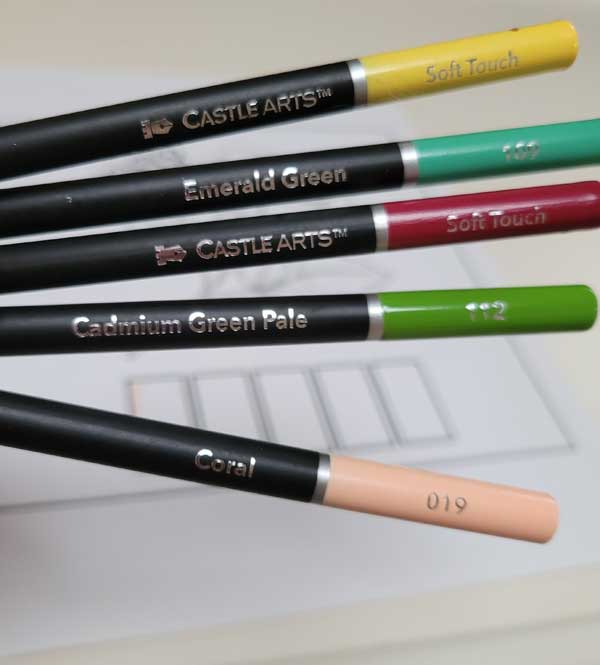
4. Color in the Coloring Key at the Bottom of the Page
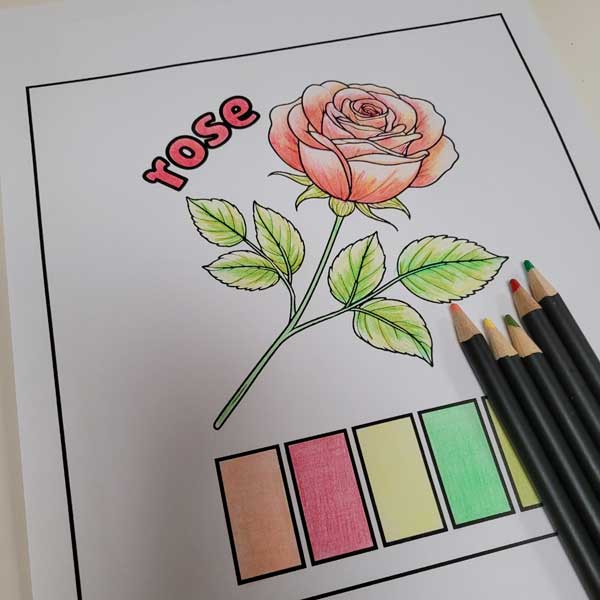
At the bottom of your page, you’ll see a coloring key. This key shows which colors go where, helping guide you as you color. Use it as a reference to keep your colors consistent throughout the rose.

I love this set because you only use 5 colors, so it’s perfect for beginners so that you don’t get overwhelmed with what colors to choose.
5. Color the Whole Rose with the Lightest Color
Start by coloring the whole rose with your lightest color. This base layer will give the petals a soft, smooth look. Don’t worry about shading yet—just cover the entire rose with this color.
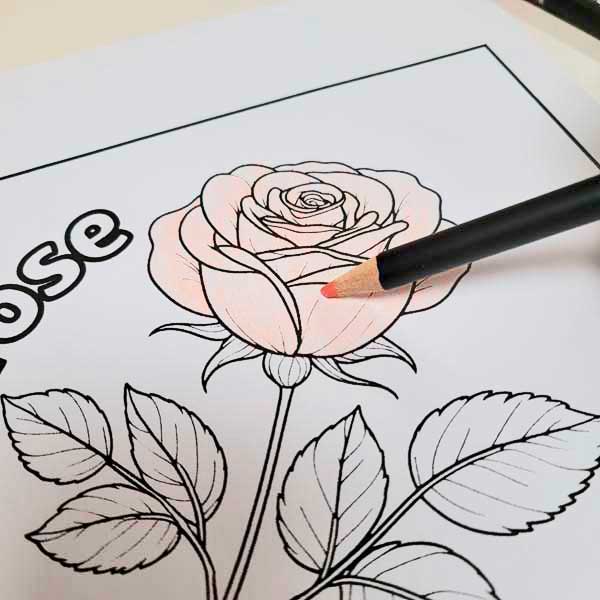
6. Go Over the Rose again
Take the same light color and begin to add more depth. Start at the bottom of each petal and press harder with your pencil for a darker shade. This creates soft shadows and gives the rose a more 3D appearance.
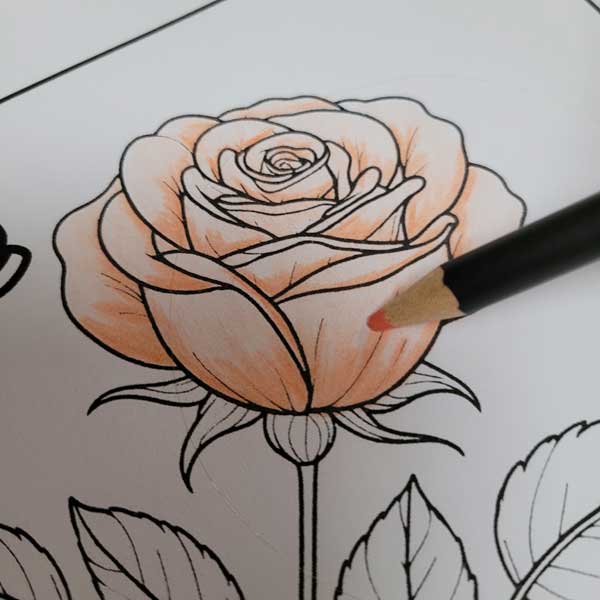
7. With the Next Darker Color, Start Shading
Now, switch to your next darker color to build more shadows. Start from the bottom of each petal and work your way up, making the bottom parts of the petals richer in color. Layer the darker color lightly on top of the lightest color to blend smoothly.
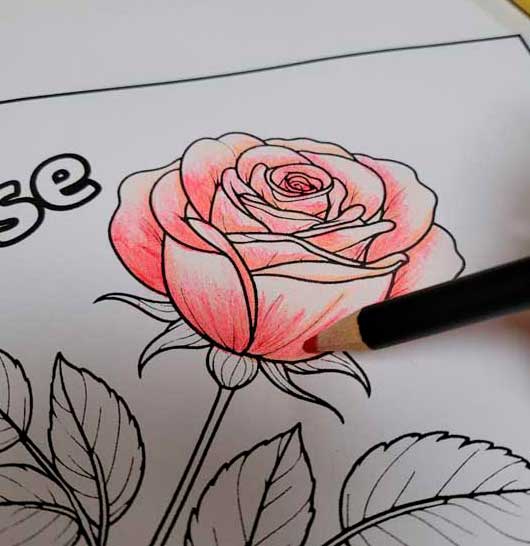
8. Start Adding More Contrast and Interest to the Petals
Take your yellow color and start adding small touches to the petals. Focus on the parts of the petals that catch the light, adding a bright pop to make them stand out. This will help create contrast and give the rose more life.
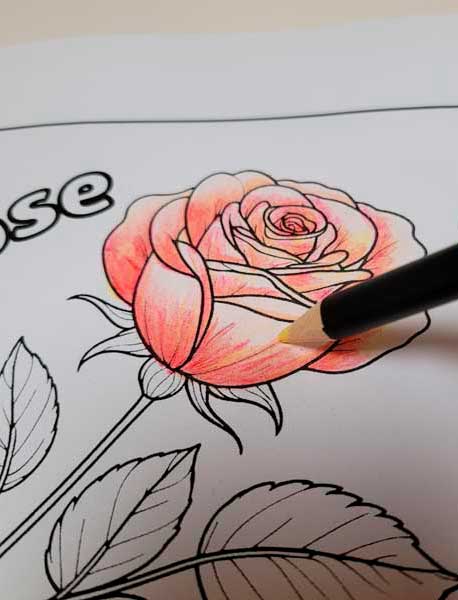
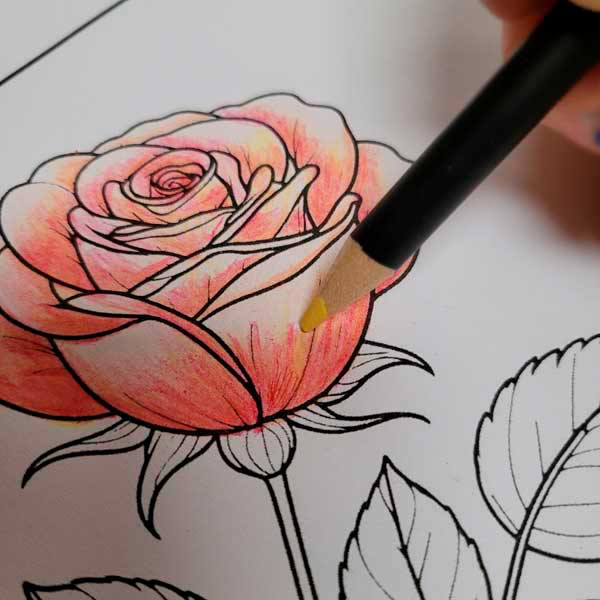
9. With the Same Yellow, Color in All of the Leaves
Now, using the same yellow, color in all of the leaves on the page. The yellow adds warmth to the leaves, giving them a soft glow. Don’t worry about shading the leaves just yet; this layer will act as your base.
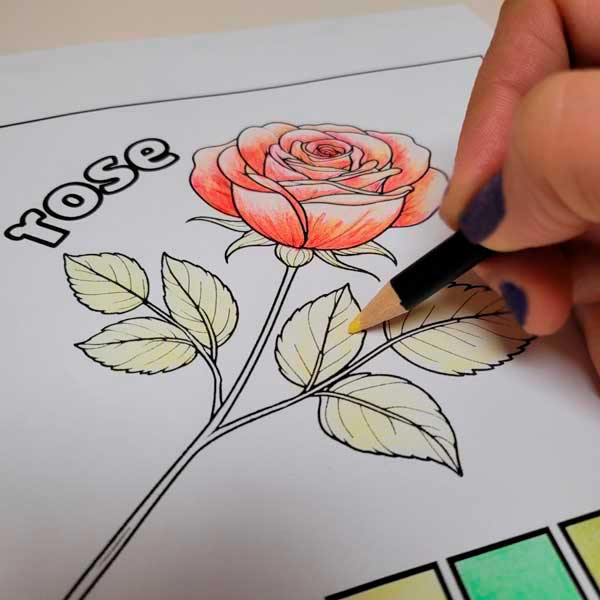
10. Add More Details to the Leaves
Pick your green shade and begin adding details to the leaves. Start from the veins and work your way out to the edges, pressing lightly for subtle shading. This will help the leaves look more textured and realistic.
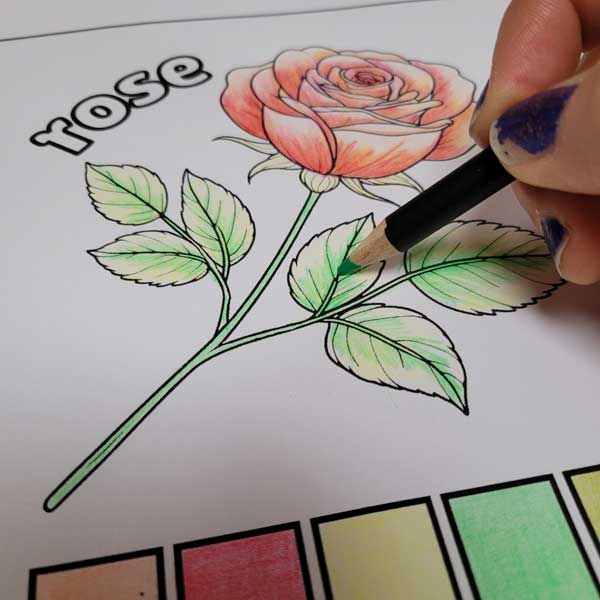
11. Add Even More Color
Finish up by using your final darkest shade to add depth to both the rose and leaves. Press down firmly on your colored pencil to really get the color to pop and add bold shadows. This last layer will bring your rose to life with rich, vibrant color!
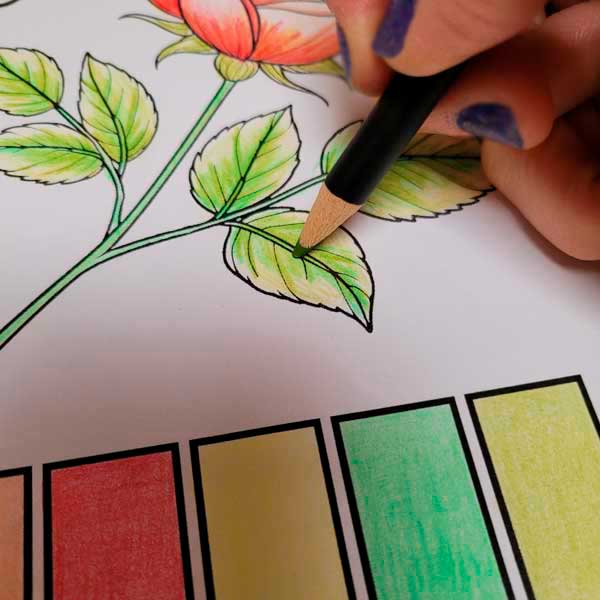
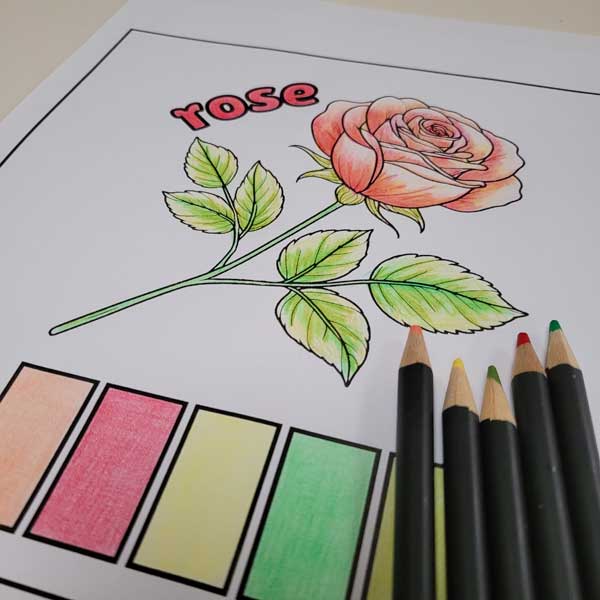
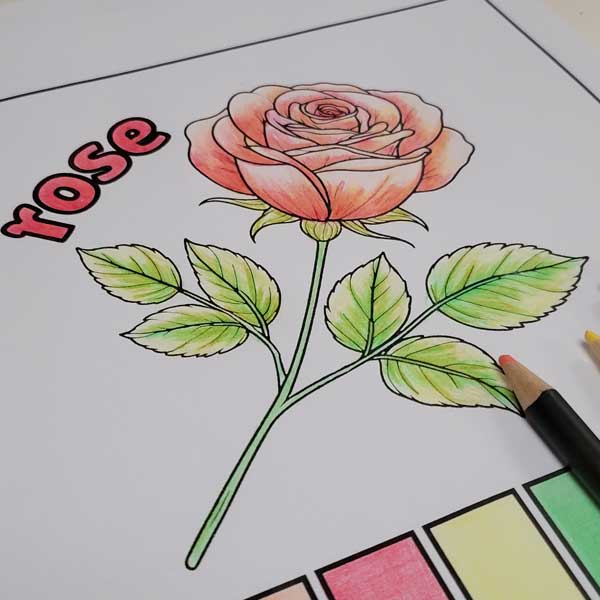
Here’s my completed page! I had so much fun bringing the rose to life with different shades and details. How do you like it? I’d love to hear what you think and see your finished version too by tagging our Instagram @DIYColoringArtistry
Thanks for reading! I hope you enjoyed this tutorial and that you’ll give it a try. With a little practice, you’ll be coloring beautiful roses in no time! Happy coloring!
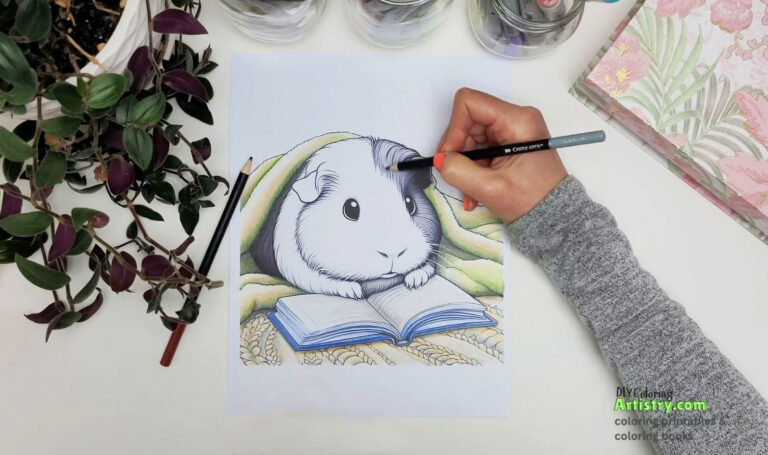
Next, try out our lesson on how to color a guinea pig. This is one of our most popular and also has a video to watch.
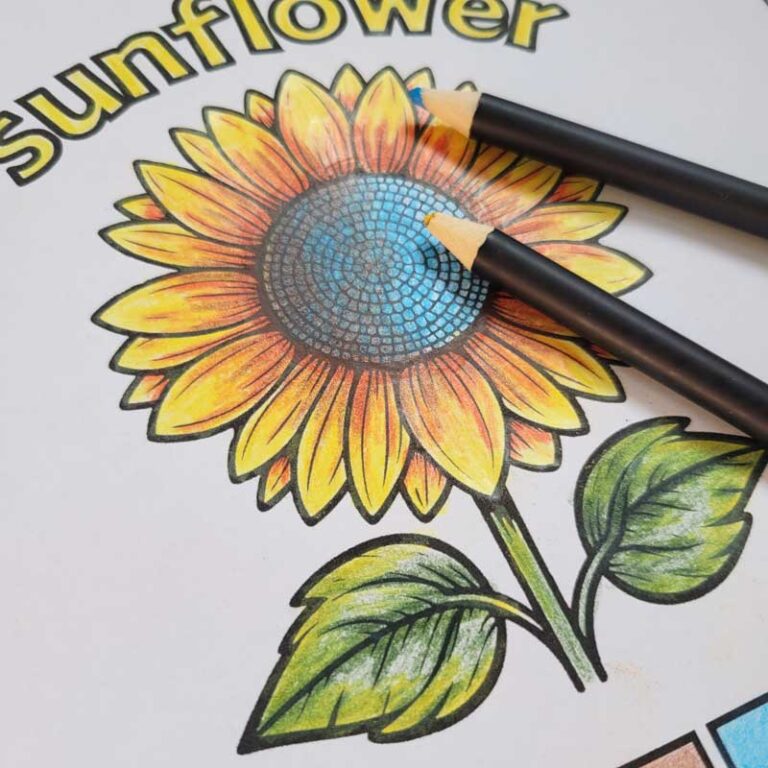
If you love flowers, check out these adorable cottagecore coloring pages.
Subscribe to my YouTube channel if you love relaxing coloring videos 🙂

