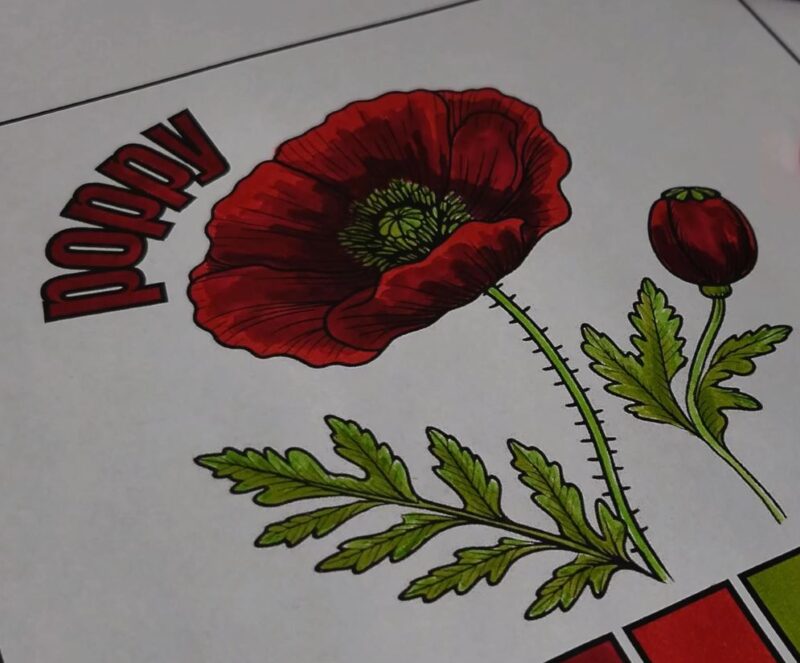
How To Color A Poppy With Alcohol Markers
This is how to color a poppy. Coloring a poppy with alcohol markers takes a little planning. These markers dry fast, so it helps to start light and build up your layers. Use small strokes and work in sections so the ink stays wet while you blend.
Try two or three shades of red, and a couple greens for the stem and leaves. A colorless blender can help soften edges or fix small mistakes.
Now for the fun part! I’ve got some simple poppy coloring ideas that are perfect for beginners.
I’ll walk you through easy steps to get pretty blends, soft shadows, and bold petals that pop. Let’s jump in and start coloring! The video to watch is at the bottom of the post. Let’s get out the coloring supplies and learn how to color this poppy.
how to color a poppy with alcohol markers
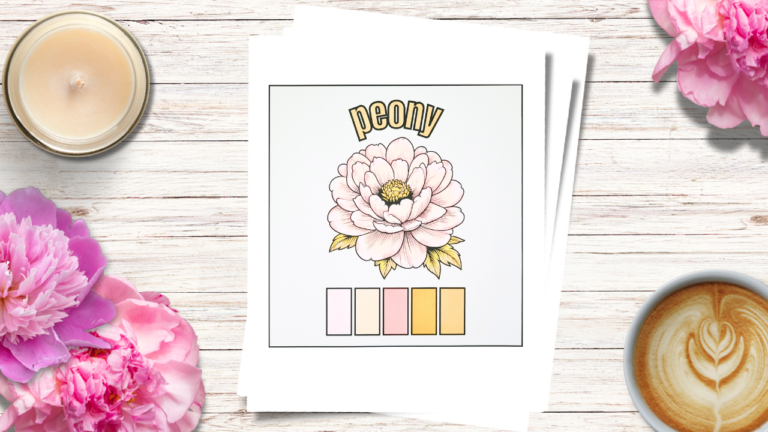
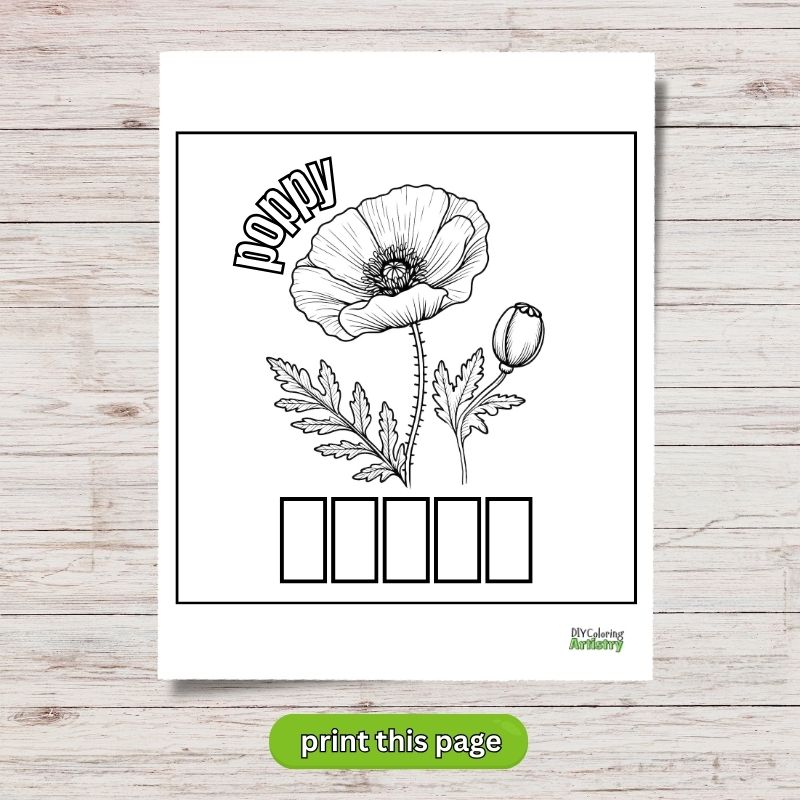
Download and print this free poppy coloring page. If you want to color more flowers, there are more free flower coloring pages to try.
Supplies Used To Color This Poppy
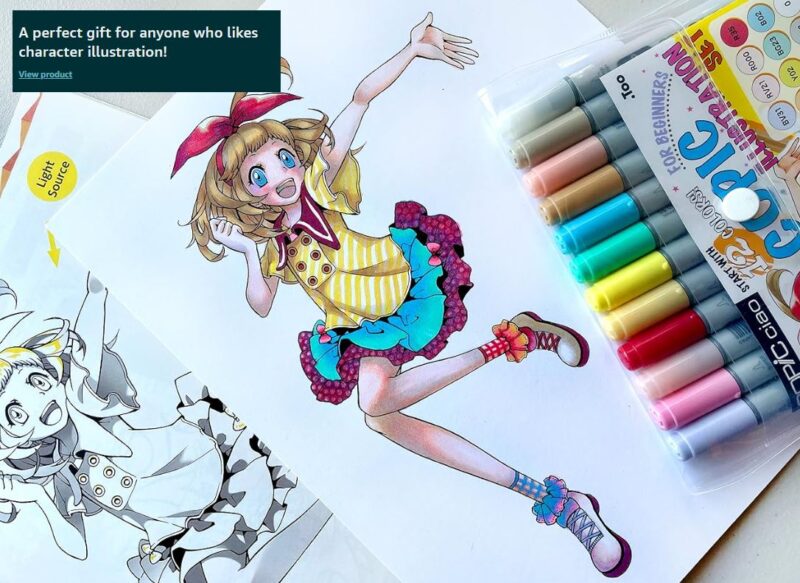
I used mostly Copic markers and Staedtler markers for this poppy coloring page, but you can use whatever colors you have on hand.
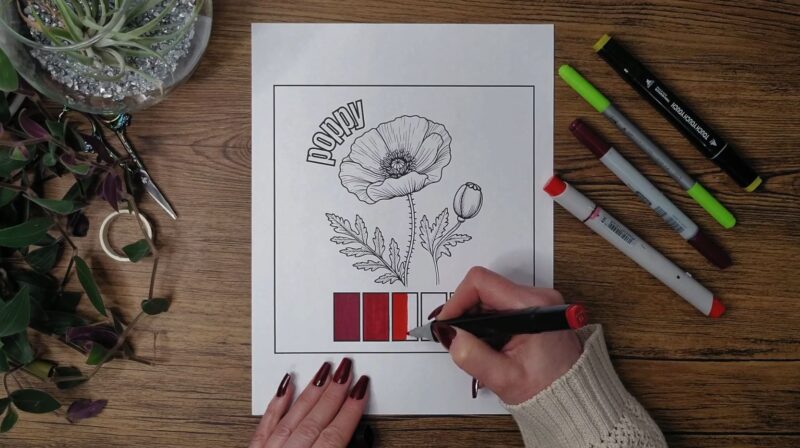
Step 1: Choose Your Colors
Pick three shades for the petals. A light, medium, and dark red. For the leaves and stem, select two greens. A light and a dark. Having a colorless blender on hand can help with softening edges or fixing small mistakes.
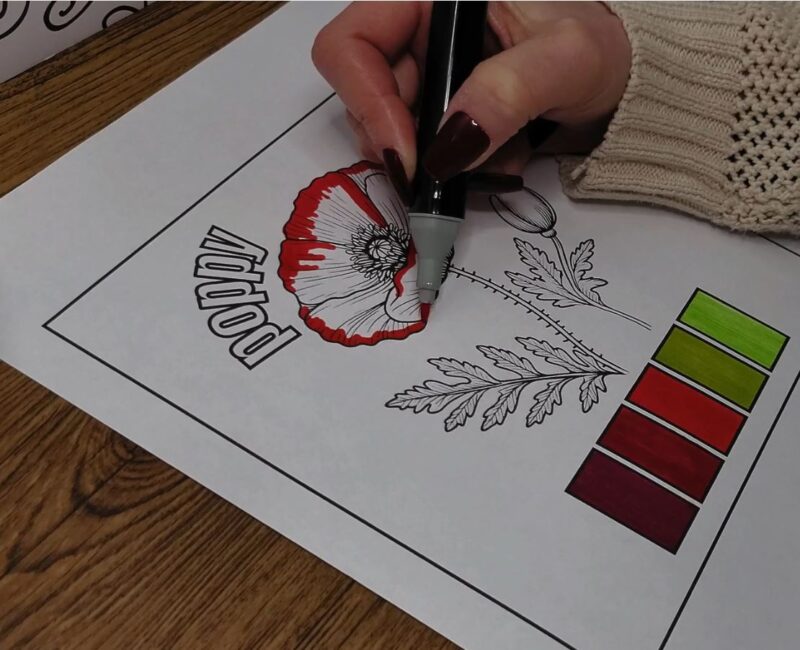
Step 2: Start with the Lightest Shade
Begin by coloring the top of the petal area with your lightest red. This base layer will make blending easier later on.
Step 3: Add the Medium Shade
Apply your medium shade to the areas where shadows naturally fall, like the base of the petals or where they overlap. Use small, gentle strokes to blend it into the lighter base.
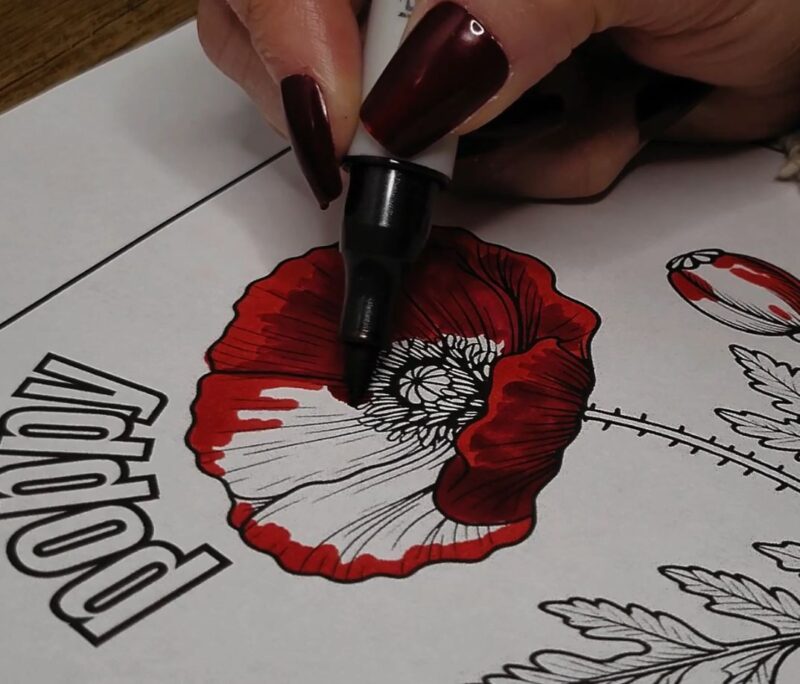
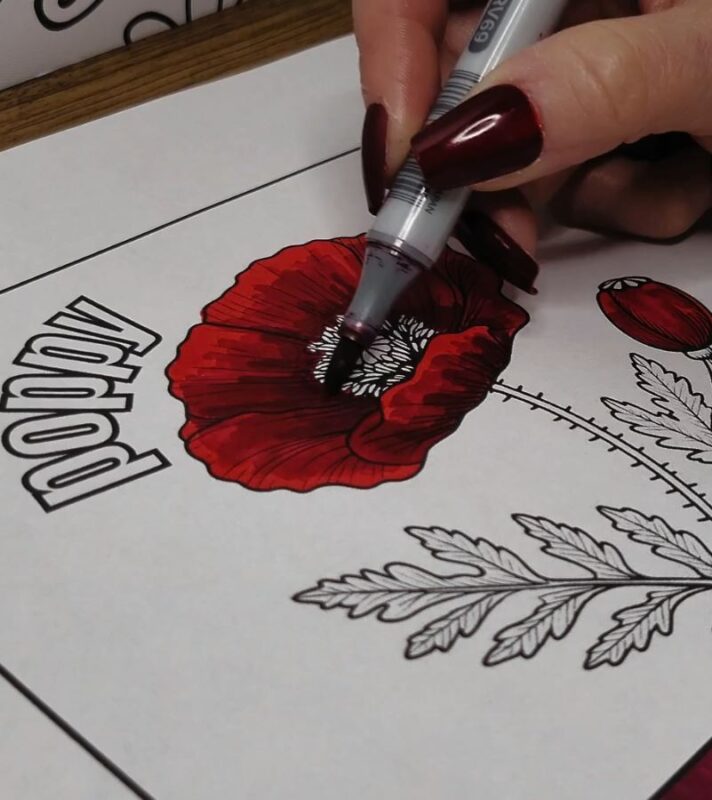
Step 4: Deepen with the Darkest Shade
Use your darkest red to add depth to the deepest shadows. Focus on the innermost parts of the petals and any areas that need more contrast.
Step 5: Blend and Smooth
Go back with your lightest shade or a colorless blender to smooth out any harsh transitions between colors. This will give the petals a more natural, seamless look.
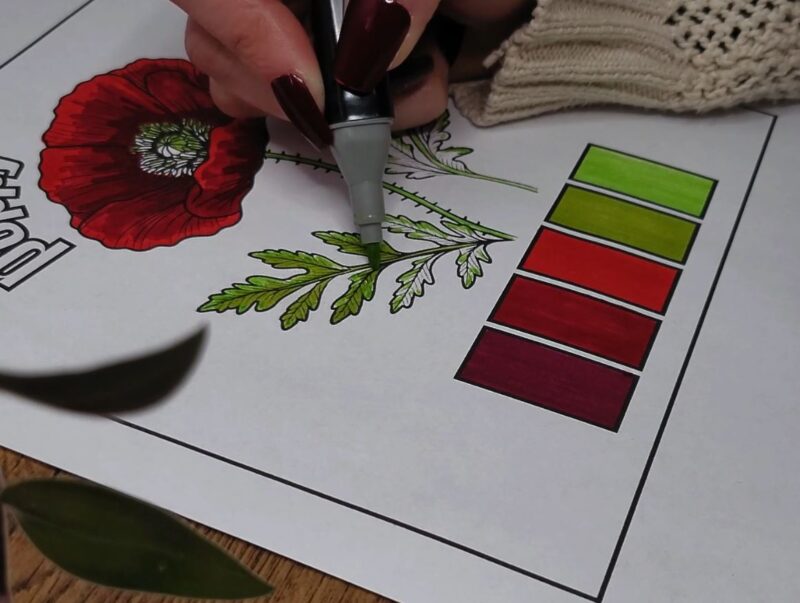
Step 6: Color the Stem and Leaves
Use your light green to fill in the stem and leaves. Then, add the dark green to areas where shadows would naturally occur, like the underside of leaves or the side of the stem away from the light source.

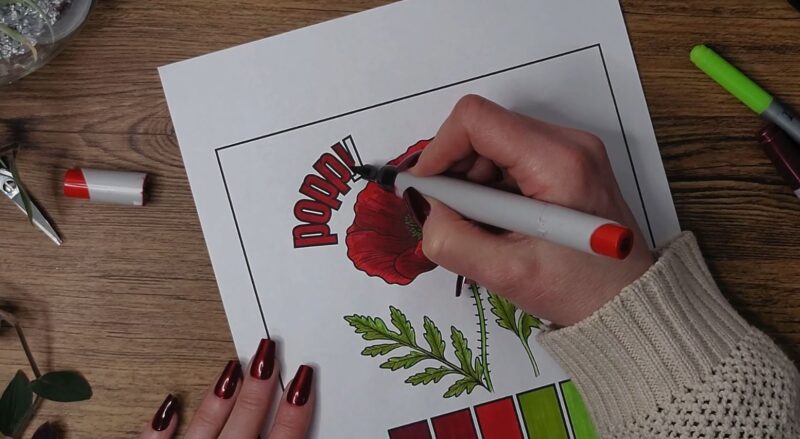
Step 7: Final Touches
Add any final details or touch-ups as needed. You can use the colorless blender to fix small mistakes or lighten areas. If you want to add highlights, a white gel pen works great for tiny accents.
🌟 3 Tips for Coloring Your Poppy Page
1. Work One Petal at a Time
Alcohol ink dries fast, so it’s easier to blend if you color one petal fully before moving to the next. This helps the colors stay wet and smooth into each other nicely.
2. Use the Light-to-Dark Method
Start with your lightest color and slowly build up to the darkest. This gives you more control and helps prevent over-blending or harsh lines.
3. Let the Marker Do the Work
You don’t need to press hard! Light, slow strokes let the ink settle into the paper and blend better. Just guide the marker gently and let the color flow.
More coloring tutorials
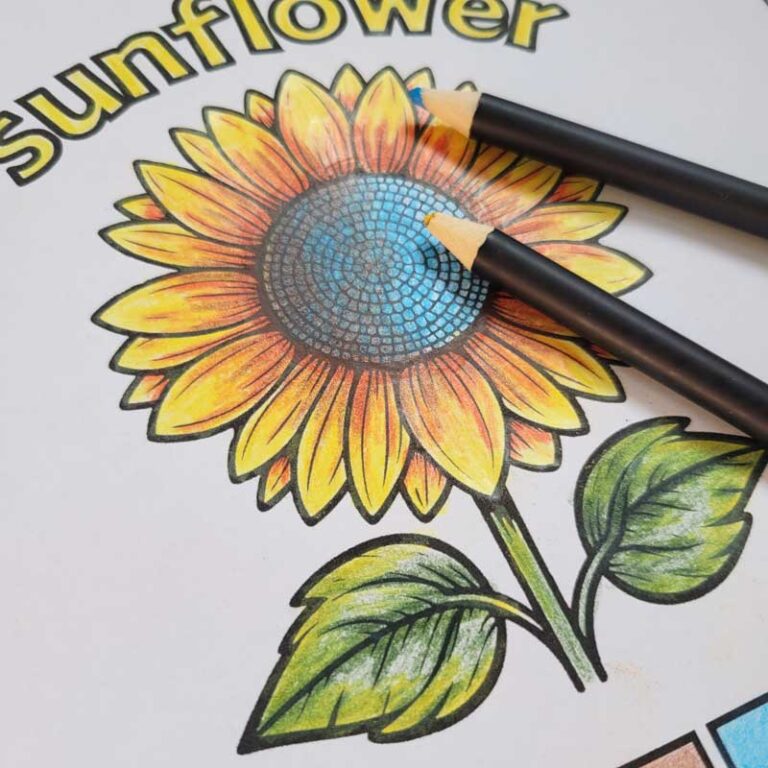
Coloring a sunflower with colored pencils
Video: how to color a poppy with alcohol markers
If you want to see the whole process in action, I made a video just for you. It walks you through each step of coloring a poppy using alcohol markers. From picking the right colors to blending the petals and shading the leaves. You’ll get to see how the layers come together.
It’s super beginner friendly, so grab your markers and follow along at your own pace.