How to Color A Peony With Alcohol Markers
This is a tutorial on how to color a peony with alcohol markers. Hi there! If you’re looking to add some stunning florals to your artwork, you’re in the right place. In today’s tutorial, I’ll be coloring a beautiful peony using alcohol markers.
Peonies are known for their lush, layered petals and vibrant colors, making them a perfect subject to practice blending and shading techniques. This tutorial is super easy for beginners. I’ll do some easy shading and coloring using muted colors.
I’ll guide you step by step through creating depth and dimension, so your peony really pops off the page. Grab your markers, and let’s get started!
How To Color A Peony With Alcohol Markers
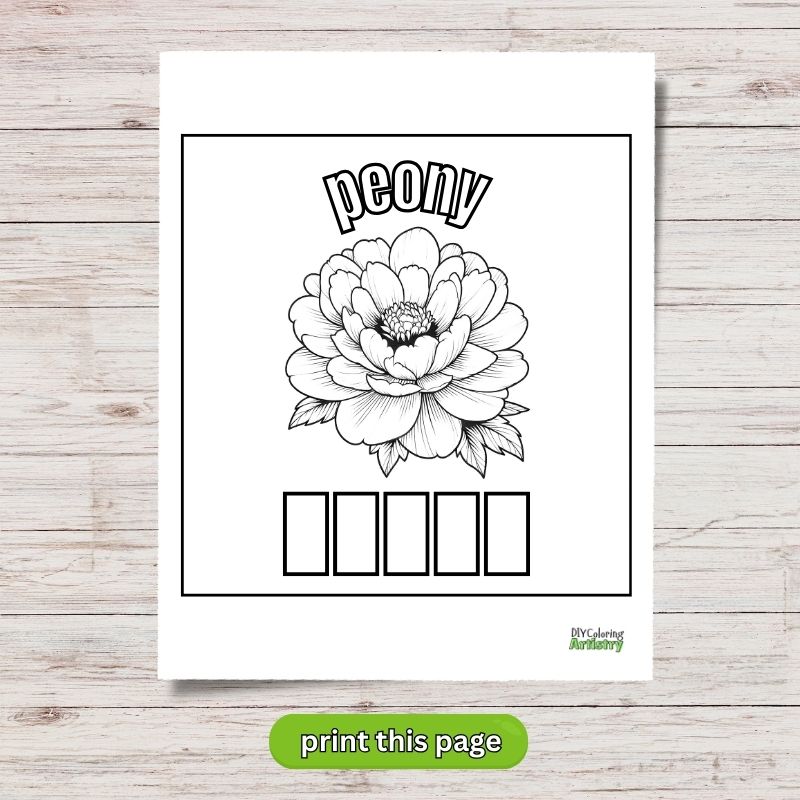
Step 1: Download the Free Printable Peony Page
Before we begin, make sure to download the printable peony coloring page. This will give you a perfect outline to follow along with during the tutorial. You can print it on your preferred paper. I’m using regular printer paper with a few sheets underneath to catch any bleed through.
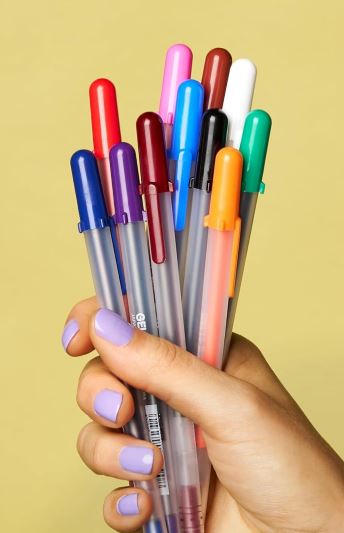
Step 2: Choose Your Colors
Next, choose some alcohol marker colors that will bring your peony to life. You’ll need three shades for the petals (light, medium, and dark), and two shades of colors for the leaves. Be sure to pick colors that complement each other and help create depth.
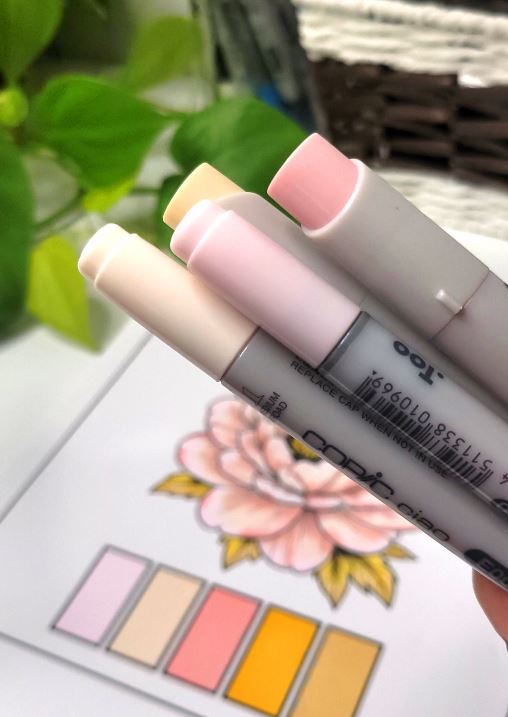
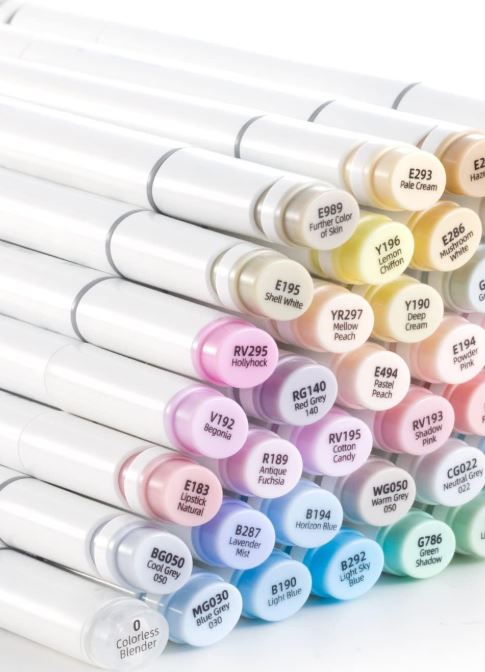
For this I’m using Copic markers, Stylefile & Copic Touch Markers. The shades are Copic Ciao EOOO. Stylefile 112 & 312. Touch Y35. Another great set are the alcohol markers from Ohuhu.
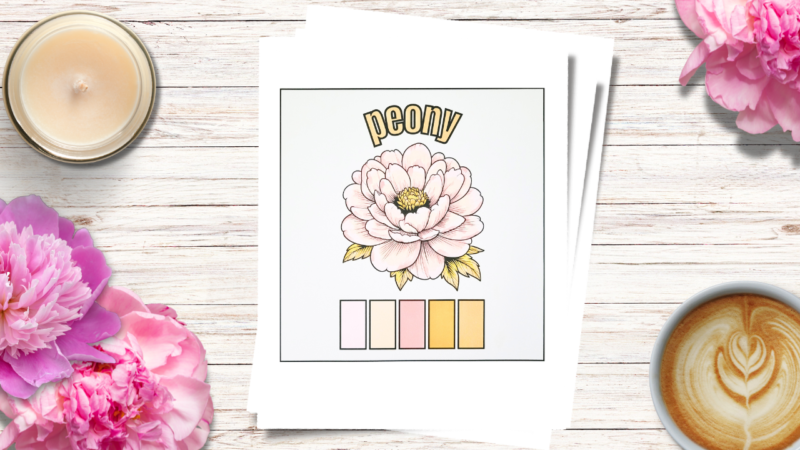
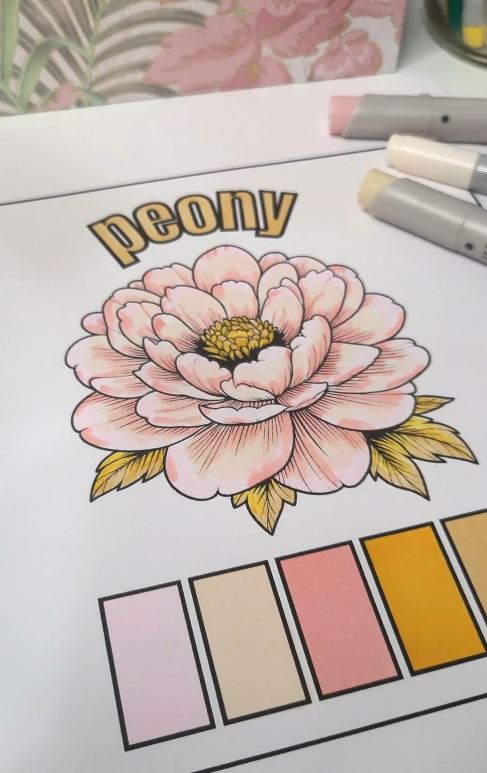
Step 3: Fill in the Swatch Template
On your printable peony page, you’ll find a swatch template. This is a great tool to test out your color choices. Fill in the template with your five selected colors so you can see how they look together before applying them to the peony. If you need some more practice sheets, I have a whole bunch of free swatching templates to download.
Step 4: Start with the Lightest Color
Now that you’ve chosen your colors, start with the lightest shade for the petals. Carefully color the tops of each petal, focusing on the areas that would naturally catch the light. This step lays the foundation for blending in deeper tones later.
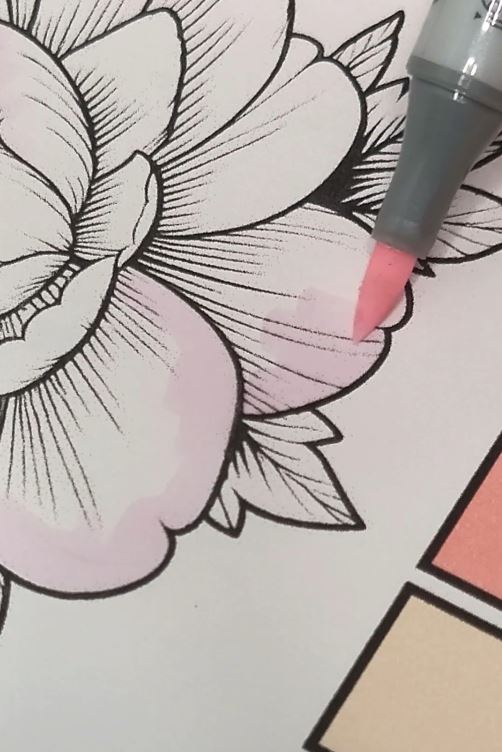
Step 5: Add the Medium Shade
Take the next darker shade and begin coloring most of each petal, leaving the very tops untouched where you applied the lightest color. This step creates soft, gradual transitions from light to dark.
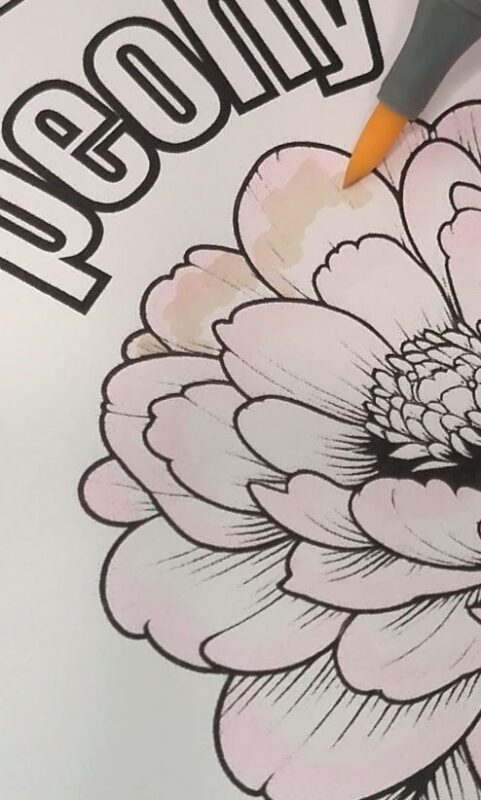
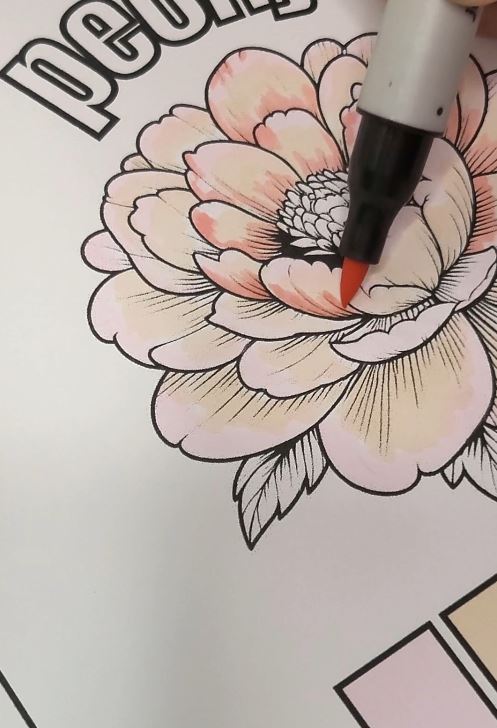
Step 6: Use the Darkest Color for Shadows
For this step, use the darkest color to add shadows to the base and undersides of the petals. Carefully layer in the darker sections where the petals overlap or fold. This is what makes the petals appear realistic and three-dimensional.
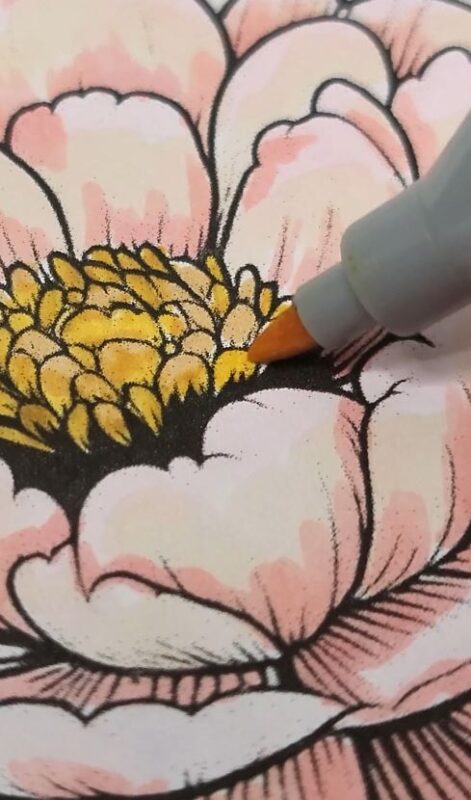
Step 7: Color in the Center
Now that the petals are finished, it’s time to focus on the center of the peony. Use the last two colors to fill in this area.
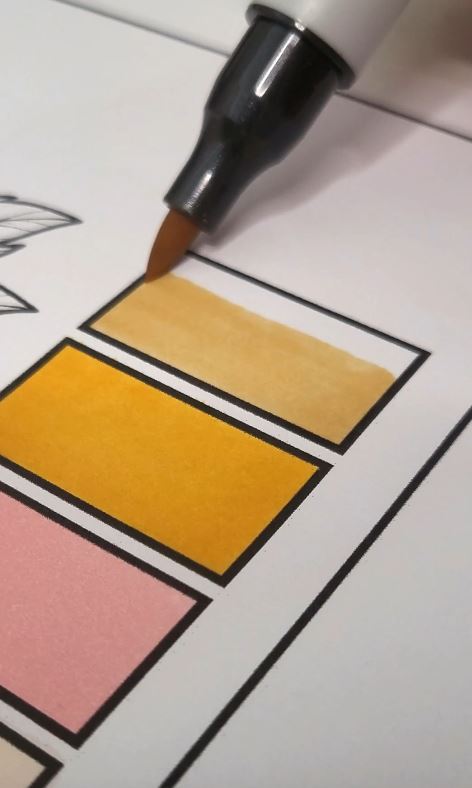
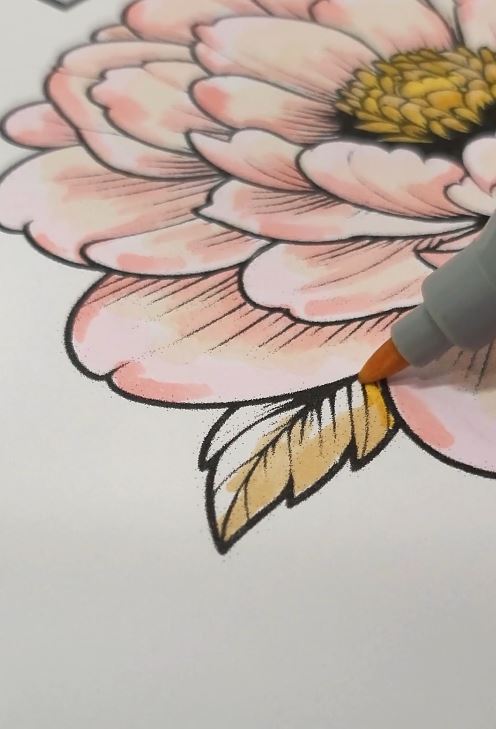
Step 8: Color the Leaves
Finally, using the the same two shades as above, apply them to the leaves. Start with the lighter color for the base of the leaves, then use the darker color to add shading and depth to the leaves.
And here is the finished peony coloring page! It looks so beautiful and muted. This can now be put into a frame or hang it on your wall to be enjoyed.
Coloring a peony video
Here’s a video on how I colored this peony. See how layering brings everything together? That’s why I like to start with the light shades first.
Tips for coloring a peony with alcohol markers
1. Layer Your Colors
Start with the lightest shade and gradually build up layers with darker colors. This will give your petals depth and dimension, making the flower look more realistic.
2. Blend with Small Motions
If you are going for a more blending look then use small motions to soften the transition between them. This helps avoid harsh lines and creates a smooth, seamless look on the petals.
3. Use a white gel pen
Create some white areas near the tops of the petals to give the illusion of light hitting the flower, adding brightness to your peony.
4. Add Extra Depth with a Blender Marker
If you want even more dimension, use a blender marker to soften the edges of your shading. This can help smooth out any rough transitions and create a more natural look.
5. Use Reference Photos for Accuracy
If you’re aiming for a realistic peony, it helps to look at reference photos. Observe where the shadows and highlights naturally fall on real peonies.
Congratulations on finishing your peony! I hope you had fun bringing this beautiful flower to life with your alcohol markers.
Join the Facebook group and share your completed pages DIY Coloring Artistry Facebook group
Favorite Coloring Supplies
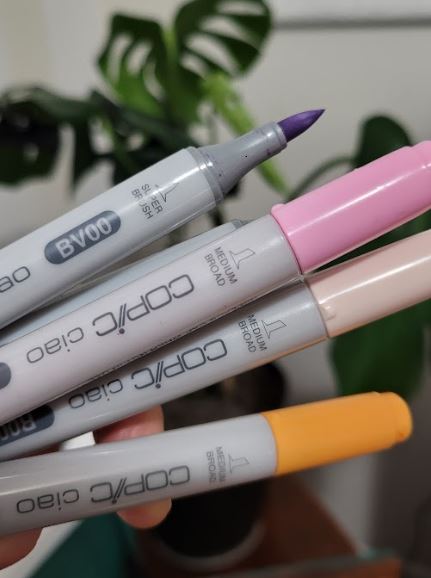
Copic Alcohol Markers
Ohuhu Alcohol Markers
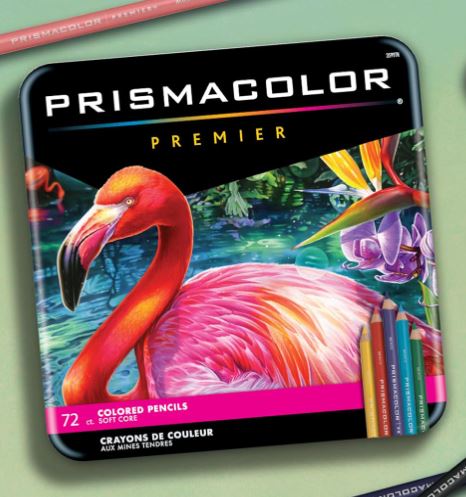
Prismacolor Premier
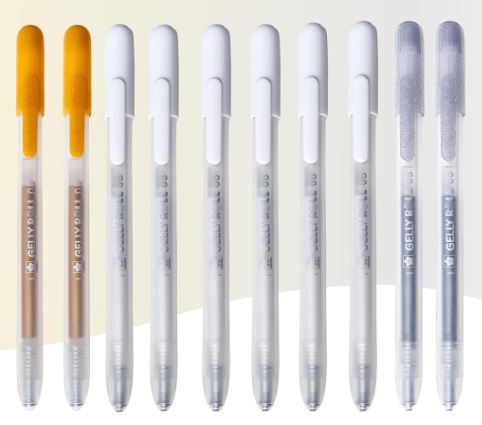
Gelly Roll Pens
More coloring ideas