How To Color A Guinea Pig | Colored Pencil Tutorial
Hey there, coloring friends! This is how to color a guinea pig with colored pencils.
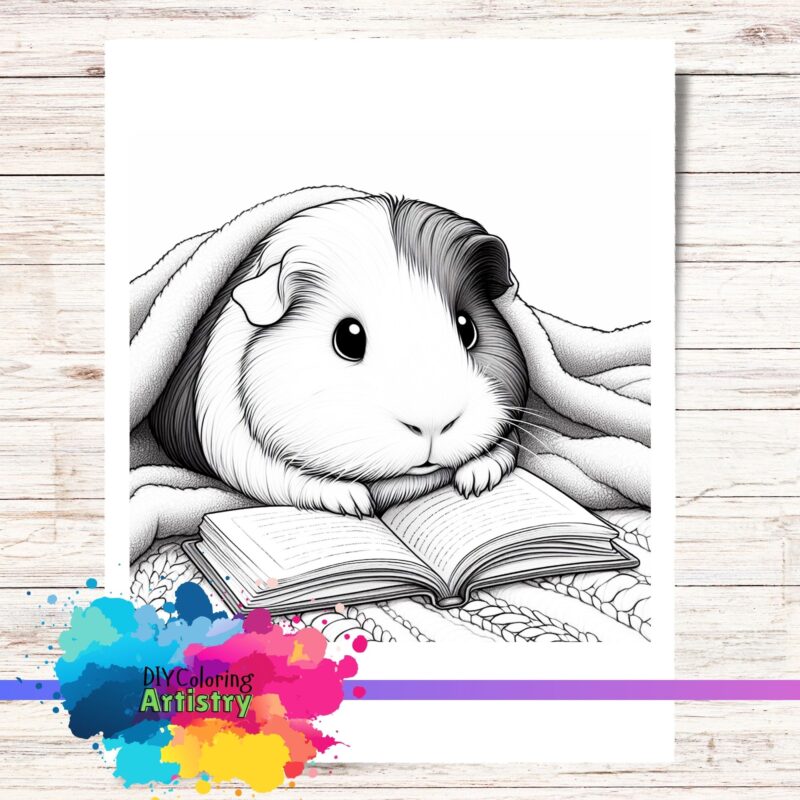
Welcome to DIY Coloring Artistry, where I bring creativity to life one stroke at a time. I’m thrilled to share my latest project with you: coloring an adorable guinea pig using colored pencils! 🐹✨
In this blog post, you’ll find a step-by-step guide to follow along with my YouTube video, tips for getting those perfect shades and textures, and best of all a printable coloring page pack so you can join in the fun.
This guinea pig coloring project is perfect for all ages.
how to color a guinea pig with colored pencils
Step 1. Gather Your Materials
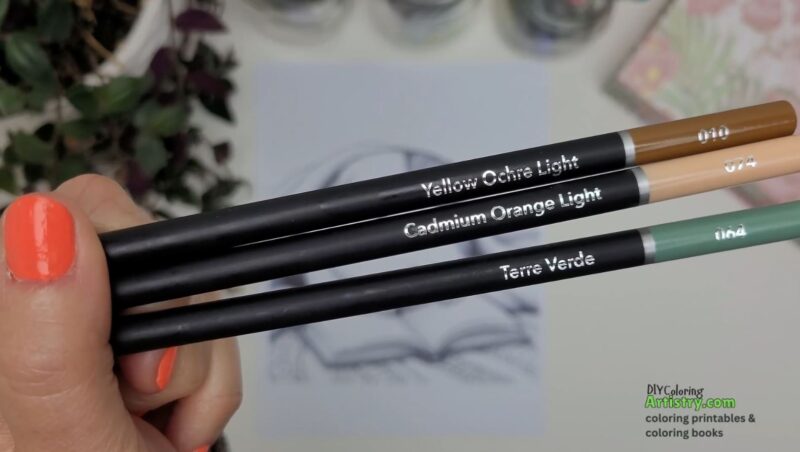
- Start by gathering your colored pencils, a good quality eraser, a sharpener, and a guinea pig coloring page. Make sure you have a variety of colors including browns, and oranges, greens and some cozy colors for the blanket.
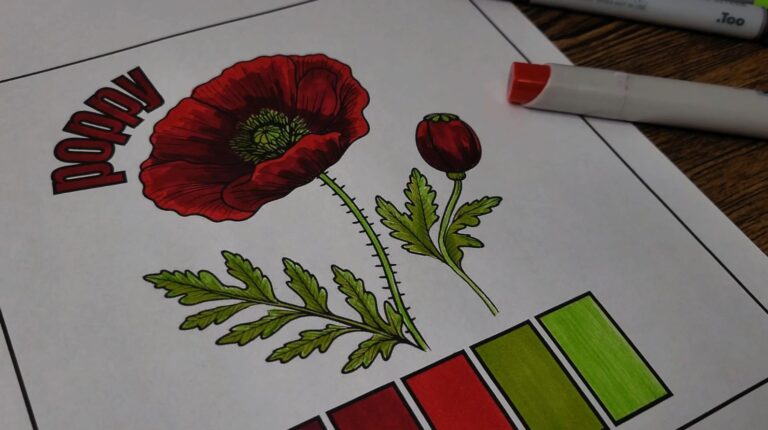
Step 2. Choose Your Colors
- Decide on the color palette for your guinea pig. Refer to real life guinea pig pictures for inspiration. Select a base color for the body, and additional colors for shading and highlighting. All of the colors that were used are shown in the video below.
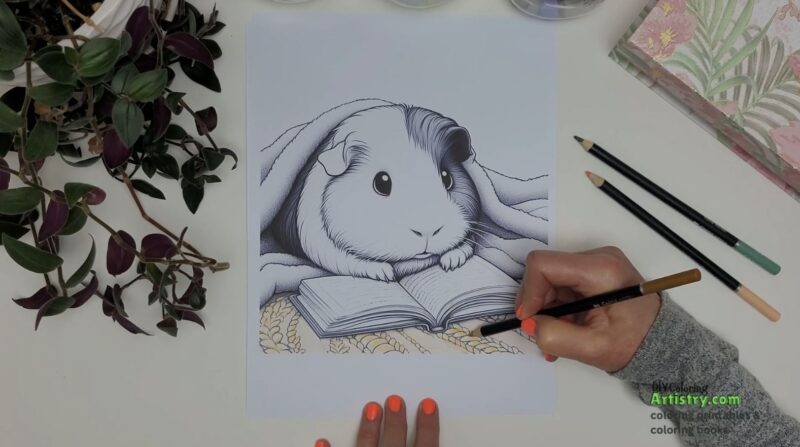
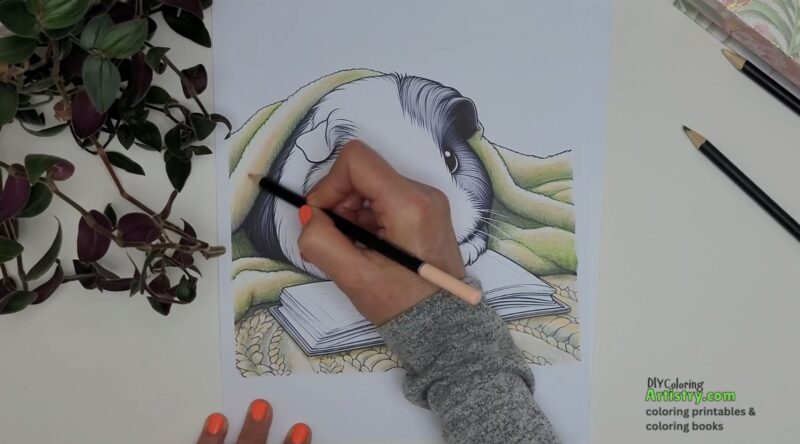
Step 3. Color the blanket in soft, warm tones
- I’ll start this guinea pig coloring page with coloring the blanket first. Use gentle strokes to avoid harsh lines that might be difficult to blend later. Then layer darker shades paying attention to where the shadows will be.
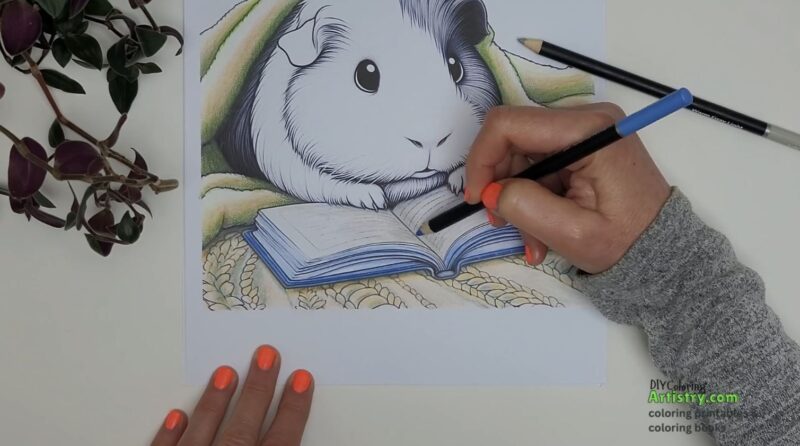
Step 4. Coloring The Book
- Begin by applying a light base layer of your chosen main color. Use light, even strokes to cover the entire front of the book. This creates a foundation for adding depth and texture. Then go ahead and finish the book pages and cover. Be sure to put in shadows for depth.
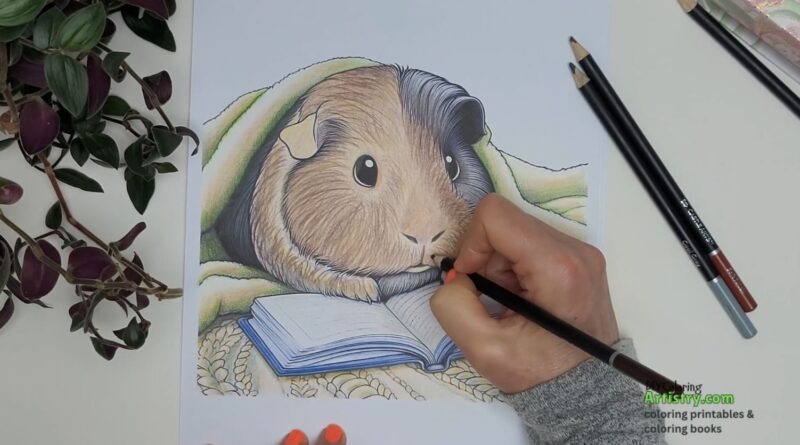
Step 5. Add Fur Texture to the guinea pig
- To mimic the guinea pig’s fur, use short, quick strokes in the direction of the fur growth. Start layering with different shades of browns and yellows. Vary the direction and length of your strokes to create a natural look. Making fur can be challenging, but the more layers you put on the better it will look.
Step 6. Layering and Blending
- Continue to layer additional colors to add depth. You can also blend these layers with a blending pencil or a soft tissue to smooth out transitions. Gradually build up the color, starting with lighter shades and moving to darker ones for shadows.
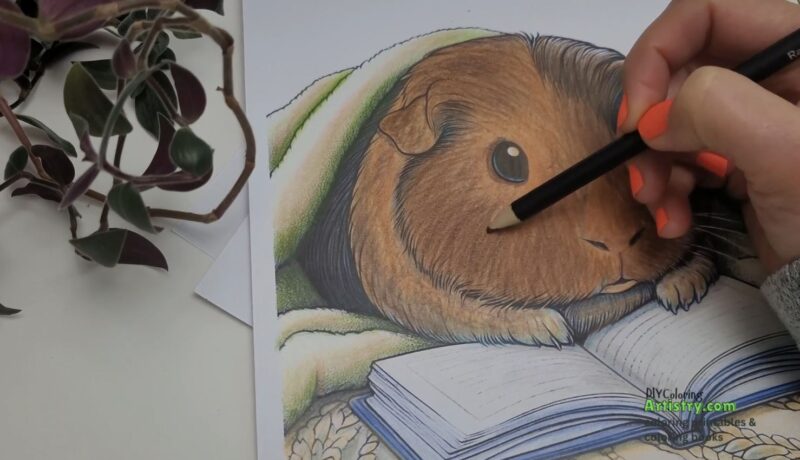
Step 7. Add Highlights and Shadows
- Identify where the light source is coming from in your drawing. Add highlights with a lighter pencil or even a white pencil where the light hits the fur. Use darker shades to create shadows, enhancing the three-dimensional look of your guinea pig.
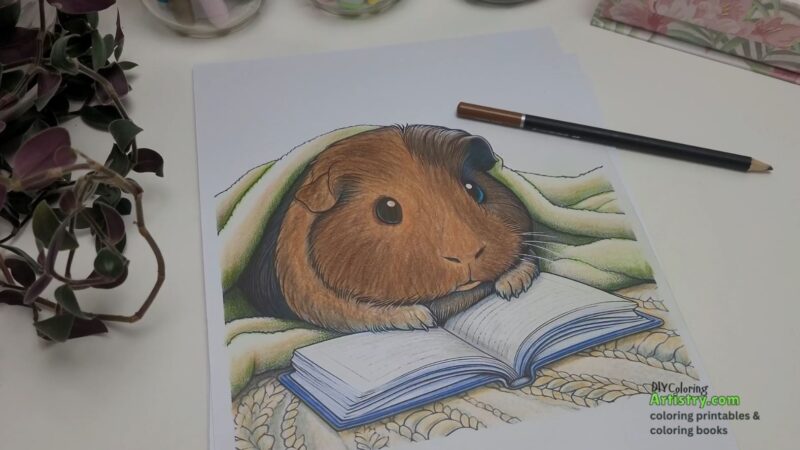
Step 8. Final Touches
- Review your drawing for any areas that need more blending or additional layers of color. Add any final touches to ensure your guinea pig looks vibrant and well-defined.
Step 9. Share Your coloring page
- Once you’re satisfied with your coloring, take a picture and share it with your friends or on social media. Don’t forget to tag DIY Coloring Artistry so I can see your beautiful work! Use hashtag #diycoloringartistry
Coloring pages for practice
Free zentangle practice sheets
Coloring a guinea pig video tutorial
Here’s a link to some of my favorite markers for coloring.