Heaven Vs. Hell Coloring Tutorial
Here is how to do the Heaven vs. Hell coloring technique. If you want to try something a little different, the Heaven vs Hell way is a bold and exciting choice. This coloring idea lets you mix bright, glowing areas on one side of the page with deep, fiery tones on the other. You can highlight heaven with soft lights and add rich, intense colors for Hell to create a powerful contrast. Even simple designs feel alive when you use this approach. In this post, I’ll show you a step by step how to do this with a video.
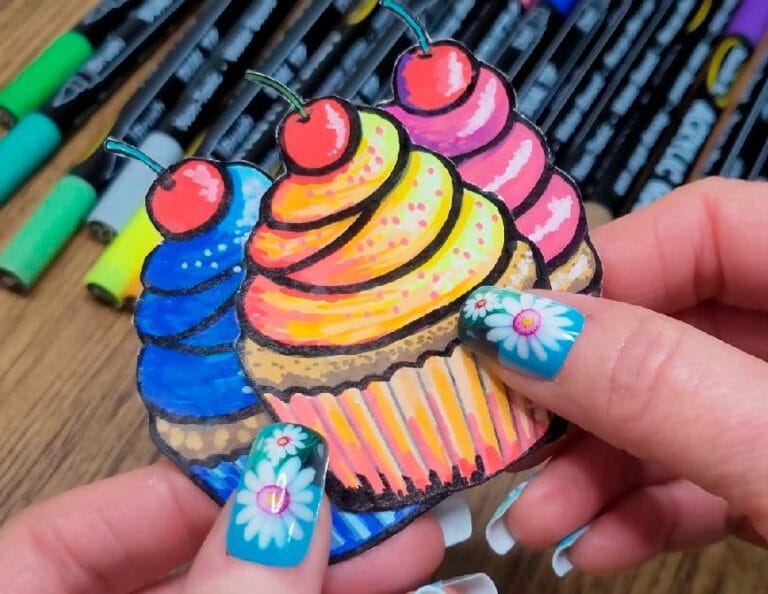
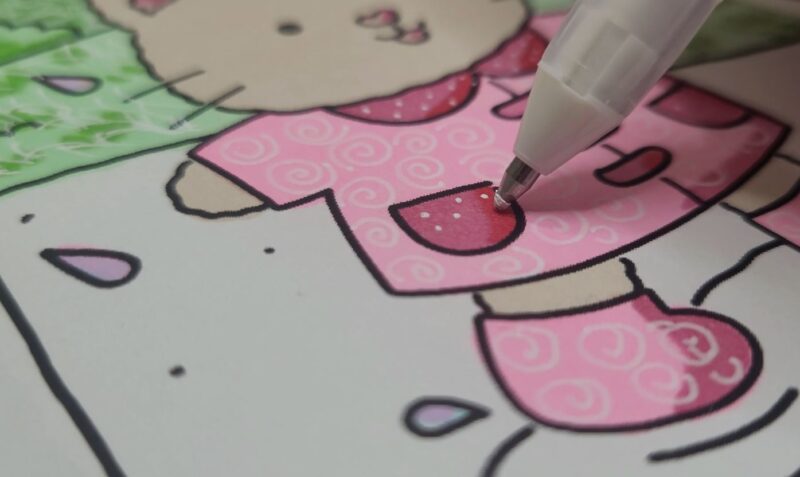
As you color your Heaven vs Hell scene, start by picking the lightest shades for the Heaven areas and the darkest reds for the Hell areas. You can also add small highlights in Heaven with white gel pens and then add yellow highlights to make the red sections stand out more for the Hell part.

Heaven Vs. Hell Coloring Tutorial
I thought it would be fun to show you how I made this cool coloring idea. It has been all over my feed and I wanted to try it myself. It looks tricky at first, but once you see the steps, it is actually very easy. In the video I show the whole thing, and here in this post I break it down in easy steps.
Supplies For Heaven Vs. Hell Coloring
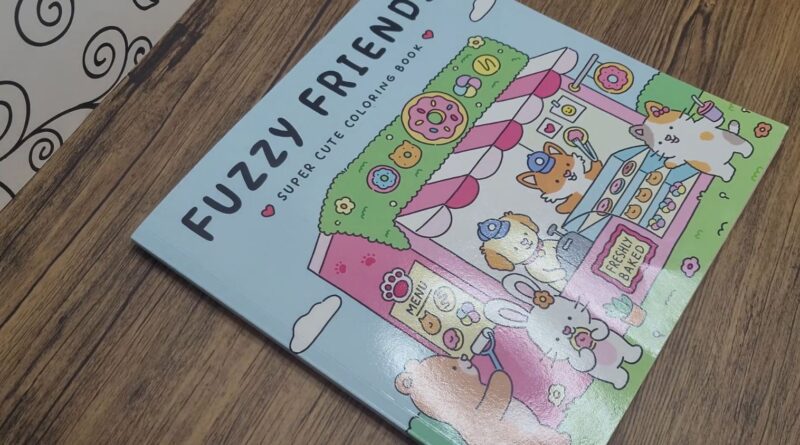
- Vivi Tinta Fuzzy Friends coloring book
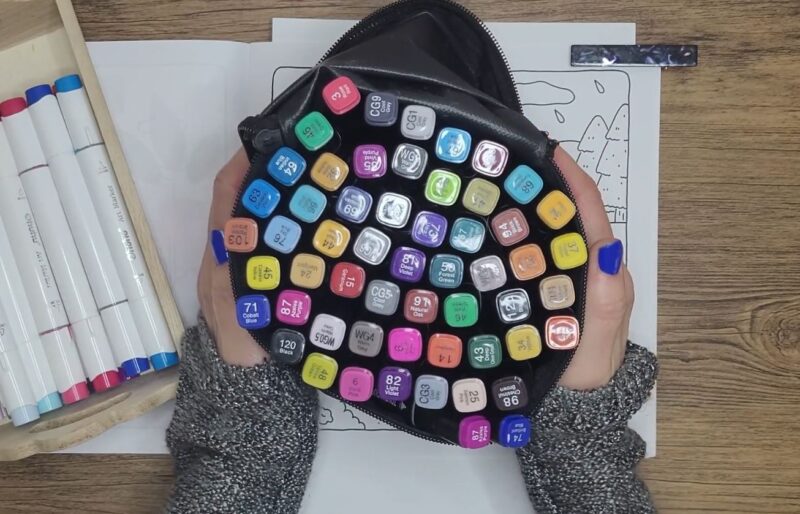
- Ohuhu alcohol markers
- White gel pen
- Glitter pens
- Acrylic paint markers
Steps For Heaven Vs. Hell Coloring
Step 1: Choose your coloring book & Markers
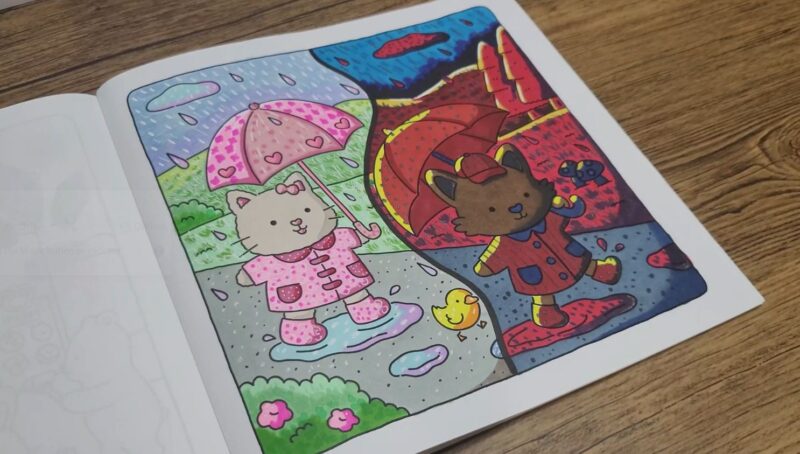
Start by choosing the coloring book you want to use. For this tutorial, I’m using Vivi Tinta Fuzzy Friends, which has fun characters and spaces that are easy to divide into heaven and Hell areas. Next, pick the markers you’ll use. For this I’m using Ohuhu alcohol markers and Touch markers because they blend smoothly and make the bright and dark colors really pop.
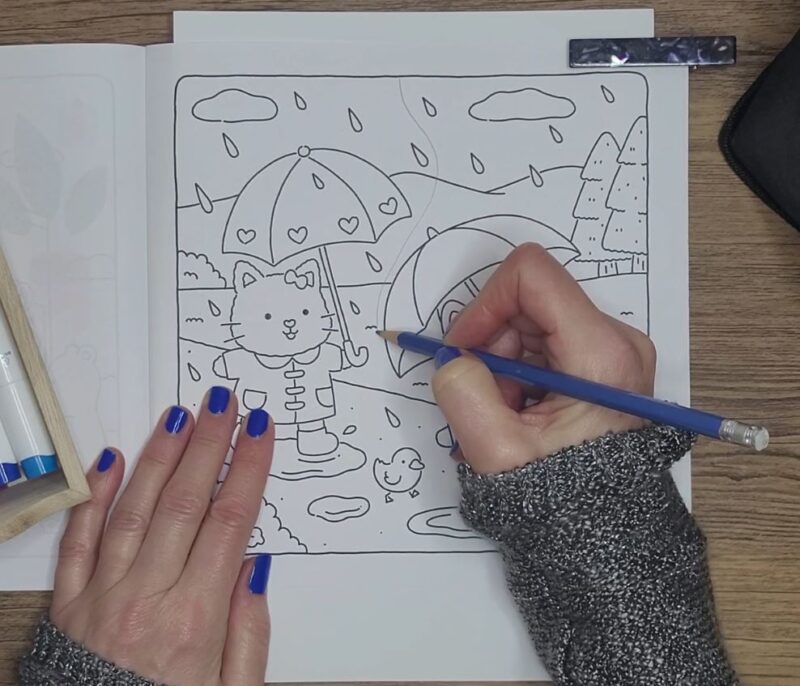
Step 2: Plan The Area
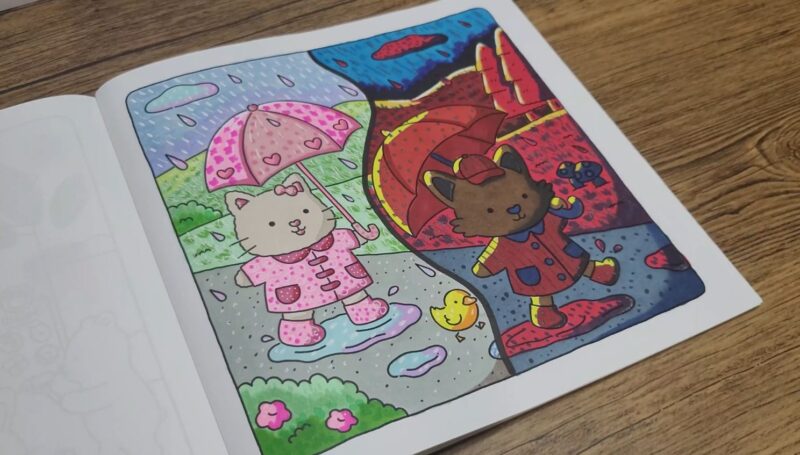
Before you start coloring, take a moment to decide which parts of your page will be heaven and which will be Hell. You can lightly mark the sections with a pencil if that helps. Think about where the light will shine in Heaven and where the darker, fiery tones will go for Hell. For this one, I’m doing it right in the middle. You can be as creative as you like.
Step 3: Color The Heaven Side
Start with the heaven areas you planned and use bright, cheerful colors like soft blues, pale greens, and gentle pinks. You can layer the colors lightly to create a smooth, glowing effect. Add small highlights with white or a very light marker to make the heaven side feel bright and airy. Take your time and fill in all the spaces so the colors look even and lively. You can also add pattern ideas to the clothes and other areas.
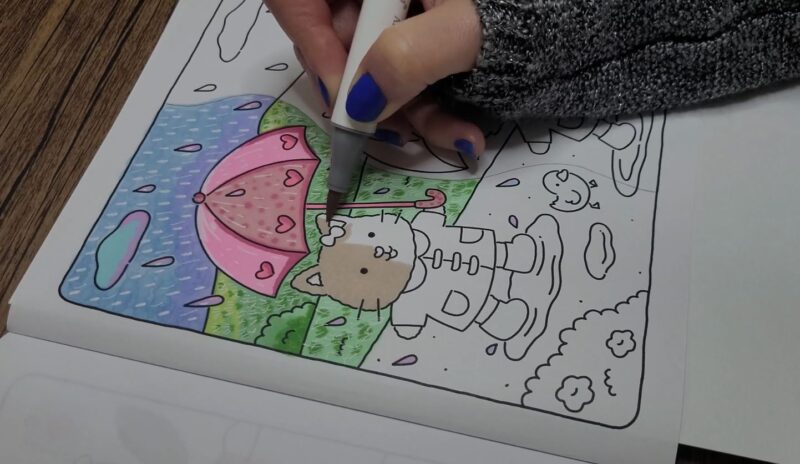
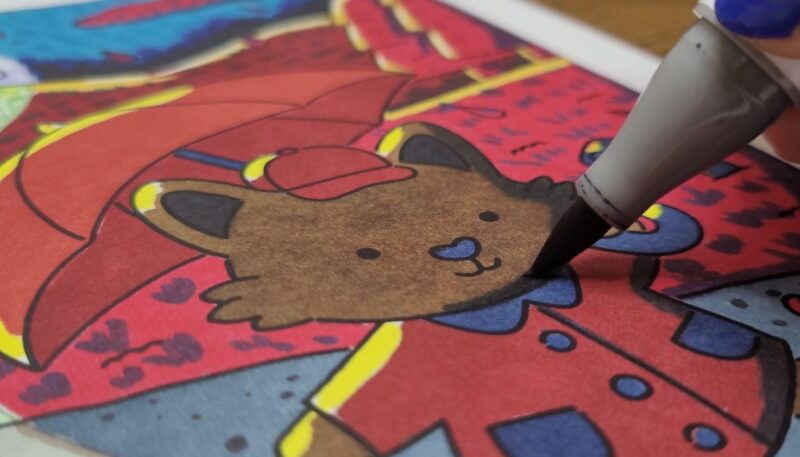
Step 4: Color the Hell Side
Now move to the Hell areas and use rich, bold colors like deep reds, blue, and dark purples. Layer the colors to make the flames or shadows look intense and full of energy. You can blend where the colors meet to create a smooth transition between shades. Filling in these areas carefully will make the contrast with heaven really stand out. I also went over some areas with a black glitter gel pen to make some areas stand out more.


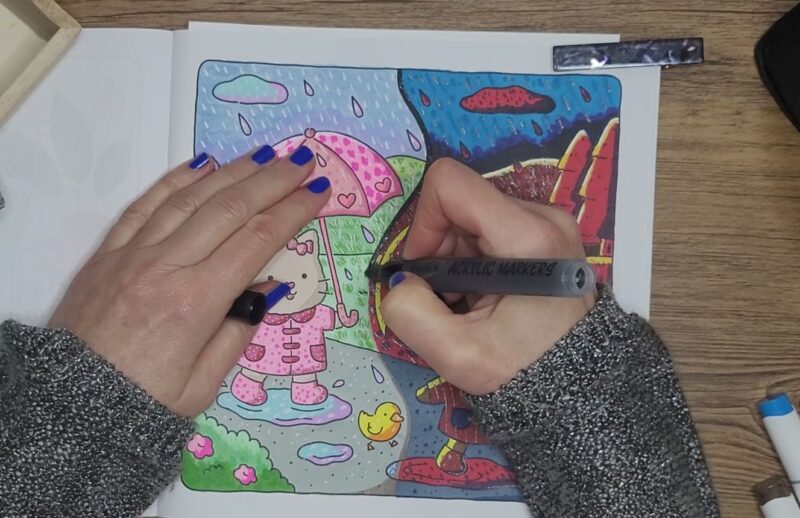
Step 5: Make the Line Stand Out
Once both sides are colored, take a black acrylic paint marker and trace along the line between heaven and Hell. This will help separate the two areas and make the contrast pop. You can use a white marker for a glowing effect or a black marker for a bold, sharp line. Highlighting the border like this gives your scene more definition and makes the colors look even more dramatic.
Heaven Vs. Hell Coloring Video
If you want to see the Heaven vs. Hell way in action, check out the video below. I’ll show you each step from picking your coloring book and markers to making the line between Heaven and Hell really stand out. Watching it done in real time makes it easy to follow along and see exactly how the colors blend and pop. Grab your markers and follow along!
Share this blog with your friends who love to color too. And join the DIY Coloring Artistry Facebook group, where you can share your art with others!
Favorite Coloring Supplies
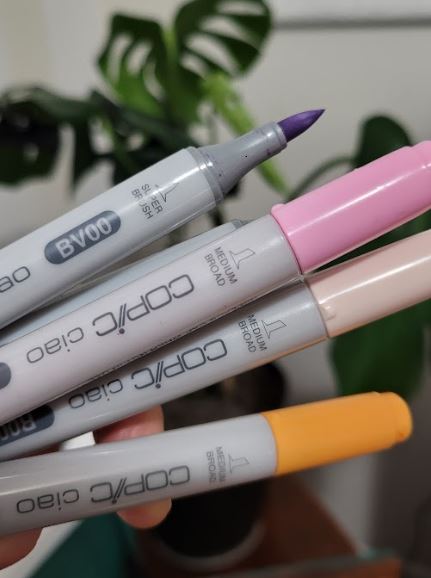
Copic Alcohol Markers
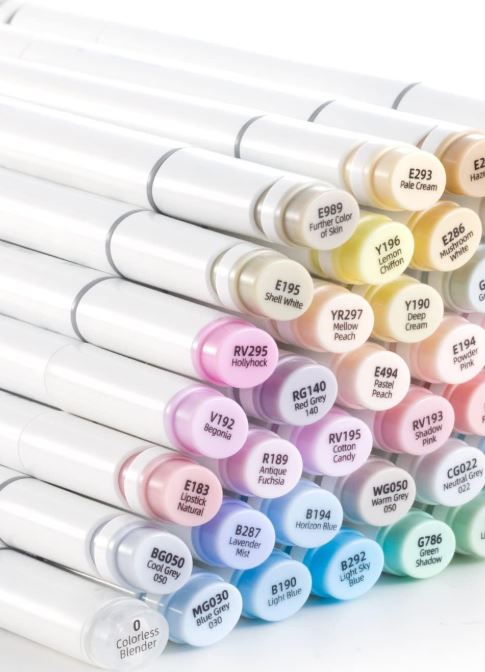
Ohuhu Alcohol Markers
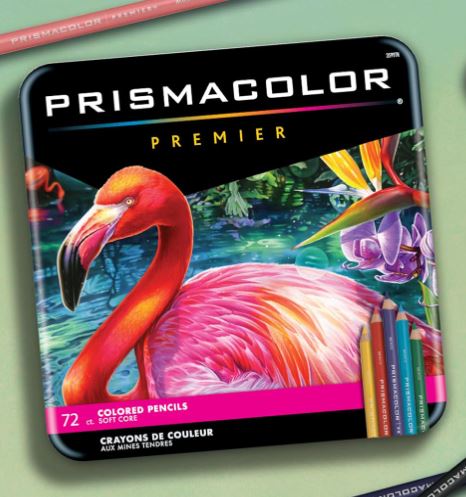
Prismacolor Premier
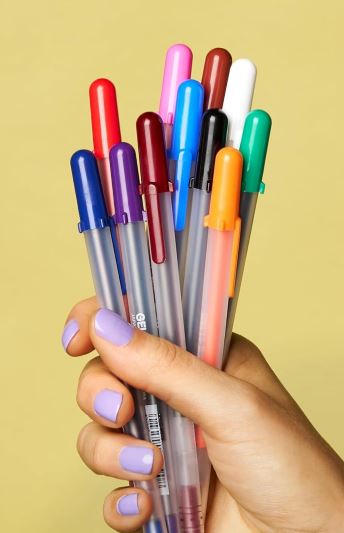
Gelly Roll Pens