19 Coloring Techniques: Tips For Beginners & Pros
Here are some coloring techniques for beginners and pros. Coloring isn’t just about filling in spaces with color, it’s an art form that helps you with creativity to bring your ideas to life. Coloring techniques are an important part of making your pages look bright, neat, and creative. Beginners often start with basic shading, blending, and layering before moving on to more advanced methods.
Using simple tools like colored pencils, markers, or gel pens can help you learn how different colors mix and how textures can change the look of a page. Once you understand the basics, it becomes easier to create pages that stand out and show off your personal style.
When I first started coloring, I had no idea what I was doing. I just picked up some pencils and filled in the lines. Over time, I found that little changes, like blending two shades together or adding highlights, made a big difference. It doesn’t have to be perfect, it’s all about having fun and enjoying the process. If you’re just starting out, don’t worry about making mistakes. The more you practice, the more confident you’ll feel with your pages.
Coloring Techniques To Try
1. Layering Colors
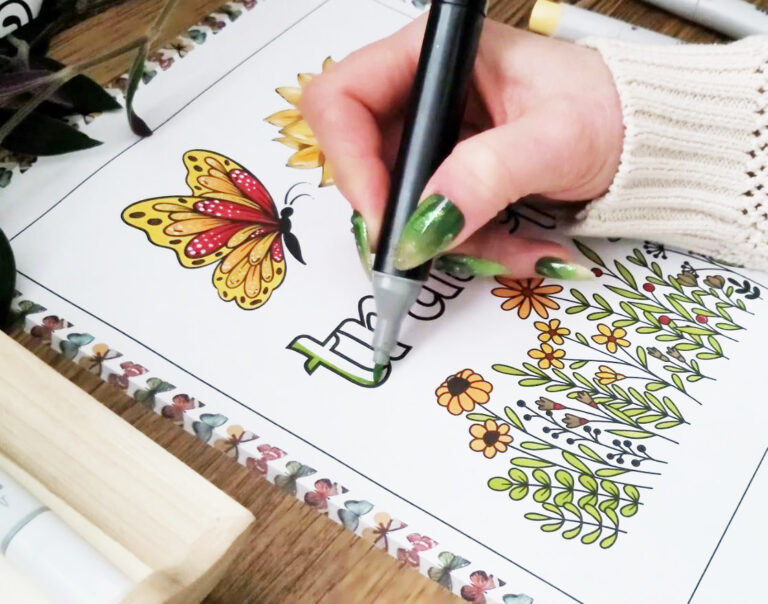
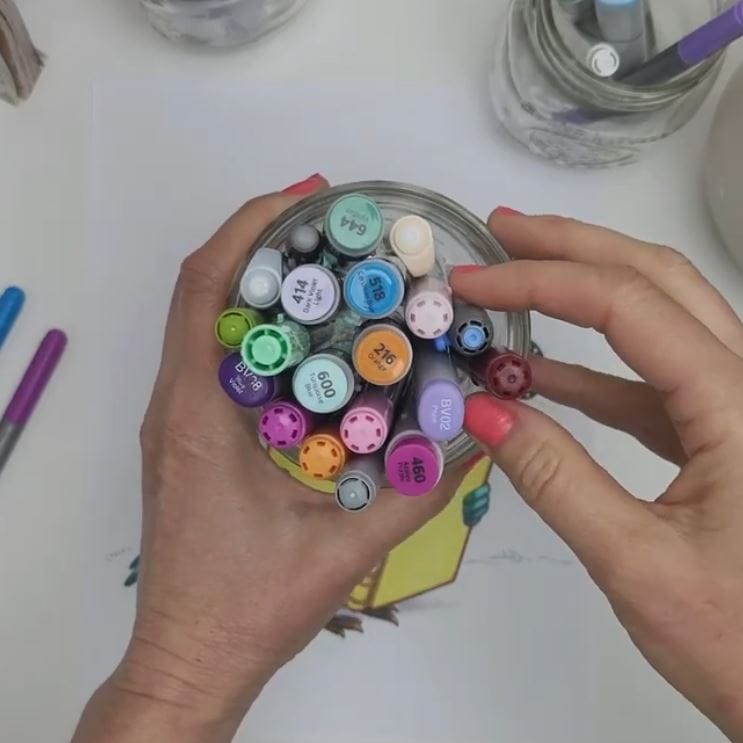
Layering is a great way to build depth and richness in your coloring when using alcohol markers. Start by lightly applying a base color, and then slowly add other colors on top. I did this with this bumblebee coloring page for the flower.
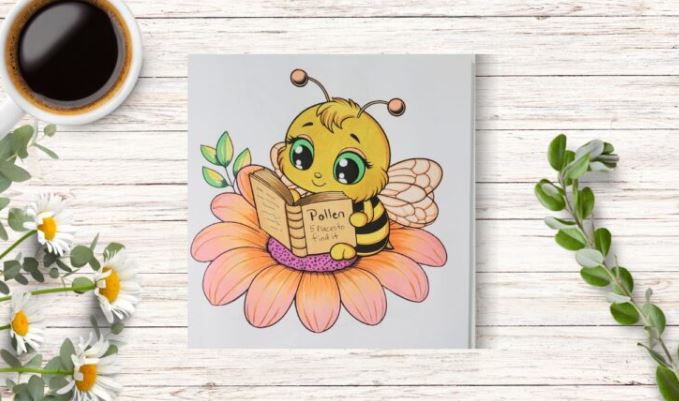
For example, you can layer shades of pink for flower petals. Keep the pressure light in the early layers, then apply more pressure as you build up color. Or if you are using alcohol markers, you can start with the lightest shades first and then make your way to darker shades. And if you are using oil pastels for coloring, you can make sections really stand out with layering.
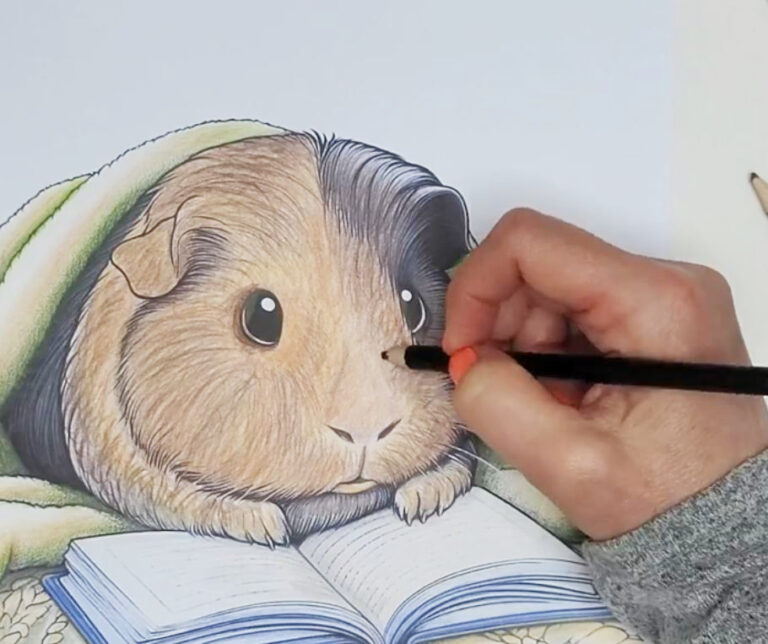
2. Burnishing
Burnishing is a coloring trick that makes your work look soft and polished. You do it by pressing harder with your colored pencil so the color gets pushed into the paper. This blends everything together and makes the colors look bold and smooth. It’s really nice for finishing touches, like on flowers or skies, because it gets rid of those little white spots on the page. I like using it at the very end, almost like sealing in all the layers I’ve already colored.
This creates a shiny, polished look and get’s rid of most pencil strokes, giving your work a more solid finish.
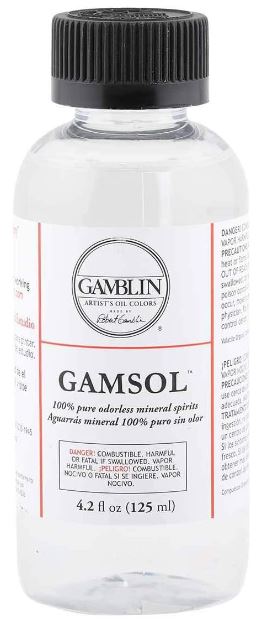
3. Solvent Blending
Using a solvent like Gamsol or baby oil helps to dissolve the pencil marks and creates a smooth finish. Solvent blending is a way to make your coloring look smooth without pressing too hard. You can use a blending stump or cotton swab to melt the pencil lines together. It takes away the scratchy look and makes the colors flow like paint.
I like using it when I want a soft background or smooth skin tones, because it gives a gentle, even finish. It’s also nice because you don’t have to use as much pressure, so your hands don’t get tired as fast.
You apply the color lightly, then use the blending stump dipped in the solvent to blend and soften the colors. This is great for getting a painterly look with colored pencils.
4. Gradient Shading
Gradient shading is blending from a dark to a light color to create a smooth transition. Start by applying your darkest color where the shadows are, then gradually lighten your strokes as you move toward the highlighted areas. This is perfect for spherical objects or backgrounds like sunsets.
5. Cross-Hatching
Cross-hatching is a fun way to add depth and shading with your colored pencils. You make small lines that cross over each other, kind of like weaving, to build up darker areas. The closer the lines are, the deeper the color will look. Use it when you want texture because it makes the picture feel more alive. It’s also a good trick if you don’t want everything super smooth and prefer a little detail showing through.

6. Stippling
Stippling is all about making tiny dots with your pencil to create shading. The more dots you add, the darker the area looks, and fewer dots keep it light. It’s a slow process, but it gives such a neat texture, almost like freckles on the page. It’s also a nice way to practice patience while still making your art stand out.
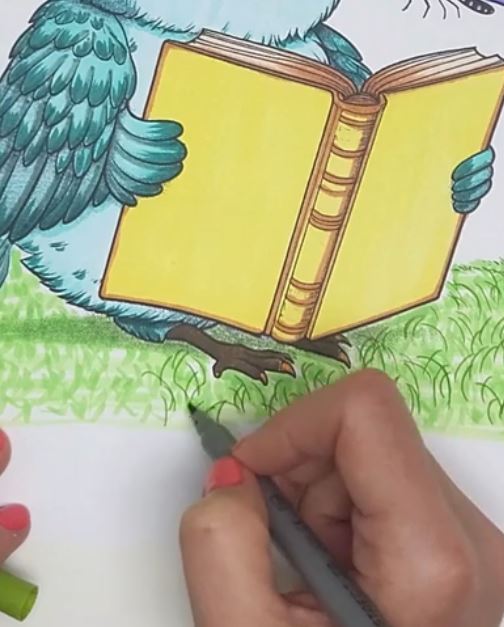
7. White Gel Pen Highlights
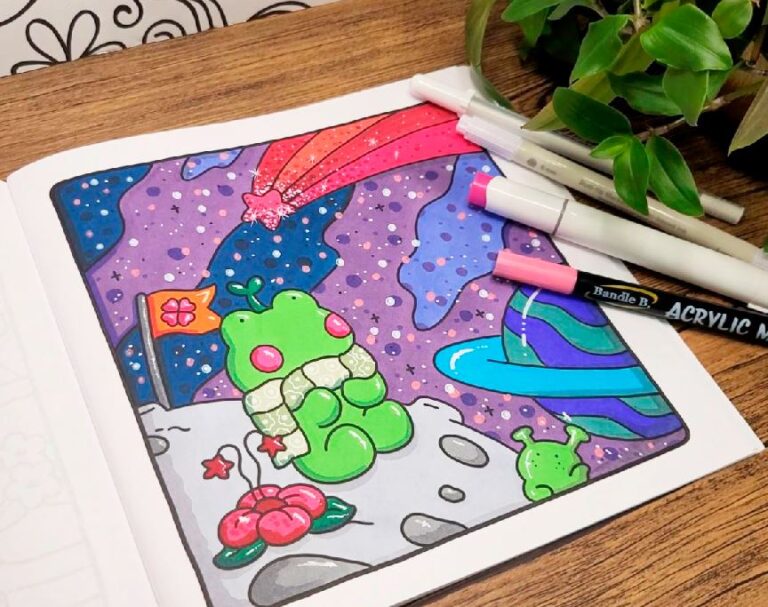
I use white gel pens all the time in my coloring, and they’ve become one of my favorite tools. They’re perfect for adding little highlights, like a shine in an animal’s eye, the sparkle on water, or even tiny stars in the sky. I also love using them to fix small mistakes or brighten up spots that got too dark with pencil. Sometimes I’ll add little dots, lines, or swirls on top of colors to give my page extra detail. It’s such a simple pen, but it makes a big difference in bringing a picture to life.
In this video, I’m using a white gel pen to color in different things in this Coco Wyo coloring book. White gel pens lay over alcohol markers perfectly. I use them all the time!
8. Embossing Powder
Embossing powders creates a raised design on the paper. You use a small glue pen and sprinkle on the embossing powder. Then it gets set with a heat gun. Embossing powder adds a fun, shiny touch that stands out on the page. I’ll use a clear embossing ink pen to draw little details, then sprinkle the powder on top. After heating it up, the powder melts and leaves behind a raised, glossy look. It’s great for things like jewelry, stars, or even lettering when you want the page to really pop. It makes coloring feel a little more special and creative.
This is such a fun way to bring some bling to your coloring pages. You can get complete embossing powder kits on Amazon. Keep in mind that you need a craft heat gun to melt the powder.
9. Color Lifting
To add highlights or correct mistakes, you can use a kneaded eraser to gently lift off color. This is especially useful for creating light reflections or highlights in hair, fabric, or glass. Lightly dab or twist the eraser on the paper to remove small amounts of color without smudging.
10. Dry Brushing
Dry brushing is one of my favorite ways to add soft texture to a page. Just dip a dry brush into a little bit of color and lightly sweep it over the paper. It gives a gentle, airy look that works great for things like clouds, fur, or backgrounds. I’ve even used old makeup for this, and it works just as well as pastels.
11. Scraping
Scraping away small details is for adding fine highlights to areas like hair, grass, or water. After applying a thick layer of color, use a blade or toothpick to carefully scrape away small lines, revealing the lighter paper or color underneath.
12. Feathering
Feathering is one of the top coloring book tips and tricks that I use often. Use small, quick strokes to mimic the look of feathers, fur, or even grass. Start with lighter pressure at the base of your stroke and flick outwards for a natural, flowing look. This is great for adding realistic details to animals or grassy areas.
13. Glow Effects
To create a glowing effect, start with a light color in the center of the glowing object and blend outwards into darker colors. Use a white pencil or gel pen around the edges to add a soft glow. This works well for glowing objects like candles, lanterns, or magical elements in fantasy artwork.
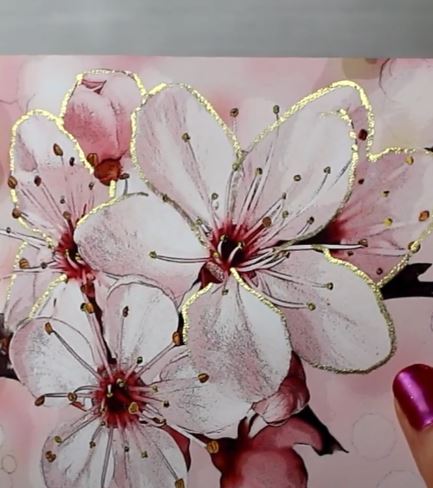
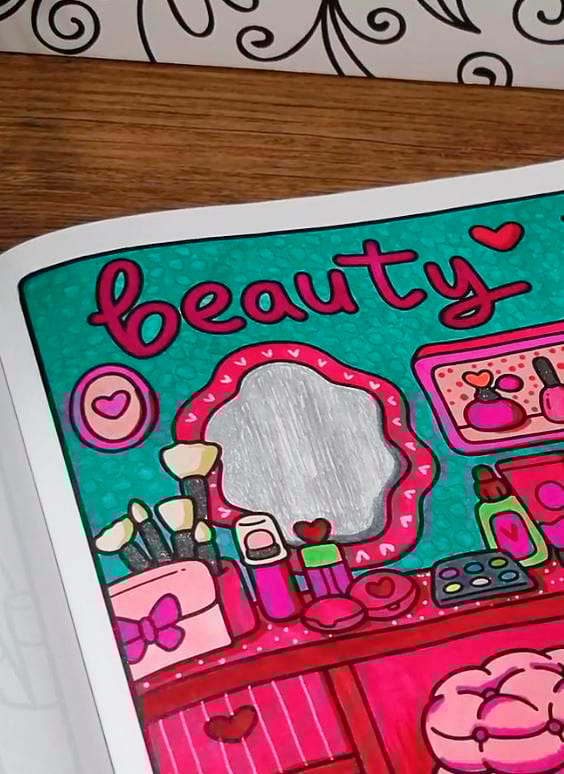
14. Metallic Sheen
To mimic metallic surfaces, use a combination of dark and light grays along with highlights from a white pencil or gel pen. The key to get a realistic metallic sheen is placing strong highlights where the light would hit, and shading around it with deeper tones. Another way I like to do a metallic sheen is using a silver metallic gel pen. In the photo below, I used it for making the glass on the mirror shiny.
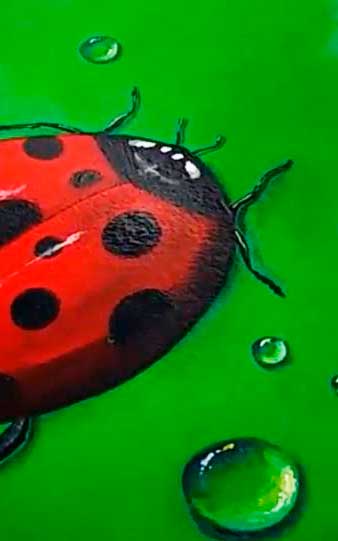
15. Water Droplets
Making water droplets on a coloring page is such a fun little trick. I usually start by leaving a small white spot where I want the droplet to be, then shade around it with darker colors to give it depth. Adding a tiny highlight with a white gel pen makes it look shiny and real. It’s simple once you get the hang of it, and it can make flowers, fruit, or even leaves pop right off the page.
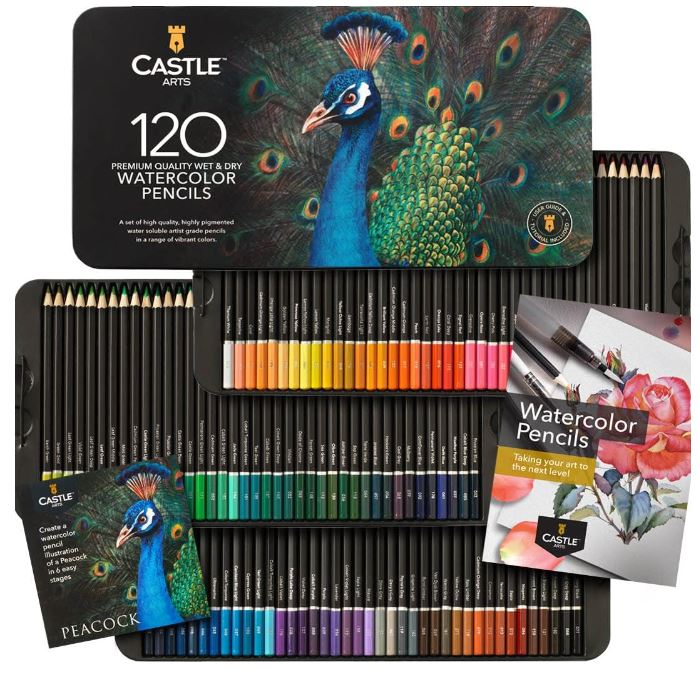
16. Watercolor Pencils
Watercolor pencils give you the precision of a pencil with the softness of watercolor. First, lightly color in your area, then activate the pigment with water using a brush. This technique is great for creating soft backgrounds or adding subtle washes of color.
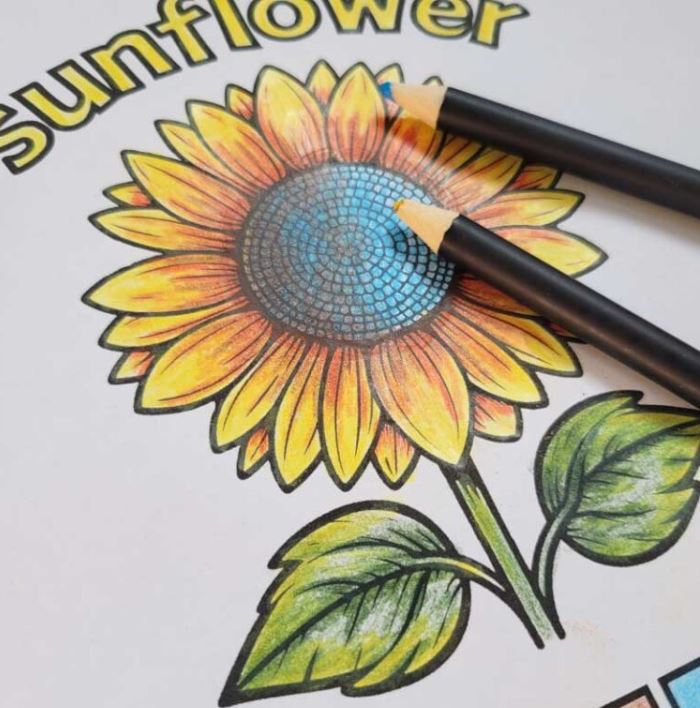
17. Marker and Pencil Blending
Alcohol markers are great for laying down smooth, even color, and then going over them with colored pencils will add texture and depth. After the marker dries, lightly layer colored pencils on top to bring out details or darken certain areas. This combo gives your coloring a richer, more dimensional look, almost like it’s glowing. Use it for things like flowers, hair, or any area where you want the color to really pop. It’s a simple trick that makes your pages look extra polished.
18. Soft Pastels for Backgrounds
Soft pastels are fun for creating smooth, soft backgrounds. Apply them with a cotton ball or sponge to blend the colors for an even, gradient effect. This coloring book technique works wonderfully for skies, water, or any large area where you need a soft wash of color.

19. Saturating Paper
To create deep, rich colors, saturate the paper by applying multiple layers of ink. The more layers you add, the more vibrant the color becomes. In this Rapunzel coloring page, several layers of blue shades were used for her dress.
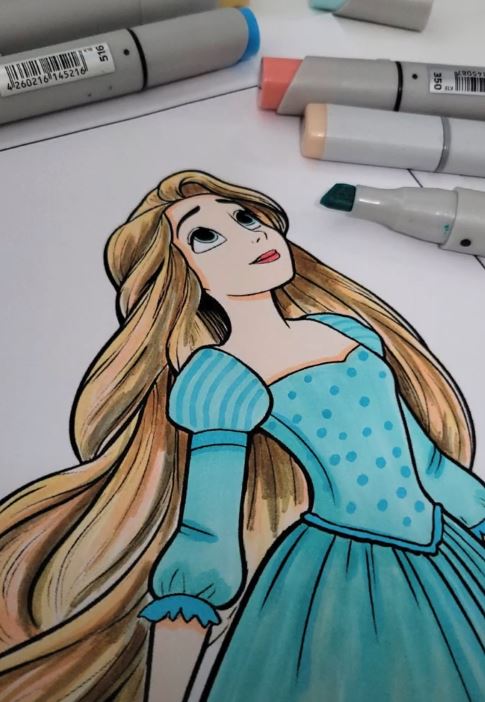
Alcohol markers work best on marker paper or cardstock that can handle saturation without bleeding through. This technique is excellent for making areas like shadows or dark skies bold and intense.
Learning coloring techniques as a beginner is all about experimenting, practicing, and having fun along the way. Every page you finish teaches you something new, and with time you’ll see just how much your skills improve. Don’t be afraid to try out new tools, test different styles, and make the pages your own. Coloring is meant to be relaxing and creative, not stressful.
If you’d like some extra inspiration and a place to share your work, I have a DIY Coloring Artistry Facebook group you can join. It’s a great spot to connect with others, swap ideas, and learn from people who enjoy coloring just as much as you do. Have fun!